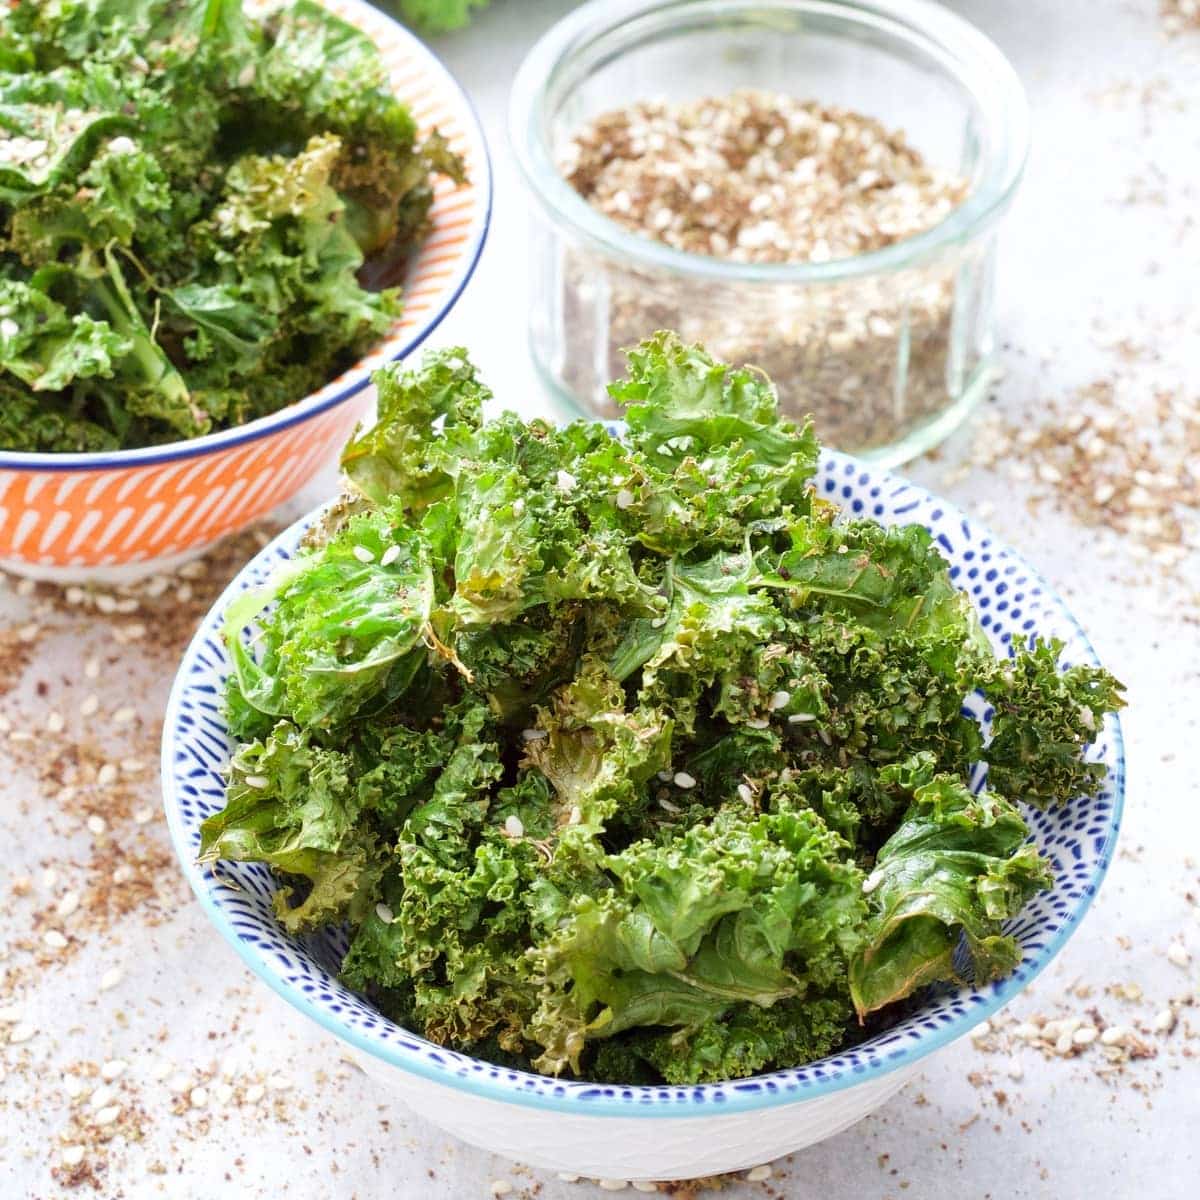
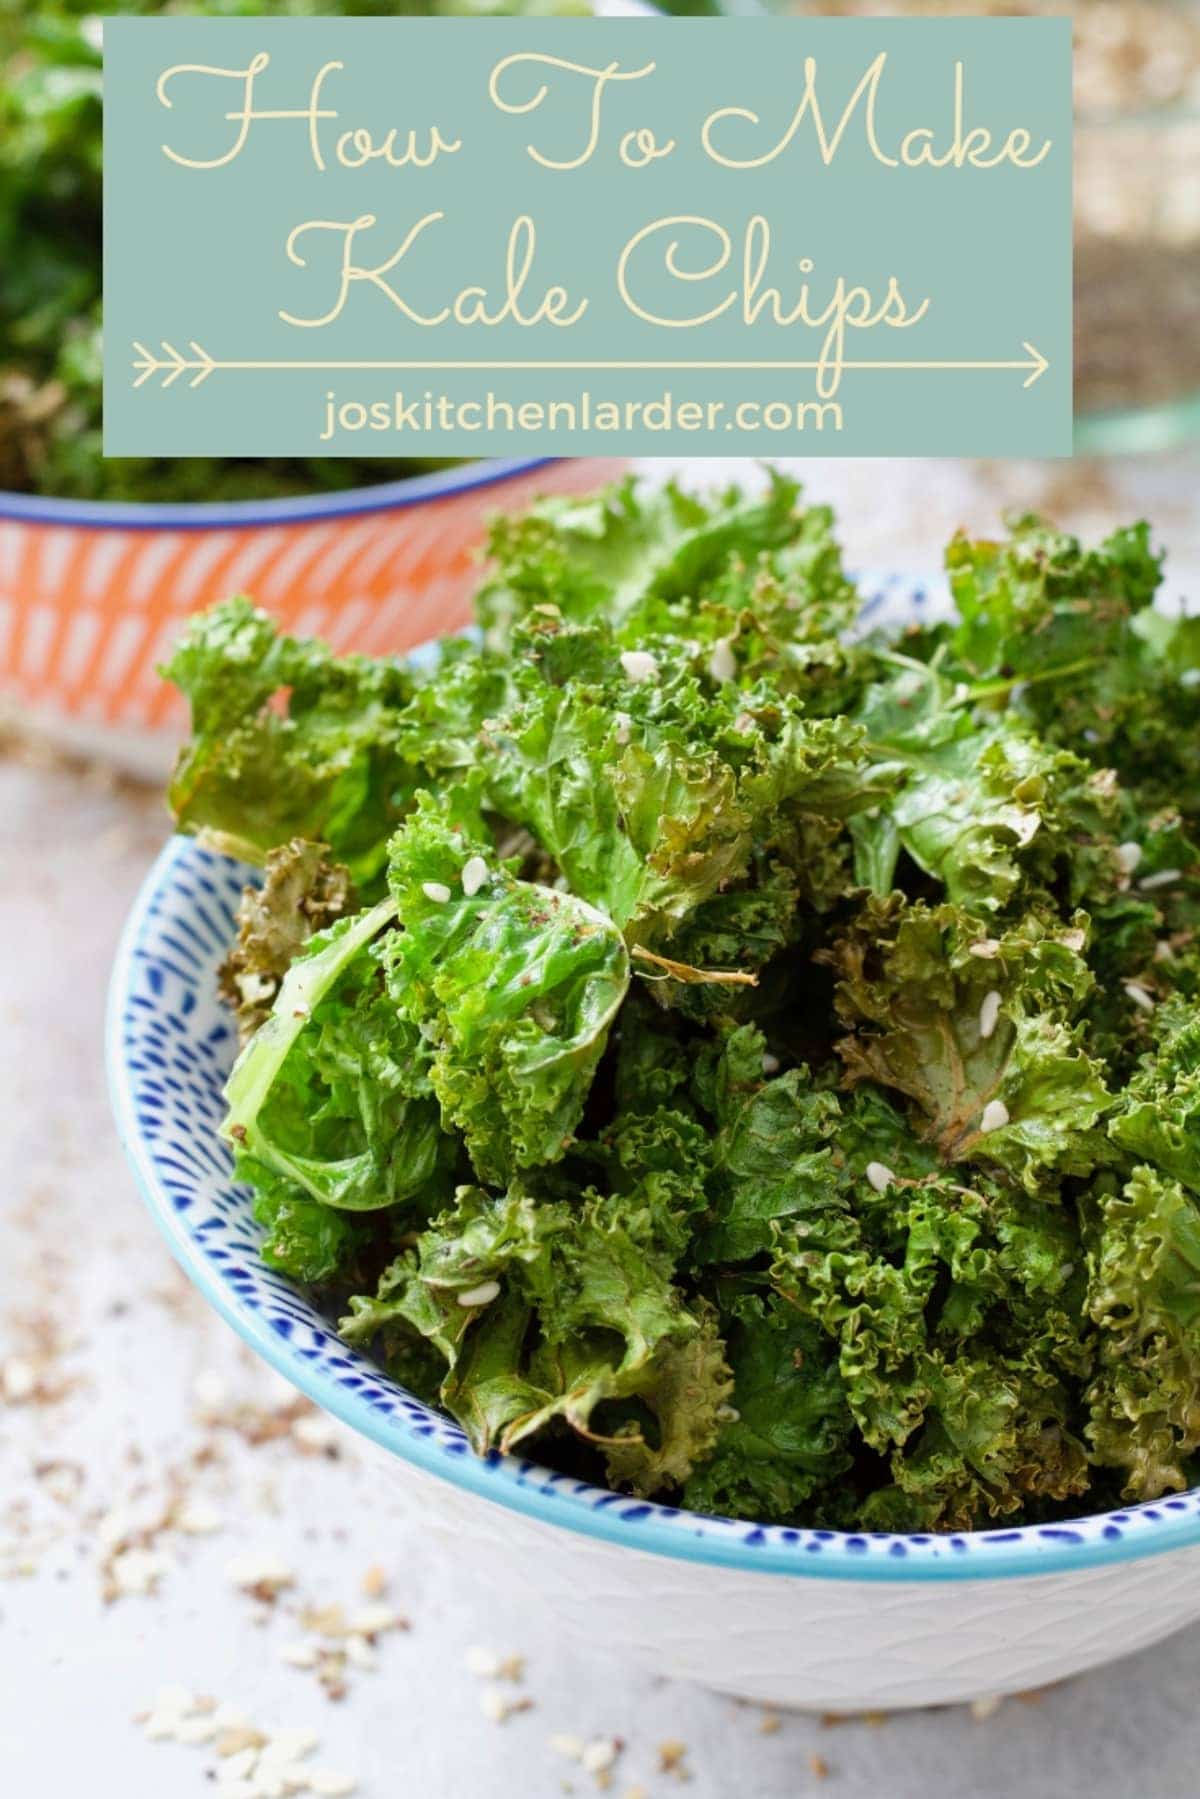
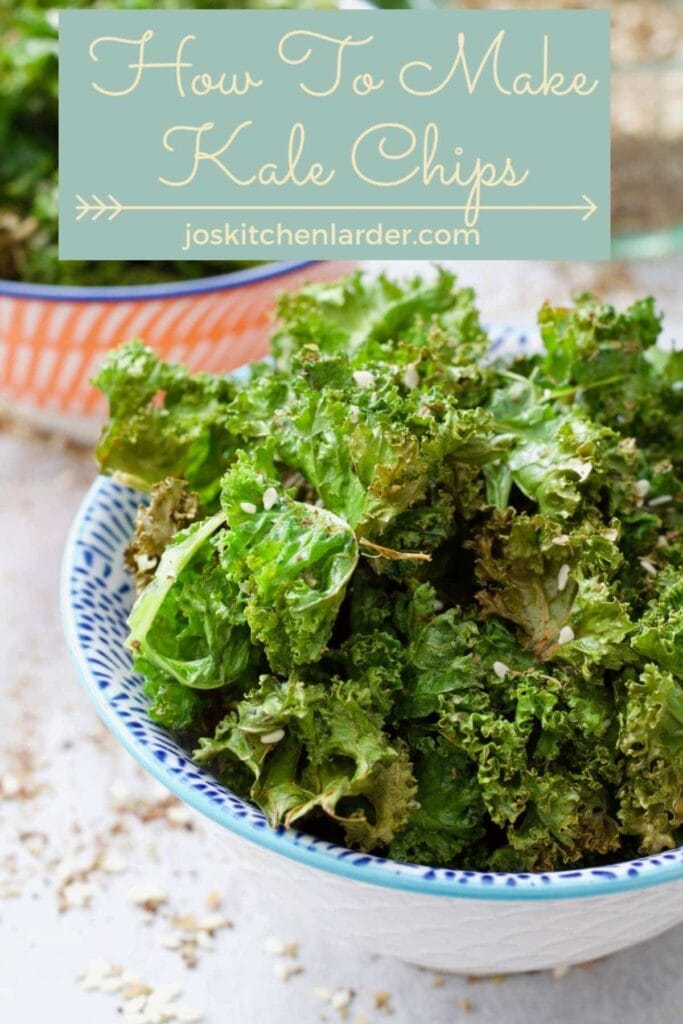
These kale crisps (or chips if you prefer) are super simple to make, healthy, crispy, lightly salty and delicious! Oven baked and super customisable - simply spice them up any way you want for the ultimate baked veggie snack!
This post contains affiliate links, which means that if you click on a link and go on to buy the product I recommend, I will get a small commission, but you will not be charged a penny more. Thanks in advance!
Would you believe I have only recently discovered kale crisps? I seem to be late to the party when it comes to new food trends all the time, oh well! I'm here now!
You might say that this delicious veggie snack is too simple to be a proper recipe but I beg to differ. I've tried few online recipes for baked kale crisps, followed them and burnt my lovely kale to charcoal. Now, that's disappointing and annoying in equal measure!
After few trials of my own I have finally cracked it and have been making successful, crispy and delicious kale crisps ever since.
What's so great about these Kale Crisps?
- They're really quick and easy to make.
- Once you learn how to bake them to perfection you can really play with seasoning and flavour your crisps with what you fancy.
- As far as snacks go this one is really good for you, moreish and super delicious!
- Kids love them! Having said that, mine wouldn't try them at first but after certain amount of bribery involved they did and have been nibbling on them ever since.
- They are naturally vegan and gluten-free (depending on the type of seasoning you use).
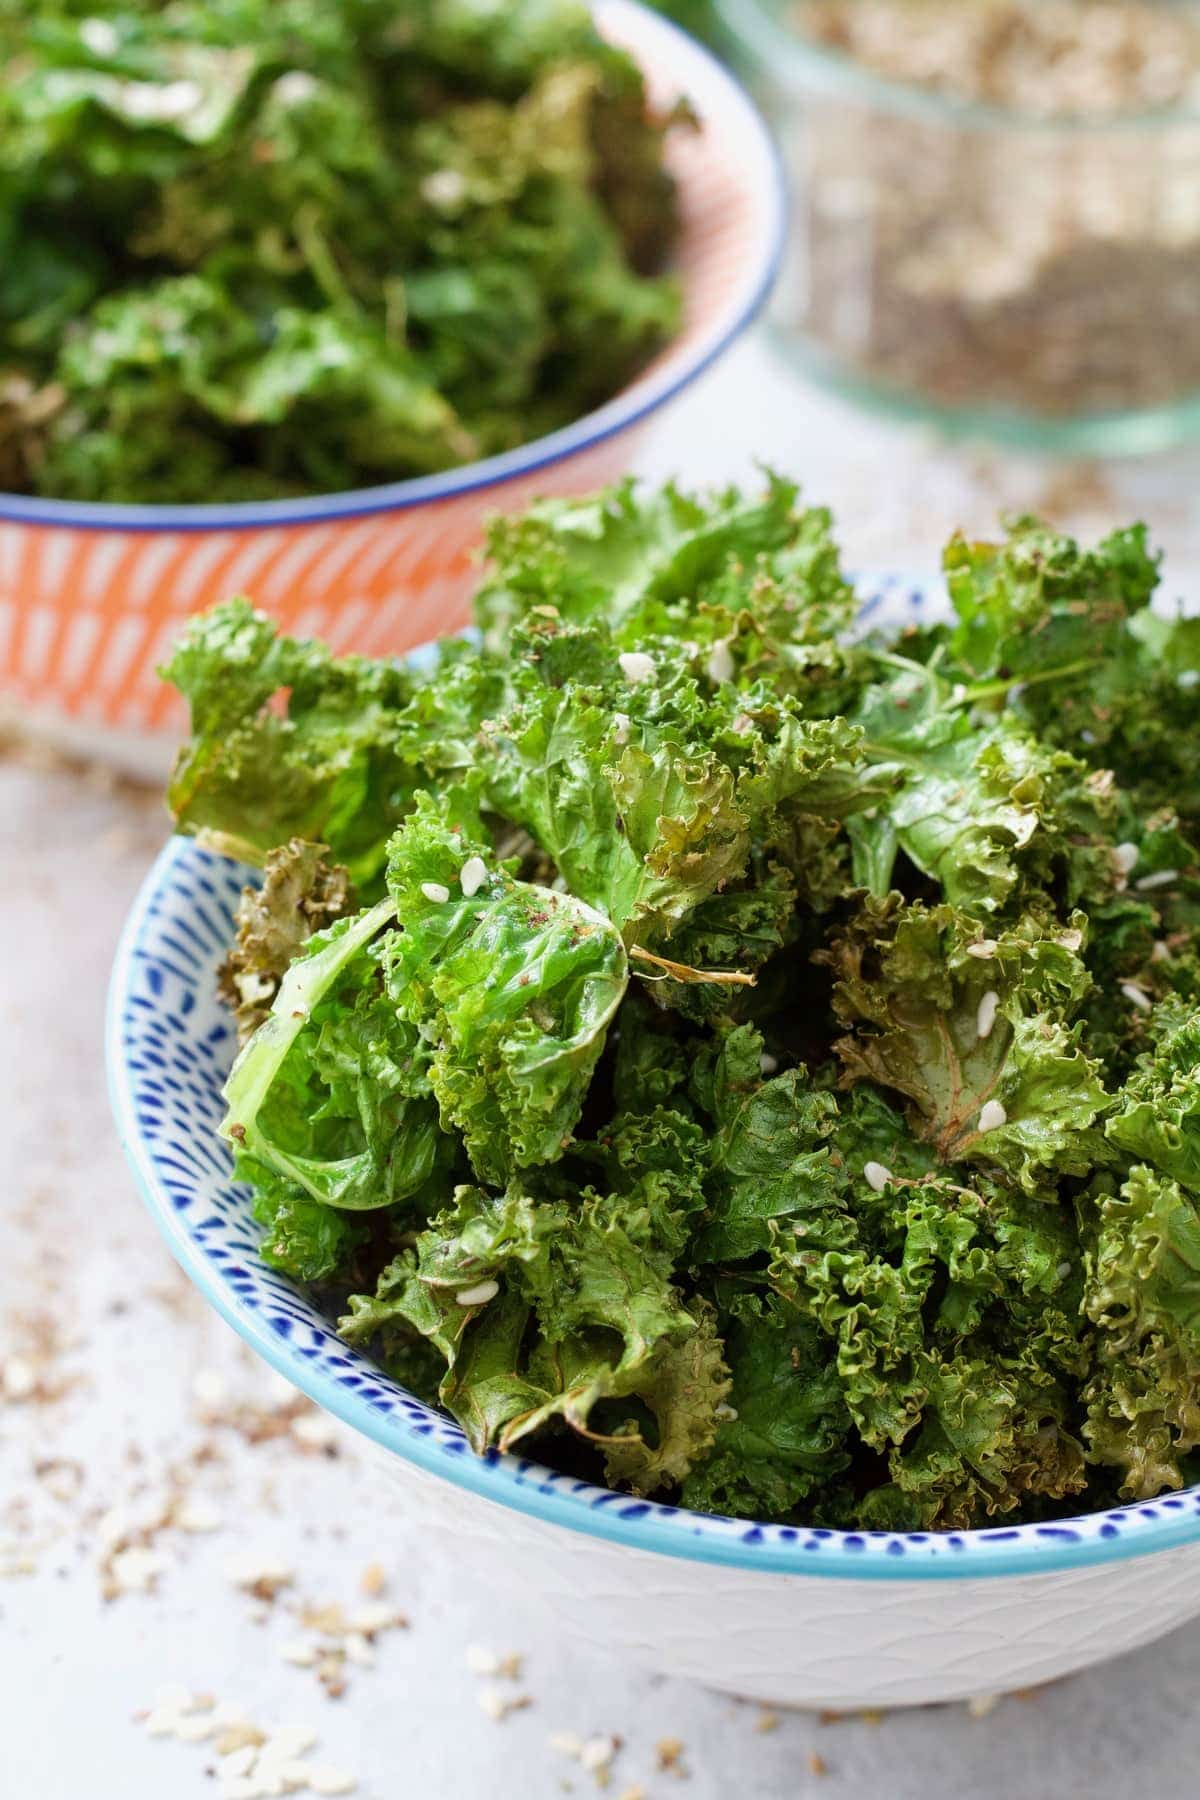
Tips & tricks for making crispy kale chips at home
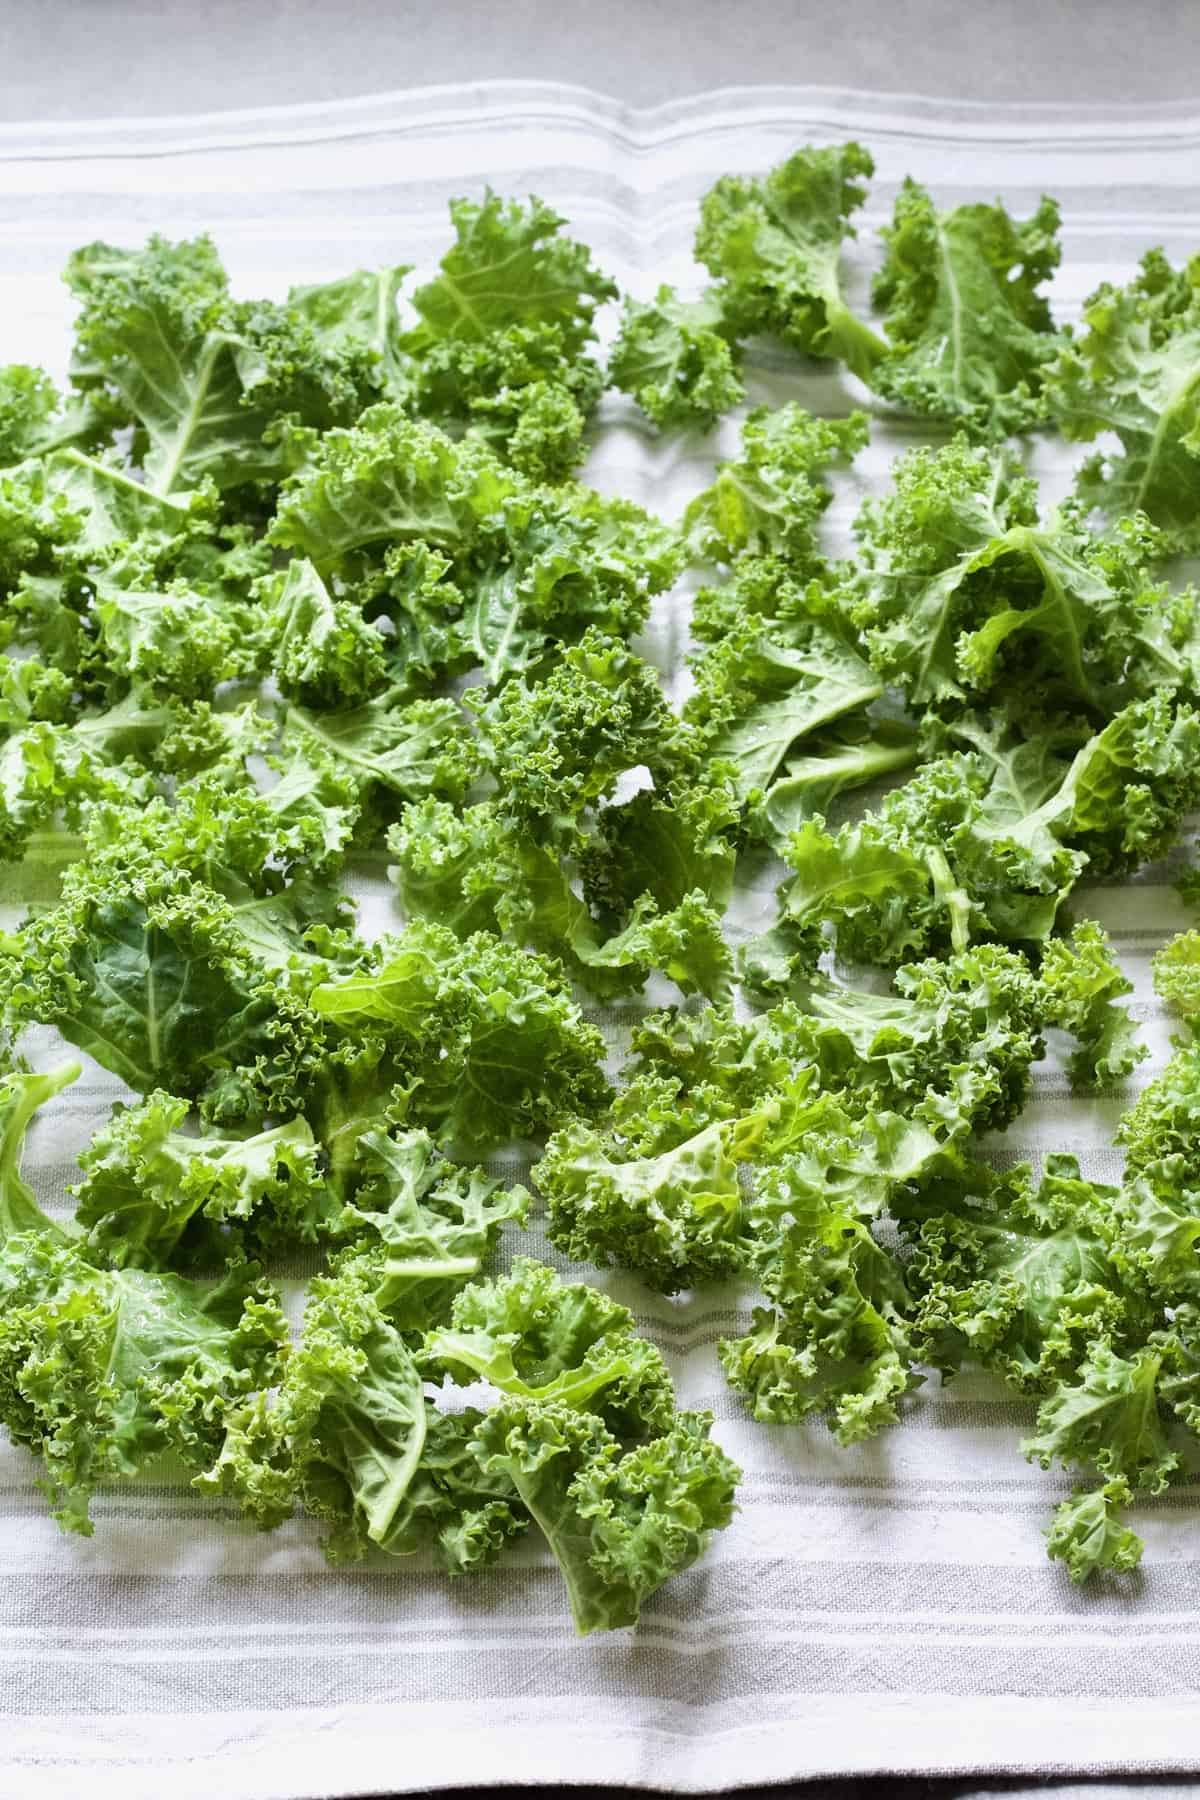
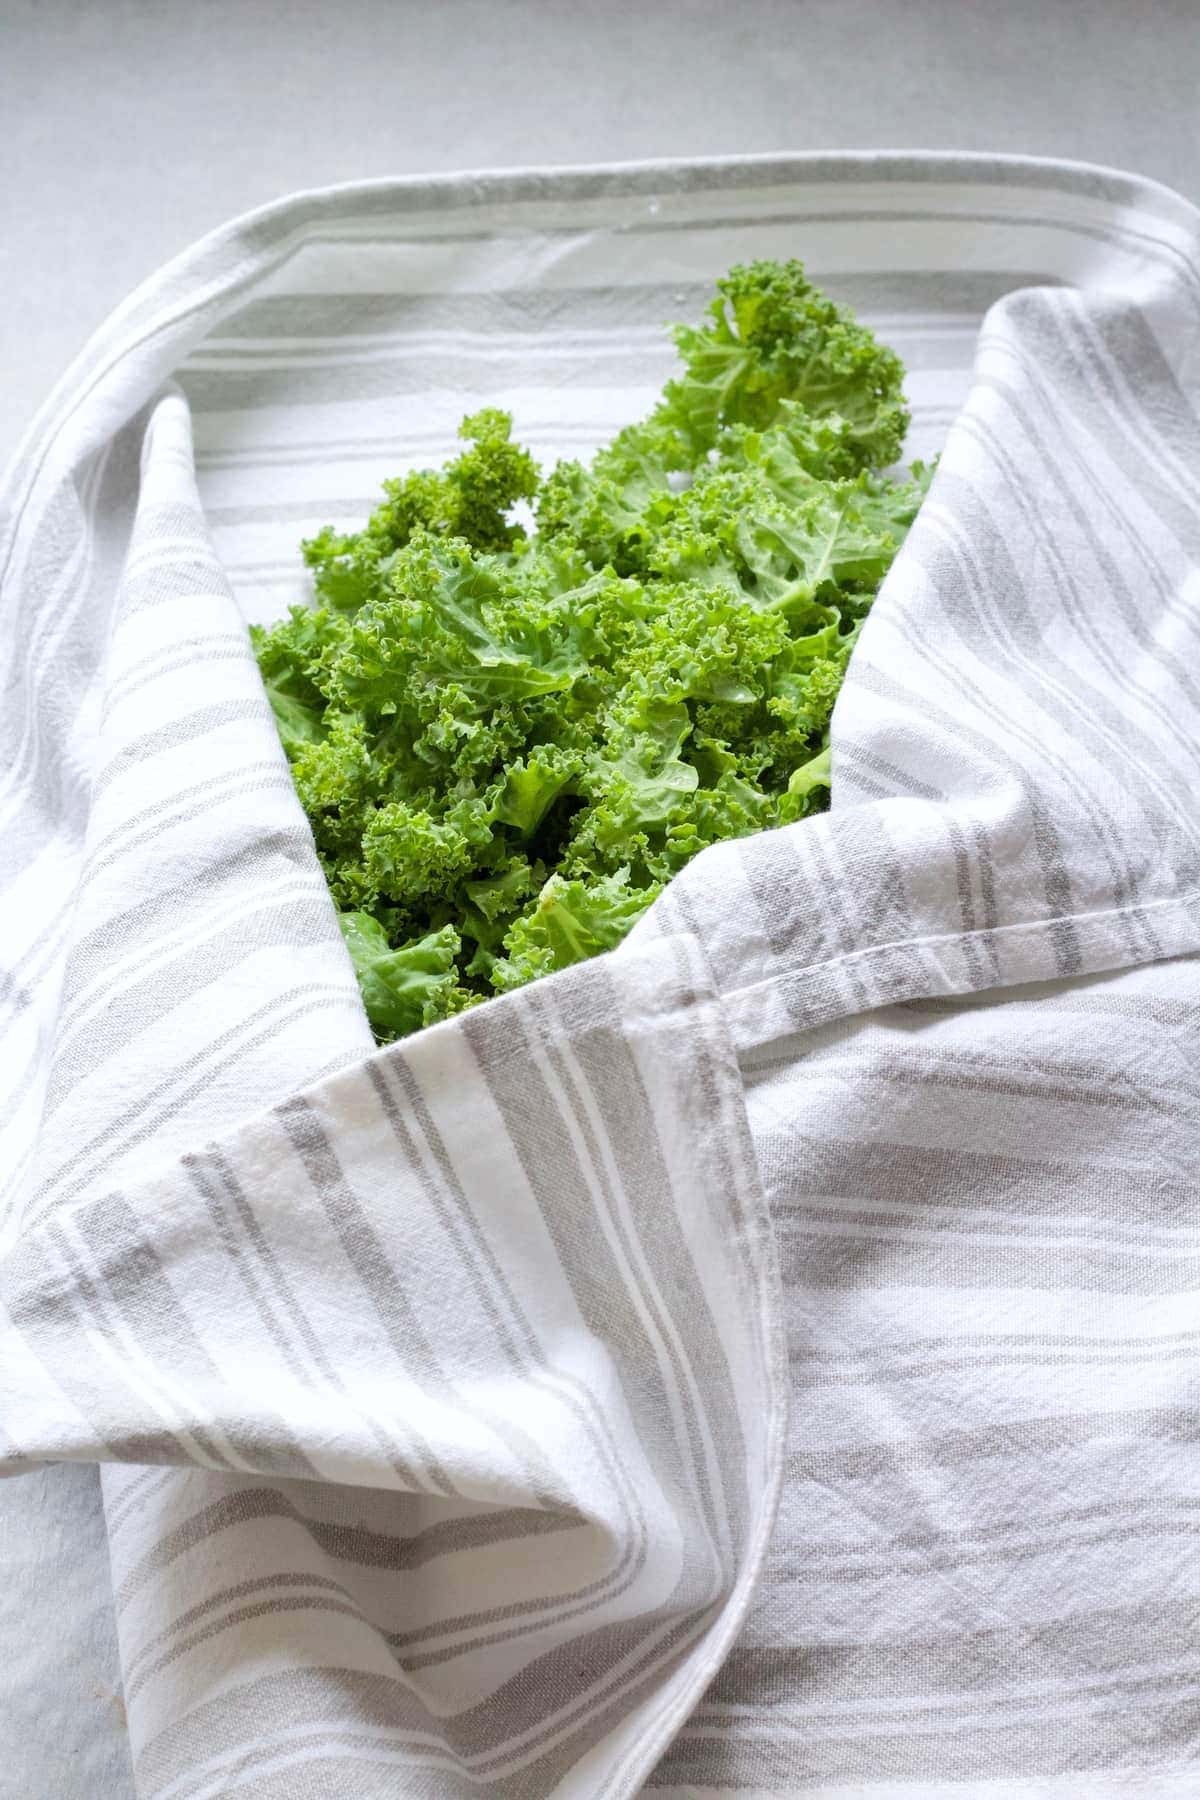
- Make sure you dry your kale really well after washing and I mean REALLY well! Wet kale equals steaming equals floppy not crispy chips. I find drying kale leaves on clean kitchen towel followed by the whizz in the salad spinner* gets me nice and dry greens.
- Low and slow is the key! Preheat your oven to 130C/250F/Gas Mark ½ all the way! Don't be tempted to crank that heat up!
- Ovens do differ so make sure you keep an eye on your crisps and adjust the timings accordingly. Depending on your oven your kale chips might be ready a bit sooner or indeed need few more minutes of baking time. Treat my timings below as a guideline.
- Oil is a must! Not too much but not too little either. I find 1 tablespoon works well and that amount of oil lets me cover all of the leaves nice and even. You might find that it's easier for you to use one of the oil spray bottles you can buy at any supermarket with your choice of oil. Alternatively, you might want to invest in this handy oil sprayer* which is really handy and refillable too.
- Make sure you bake your kale chips in one single layer without overcrowding your tray.
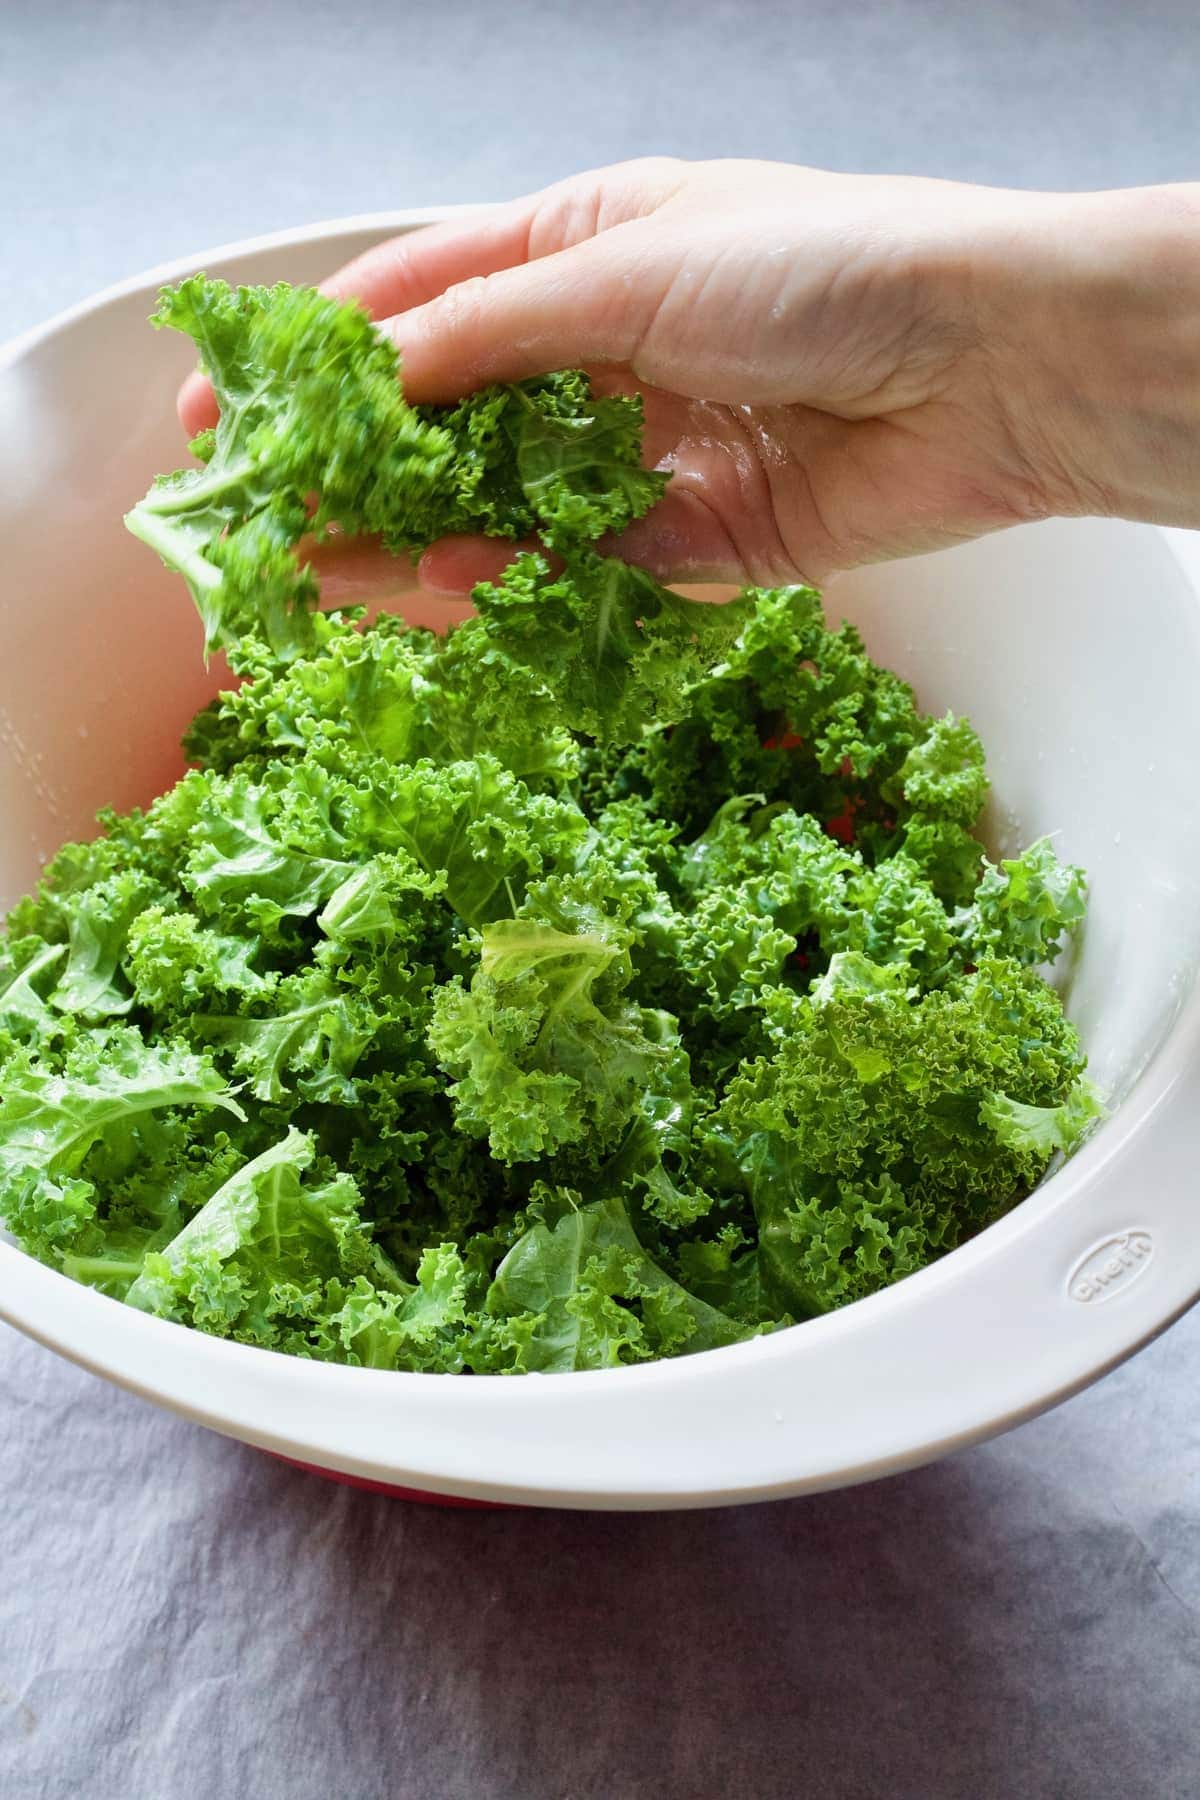
- Really take your time and massage the oil into every single piece of kale in your bowl. It will really help you achieve beautifully crispy chips.
- Let your kale crisps sit on a baking tray for a few minutes once you've taken them out of the oven. They will crisp up a bit more as they cool down.
- Last but not least (and it is more of a recommendation rather than a rule)... Sprinkle your chips with the salt after and not before you bake them. It's easy to use too much salt if you season your chips before baking. It would be particularly important if you are watching your salt intake.
Kale chips seasoning
There are lots of different flavour variations and you should simply go with what you fancy. My number one flavour enhancer is of course salt! I use either sea salt or fine, unrefined pink Himalayan salt* which is by far my new favourite. Good quality salt will give you heaps of flavour and you'll use much less of it too (see above).
I've listed some herbs and spices you might want to go for. There are of course many more options out there but these are some of my personal favourites:
- Za'atar (not all blends are gluten-free so be careful here)
- Vegan Parmesan
- Nutritional yeast
- Oregano
- Ground cumin
- Ground coriander
- Smoked paprika
- Garlic powder
- Onion powder
- Curry powder
- Chilli flakes
- Cayenne pepper
My favourite seasoning of late that I keep using over and over is Za'atar. I use roughly 1 tablespoon of this blend and it works really well. You can of course mix and match your favourite herbs and spices for your optimum flavour combination.
You might even want to give a sweet version a go by drizzling your crisps with some maple syrup (after baking) and sprinkling a touch of cinnamon perhaps? Personally not my thing as I prefer savoury snacks but an option nevertheless.
How long can you keep kale crisps for?
They are definitely best served straight away and I wouldn't recommend storing them for later as they will simply not be the same. I must say we never have any leftovers anyway, they simply disappear.
Variations
Feel free to use cavolo nero kale instead of curly kale for this recipe. They both work equally well!
Check out my How to Cook Cavolo Nero guide for tips on how to prepare it!
How to make Kale Chips at home - Step-By-Step Instructions
- Preheat the oven to 130C/250F/Gas Mark ½.
- Prepare large, shallow baking tray and line it with baking paper.
- Remove kale leaves from the stems, tear them into smaller pieces, wash and dry them thoroughly (see above).
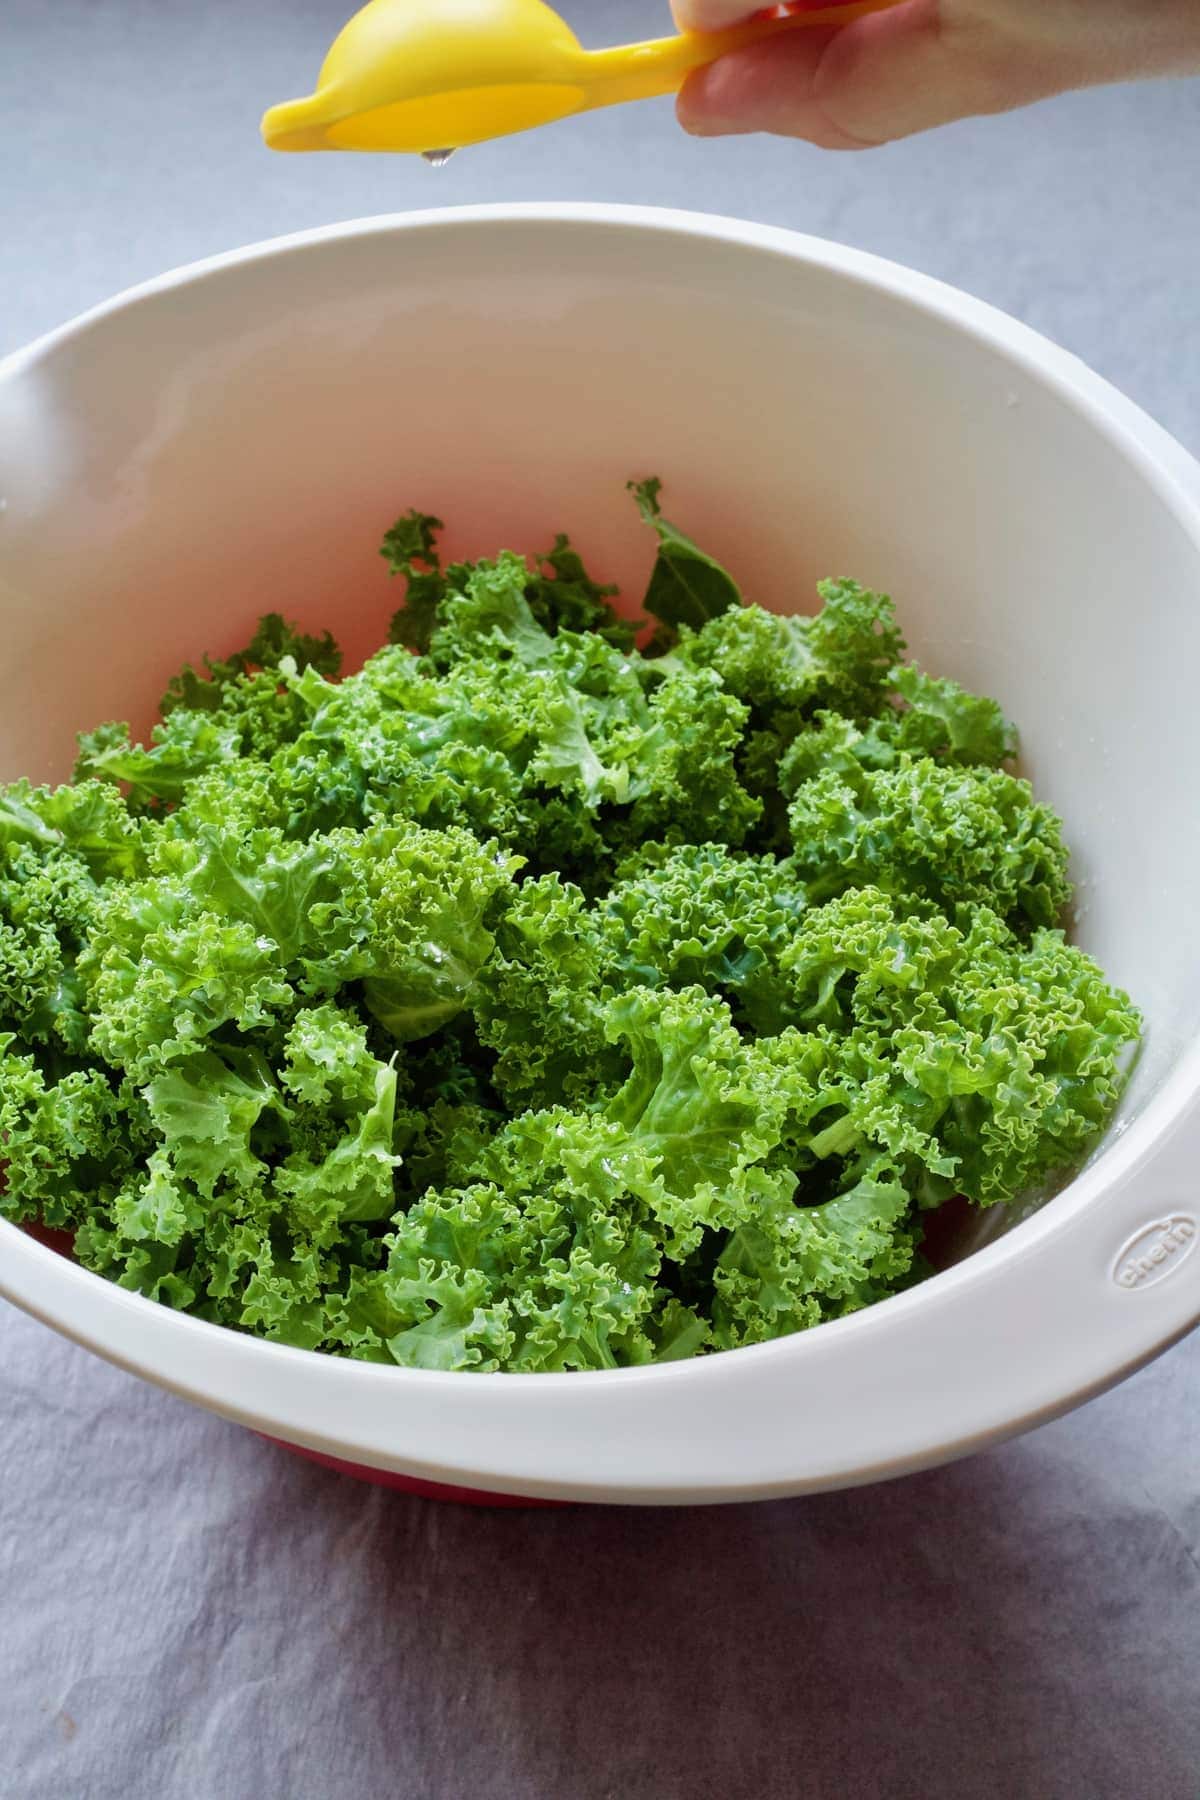
4. Put dried kale leaves in a large bowl and sprinkle over 1 tablespoon of rapeseed or olive oil. If you've got your oil in a handy spray bottle, simply squirt it few times over the leaves and massage in patiently until it has been evenly distributed.
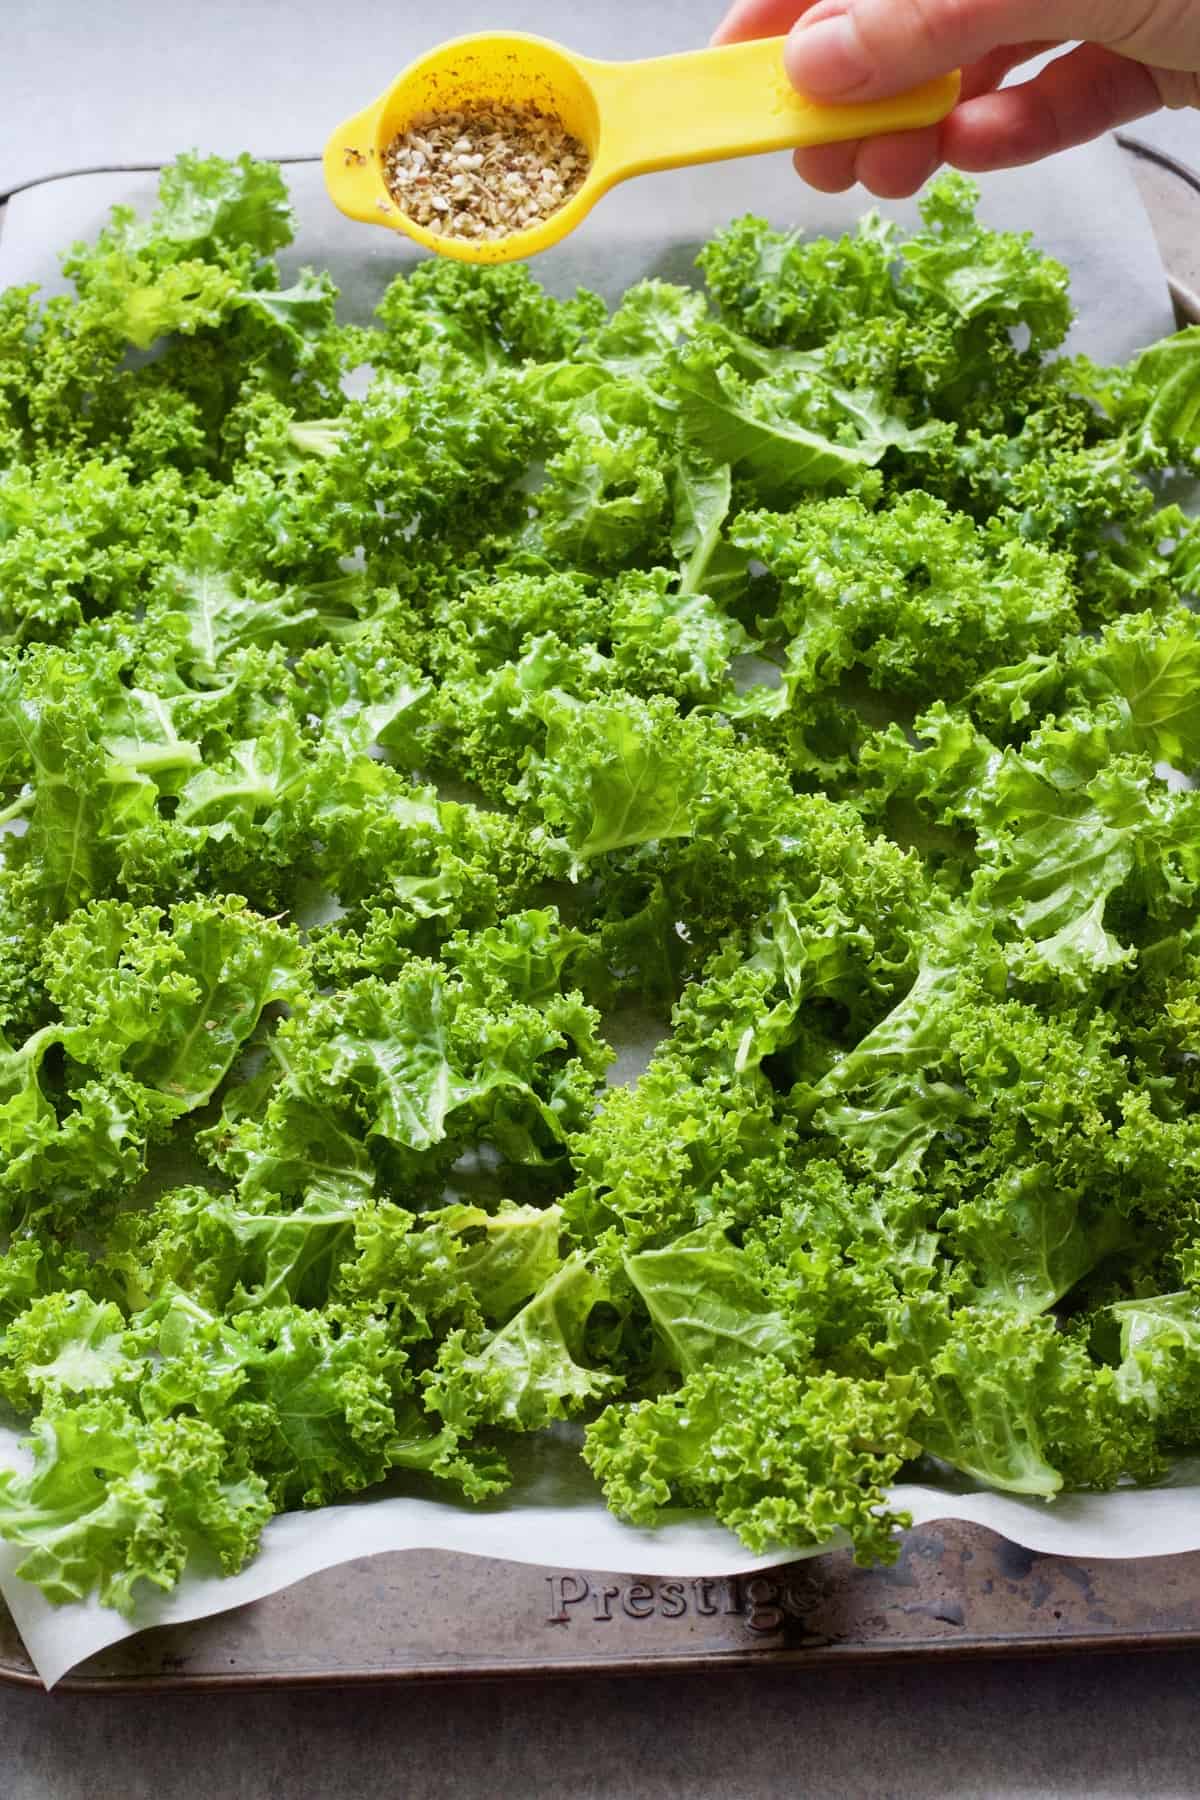
5. Transfer kale pieces onto prepared baking tray, sprinkle over seasoning of choice (I've used Za'atar here) and put into the preheated oven for 10 minutes.
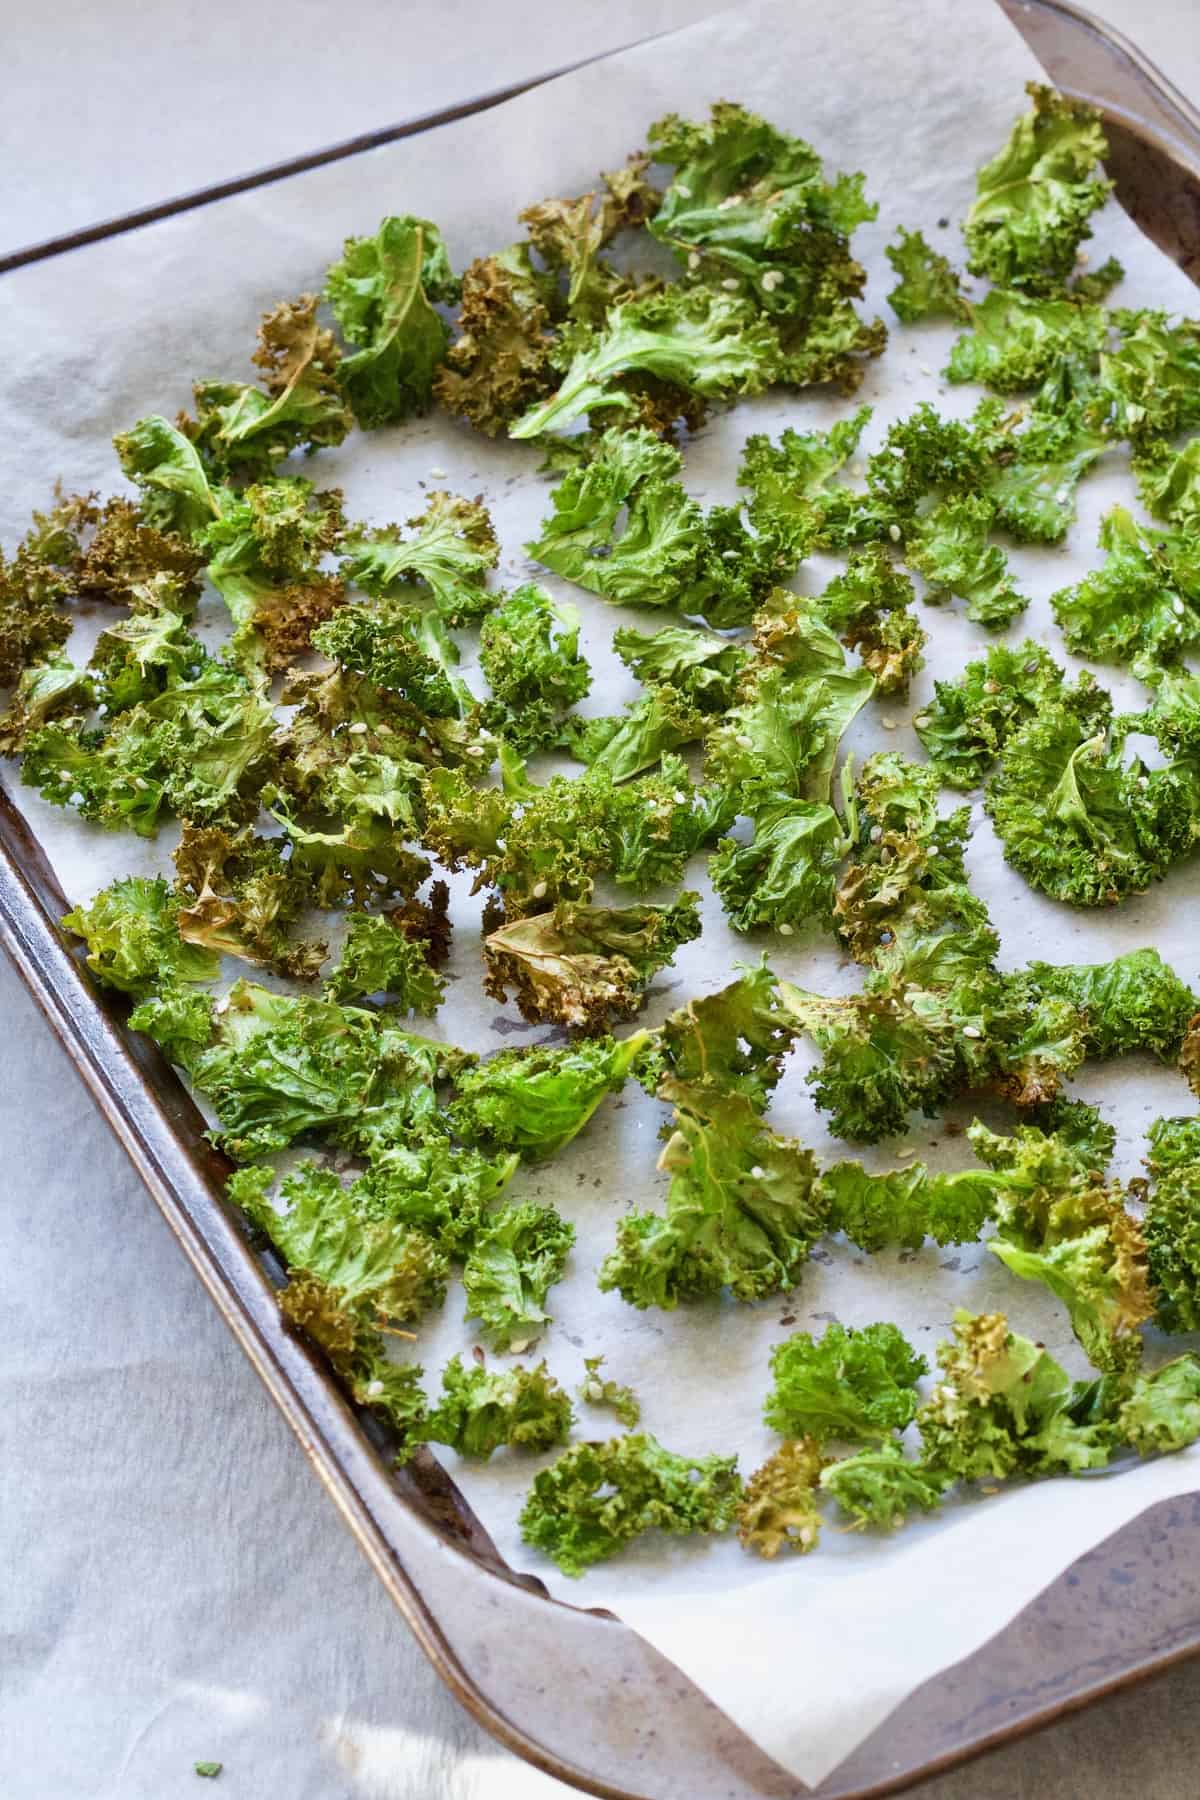
6. Once the time is up, take the tray out of the oven and move your kale pieces around with spatula or even your hand to ensure they bake evenly and pop back in the oven for another 5-8 minutes or so but make sure you keep an eye on them. You might have to give your kale another shuffle around 5-8 minute mark and pop back in the oven for extra couple of minutes.
7. Once baked, let your crisps sit on the baking tray for 5 minutes to cool slightly. This will let them crisp up that bit more.
8. Now it's time to adjust seasoning, sprinkle over some salt and enjoy!
Have you tried my Kale Crisps? Leave a comment and rating at the bottom of this post, I love reading them!
You can also come and say hello over on my Facebook page, Twitter, Instagram or Pinterest
Similar recipes you might want to try
Smoked Paprika Roasted Pumpkin Seeds
Cavolo Nero with Chilli, Garlic & Crispy Capers
Roasted Brussels Sprouts with Parmesan & Garlic
📋 Recipe
Kale Crisps
Equipment
Ingredients
- 100 g kale leaves (half a large bunch) leaves removed from stems and torn into smaller pieces
- 1 tablespoon rapeseed or olive oil
- sprinkling of salt I highly recommend fine Himalayan salt*
- 1 tablespoon Za'atar spice or any other seasoning of choice- cumin, coriander, chilli flakes, smoked paprika, garlic powder, onion powder, curry powder, cayenne pepper, nutritional yeast and more... Adjust quantities accordingy.
Instructions
- Preheat the oven to 130C/250F/Gas Mark ½.
- Prepare large, shallow baking tray and line it with baking paper.
- Remove kale leaves from the stems, tear them into smaller pieces, wash and dry them thoroughly.
- Put dried kale leaves in a large bowl and sprinkle over 1 tablespoon of rapeseed or olive oil. If you’ve got your oil in a handy spray bottle, simply squirt it few times over the leaves and massage in patiently until it has been evenly distributed.
- Transfer kale pieces onto prepared baking tray, sprinkle over seasoning of choice (I’ve used Za’atar here) and put into the preheated oven for 10 minutes.
- Once the time is up, take the tray out of the oven and move your kale pieces around with spatula or even your hand to ensure they bake evenly and pop back in the oven for another 5-8 minutes or so but make sure you keep an eye on them. You might have to give your kale another shuffle around 5-8 minute mark and pop back in the oven for extra couple of minutes.
- Once baked, let your crisps sit on the baking tray for 5 minutes to cool slightly. This will let them crisp up that bit more.
- Adjust seasoning if required, sprinkle over some salt and enjoy!
Notes
- Nutritional information is approximate, per serving (based on two servings) and without seasoning and should be treated as a guideline only.
- Recipe is easily doubled.
- Kale crisps are best eaten on the day they're baked.
- Make sure you dry your kale really well after washing!
- Low and slow is the key! Preheat your oven to 130C/250F/Gas Mark ½ all the way! Don’t be tempted to crank that heat up!
- Oil is a must! Not too much or too little. I find 1 tablespoon works well and that amount of oil lets me cover all of the leaves nice and even.
- Make sure you bake your kale chips in one single layer without overcrowding your tray.
- Really take your time and massage the oil into every single piece of kalein your bowl. It will really help you achieve beautifully crispy chips.
- Let your kale crisps sit on a baking tray for a few minutes once you’ve taken them out of the oven. They will crisp up a bit more as they cool down.
- Sprinkle your chips with the salt after and not before you bake them to prevent over salting them.
Nutrition
Pin Kale Crisps For Later!



Comments
No Comments