

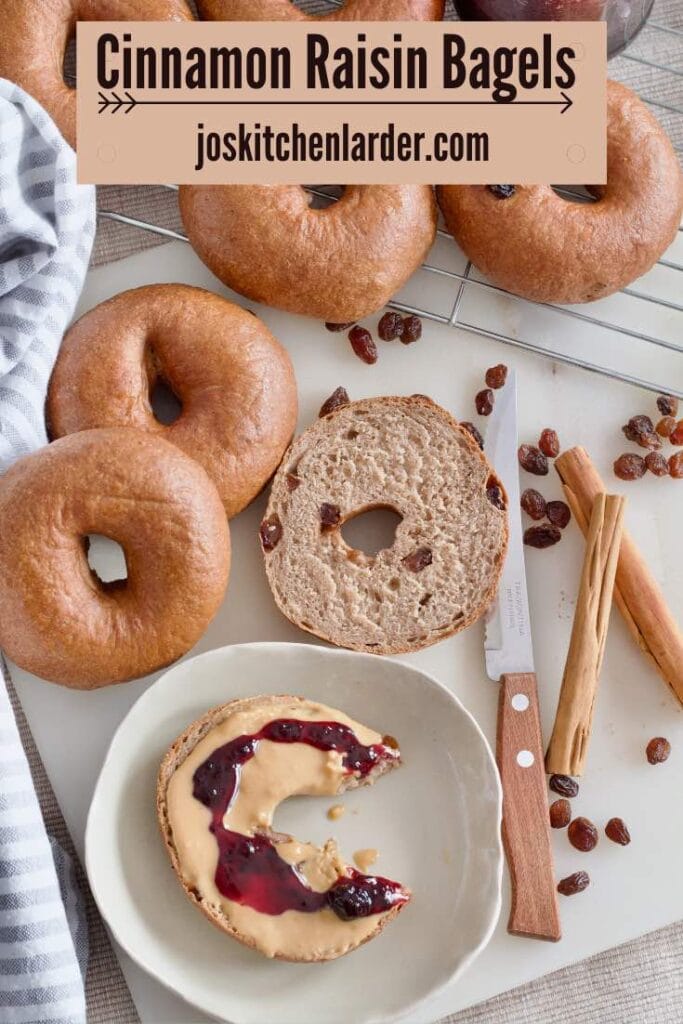


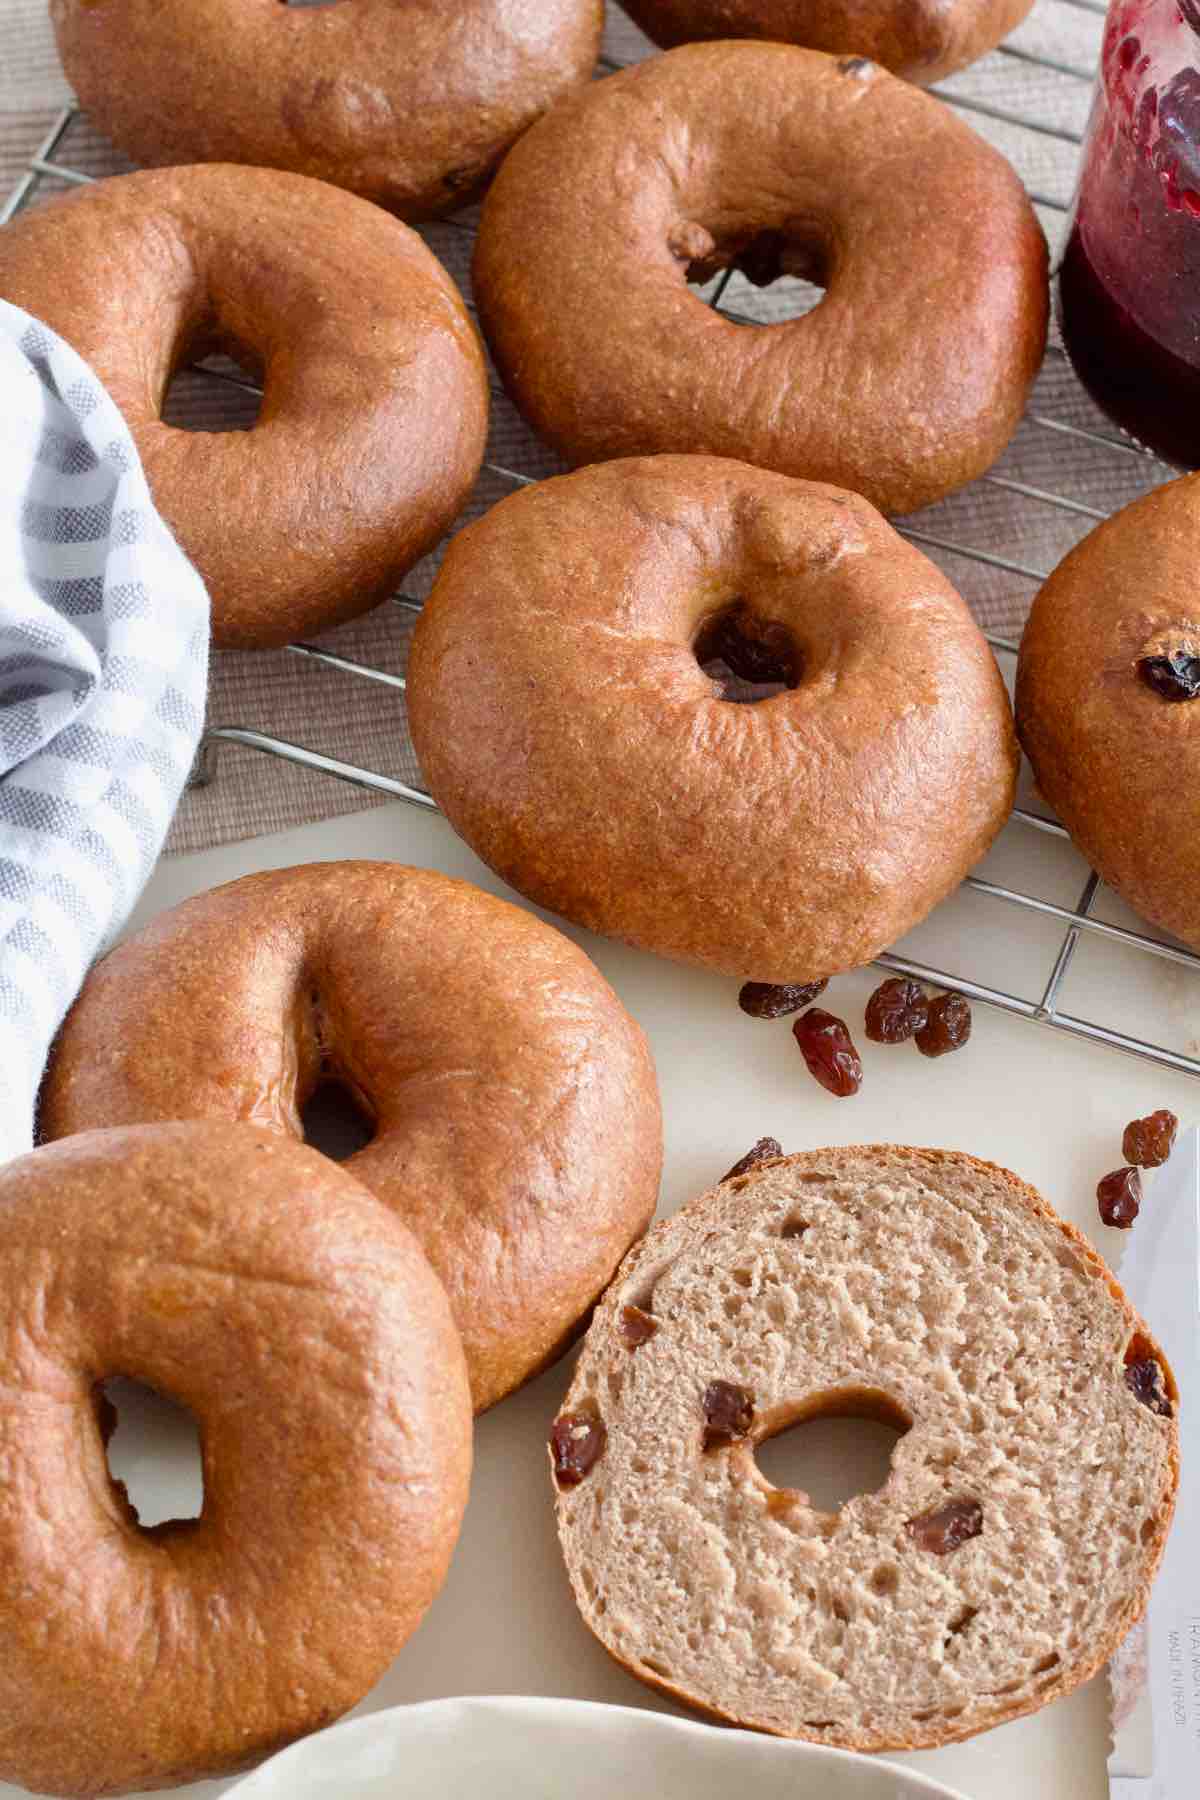
Learn how to make the best cinnamon and raisin bagels at home. Chewy, dense, generously cinnamony and packed full of juicy raisins. Made with handful of simple ingredients they beat any shop bought ones.
My family absolutely adores bagels but cinnamon and raisin ones in particular.
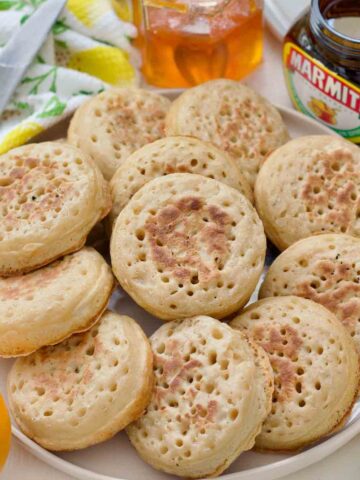
They're my kids' favourite weekday brekkie (together with crumpets) and they alternate them with porridge and then have pancakes on the weekend.
However, they don't only belong at the breakfast table. They work great as a healthy after school snack, especially with nut butter. Yum!
We tend to devour quite a few on the day I bake them when fresh out of the oven as that's when they're simply the best. The aroma that fills the kitchen makes them impossible to resist.
I've been baking my own cinnamon and raisin bagels for quite a while now as ingredients of the shop bought ones really put me off buying them. Not to mention the fact how long they tend to keep. Bagels shouldn't stay "fresh" for that long, surely! Thanks but no thanks!
Even though they do require a bit of forethought as they're not the quickest of bakes, they're not difficult at all. You've got an extra step of boiling bagels before baking but it's so worth it.
And just knowing exactly what you're feeding your family plus they're soo delicious too!
Jump to:
✔️ Why you'll love this recipe
- Delicious homemade cinnamon and raisin bagels with simple ingredients.
- You're in full control of ingredients that go into making them. No unpronounceable chemicals here.
- They might not stay "fresh" for as long as shop bought ones (not a bad thing) but are perfect for freezing and toasting straight from the freezer.
- Far superior flavour to the shop bought ones.
- Really fun to make!
- Satisfaction of baking your own bagels.
📝 Ingredients
Here's what you will need to make my Cinnamon and Raisin Bagels:
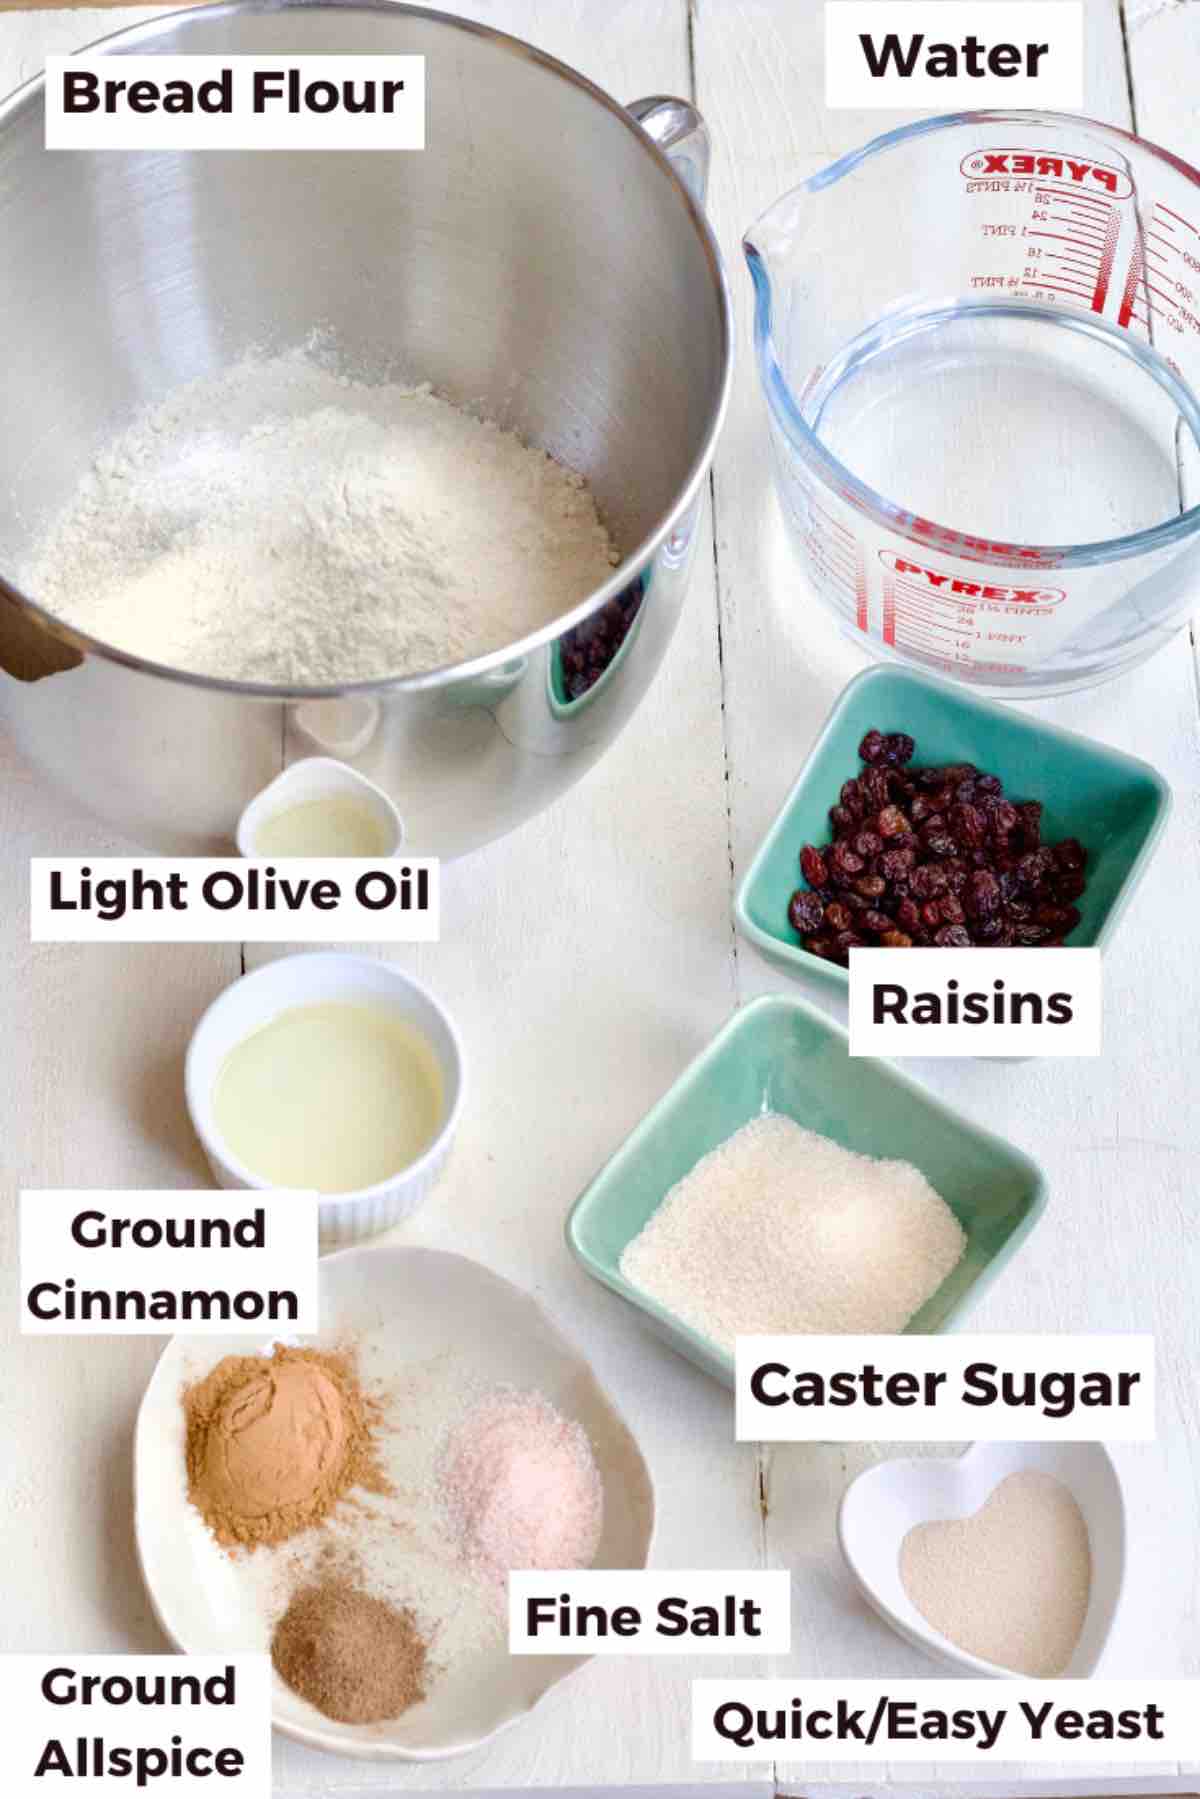
Strong White Bread Flour - It's higher in protein than plain flour which improves the texture, the chew, of the bagels. However, if you don't have any to hand you can use plain (all-purpose) flour as well.
Yeast - I'm a fan of quick (easy bake, instant) yeast which doesn't require activating. You simply add it directly to the flour.
You can also use dried active yeast if that's what you've got. Don't forget, it will have to be mixed in lukewarm water (see below) to reactivate.
Salt - Use fine salt here. I like pink Himalayan variety.
Caster (Fine) Sugar - Even though these bagels aren't sweet per se, they do need some sugar.
Some of the sugar might be replaced by barley malt extract, see 👉 Word on barley malt extract below.
Ground Cinnamon - My recipe uses very generous 4 teaspoons of cinnamon and I don't think it's too much at all. You want these bagels to live up to their name after all.
Ground Allspice - It's not a blend of spices but ground allspice berries also known as pimientos. They have a vibe quite similar to cinnamon, nutmeg and cloves. Perhaps an unexpected spice but it works really well in here.
You can easily leave it out or perhaps substitute it with mixed spice if you have it handy.
Light Olive Oil - Or any neutral tasting oil you've got available (not extra virgin olive oil)
Raisins - You can also use sultanas, both are fine.
Lukewarm Water - You want your water at around 37°C/100°F which is perfect to get the yeast going but not too hot to kill it.
If using dried active yeast you will need to reactivate it in the water before adding to the flour mixture.
Bicarbonate of Soda or Barley Malt Extract for poaching bagels (see below)
❗Word on Barley Malt Extract and Baking Soda
Barley malt extract is an unrefined sweetener extracted from germinated barley grains.
It's used widely in baking e.g. malt loaf, for both its flavour and as a natural sweetener.
When it comes to bagels, its addition to poaching liquid helps to create that lovely, shiny crust we all know and love.
Baking Soda (Bicarbonate of Soda) is also often added to bagel poaching water to help with that chewy texture and to develop the crust.
Poaching bagels in itself will get you that chewiness we're after in bagels but baking soda definitely adds to it.
For best result use either malt extract or bicarb of soda in your poaching water or both.
***Quick Tip*** Barley malt extract can also be added to the bagel dough itself to replace some of the sugar. Use 2 teaspoon of barley malt in place of 1 tbs of sugar. The best way to add it would be to dissolve it in the lukewarm water you 're using for your dough.
🔪 Instructions
Ingredient quantities & detailed instructions to be found in recipe card at the bottom of the post.
Put flour, spices, sugar, salt and yeast in a large mixing bowl or a bowl of your stand mixer. Ensure that when you add both salt and yeast into the bowl you initially keep them on separate sides.
Give all your dry ingredients a gentle mix without any liquids first using your hand or dough hook attachment.
Next, add olive oil and as you turn on the mixer, start adding the water as you mix and then knead the dough either by hand or with the dough hook attachment in your mixer.
Towards the end add raisins and continue kneading to incorporate them into the dough.
Knead the dough until it's smooth and elastic. It should be really nice to work with and not at all sticky. If yours is sticky, add a little bit more flour, if it feels dry a tiny bit more water, only teaspoon at a time.

To check whether dough has been kneaded enough and is ready for proving press it gently with your finger. If it springs back slightly it's ready, if it doesn't knead for a bit longer.
Once your dough is ready, put it back in lightly oiled bowl, cover and place in a warm and draught free place until doubled in size (about 1-2 hrs).
***Quick Tip*** If your leave your dough in your kitchen at a normal room temperature of about 20°C/68°F it will prove just as well, it might take a bit longer but it will.

Once double in size, knock back the dough with your fist to deflate it and turn it out onto kitchen surface.
I like to weigh my dough and divide it into 10 equal pieces to ensure all my bagels are the same size (saves some arguments at breakfast time plus ensures they all bake evenly).
To shape a dough into a ball that will become your bagel, take one piece of dough and flatten it slightly with your fingers or the palm of your hand.
Next, start bringing pieces of dough into the middle, making your way around until you have a shape of a round(ish) disc.
Put the dough on the kitchen counter (smooth side up), cap it with your hand and start rolling it in place very gently using circular motion and dragging it towards you every so often to create a bit of tension and make a nice and firm ball.
***Quick Tip*** Shaping will be much easier if you've got some traction on the counter so I wouldn't recommend flouring your surface for this.
Finally, turn your dough ball seam side up and give it a little pinch with your fingers to hold it together. Place it seam side down and repeat with remaining pieces of dough.

Place your dough balls on a surface liberally dusted with some flour, cover lightly with a clean tea towel and leave them to puff up slightly (about 30 minutes or slightly longer).

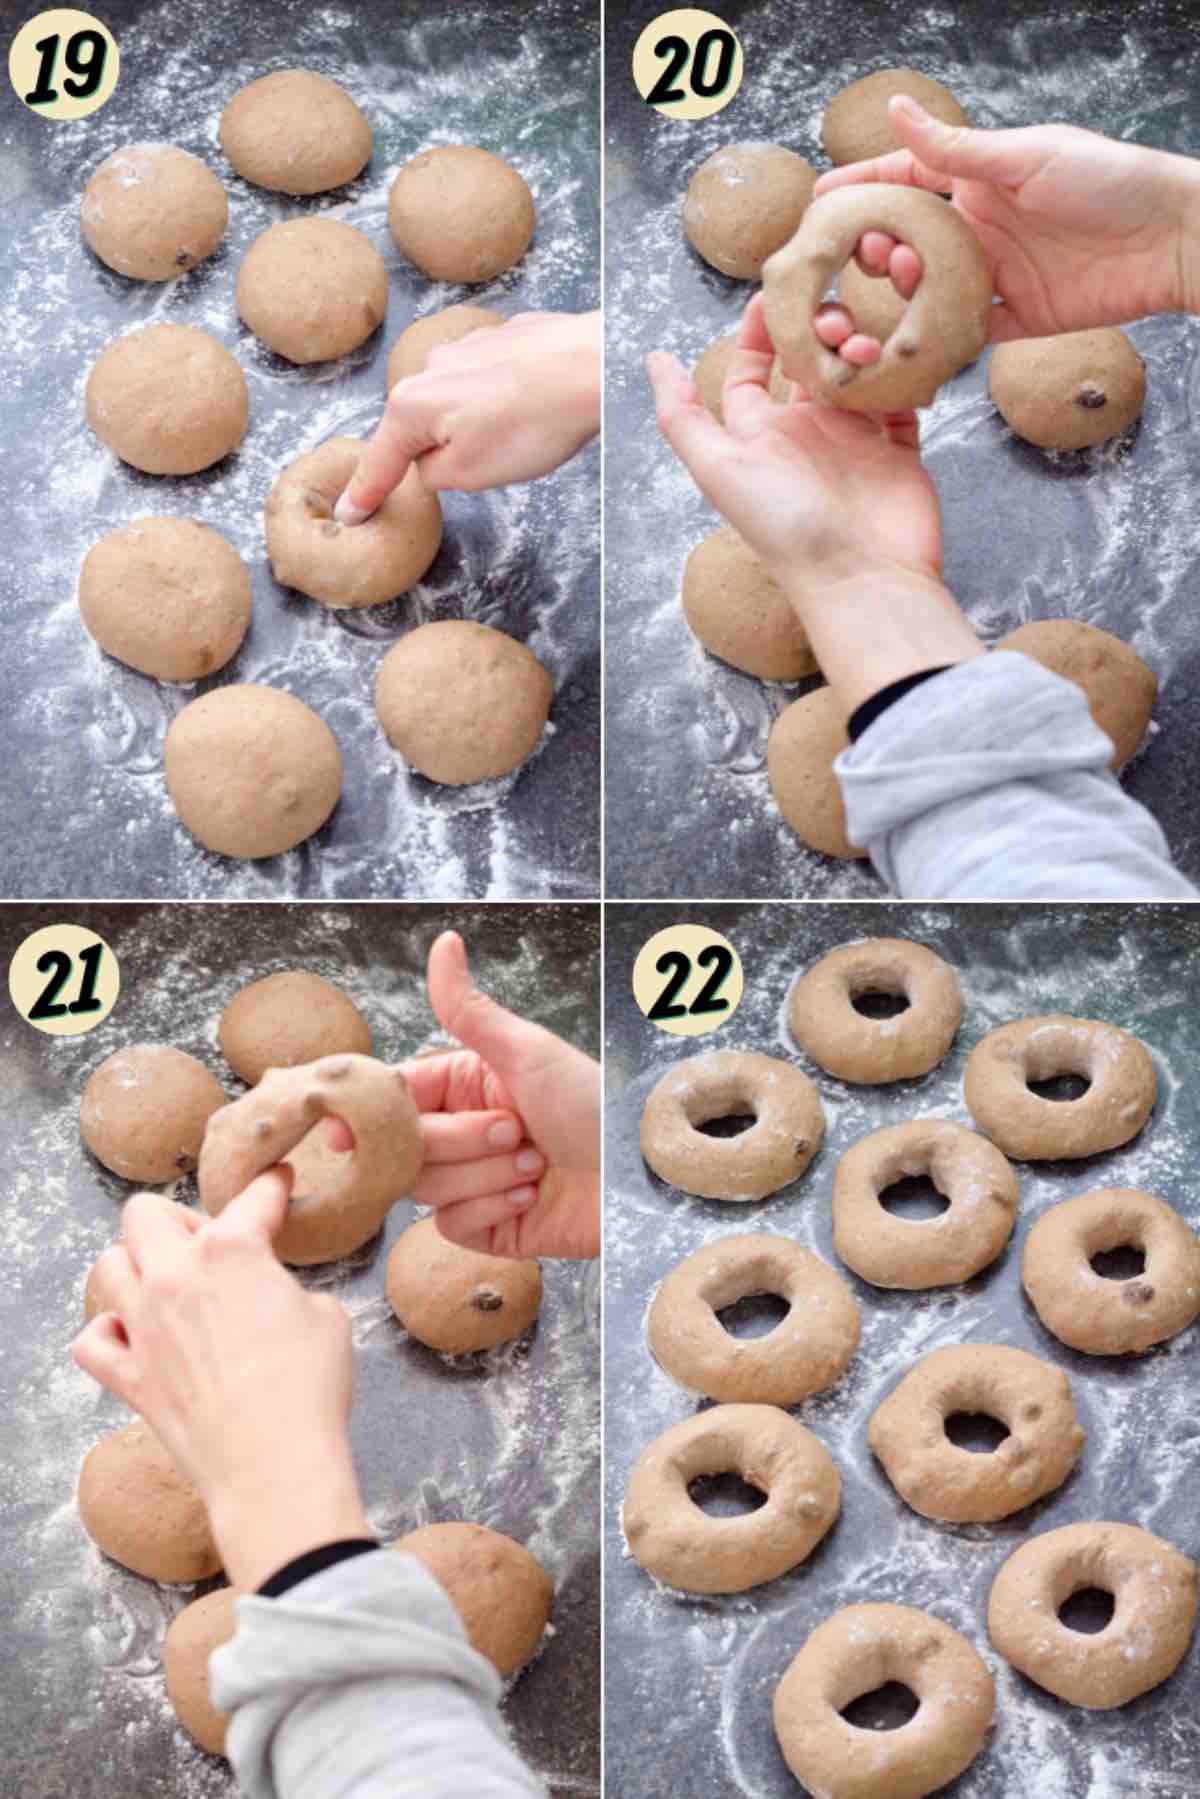
Using floured forefinger make a hole in the centre of each dough ball (one at a time) stretching it gently, as not to deflate the dough, to make the hole bigger.
Put bagels on a well floured counter or baking sheet and cover them again with a clean tea towel.
Meanwhile, preheat the oven to 200°C/400°F/Gas Mark 6.
Bring a large saucepan or stock pot of water to a boil and once boiling add either 1 tablespoon of baking soda or barley malt extract or both to the water.
Place 2-4 bagels (depending on the size of your pan/pot) in the boiling water at a time and poach for approximate 60-90sec.
Flip the bagels over gently using slotted spoon and boil for another minute or so on the other side.
Take bagels out with a slotted spoon and drain thoroughly (wire rack is great for that) before placing on prepared baking sheet ready for baking.
Repeat with the remaining bagels.
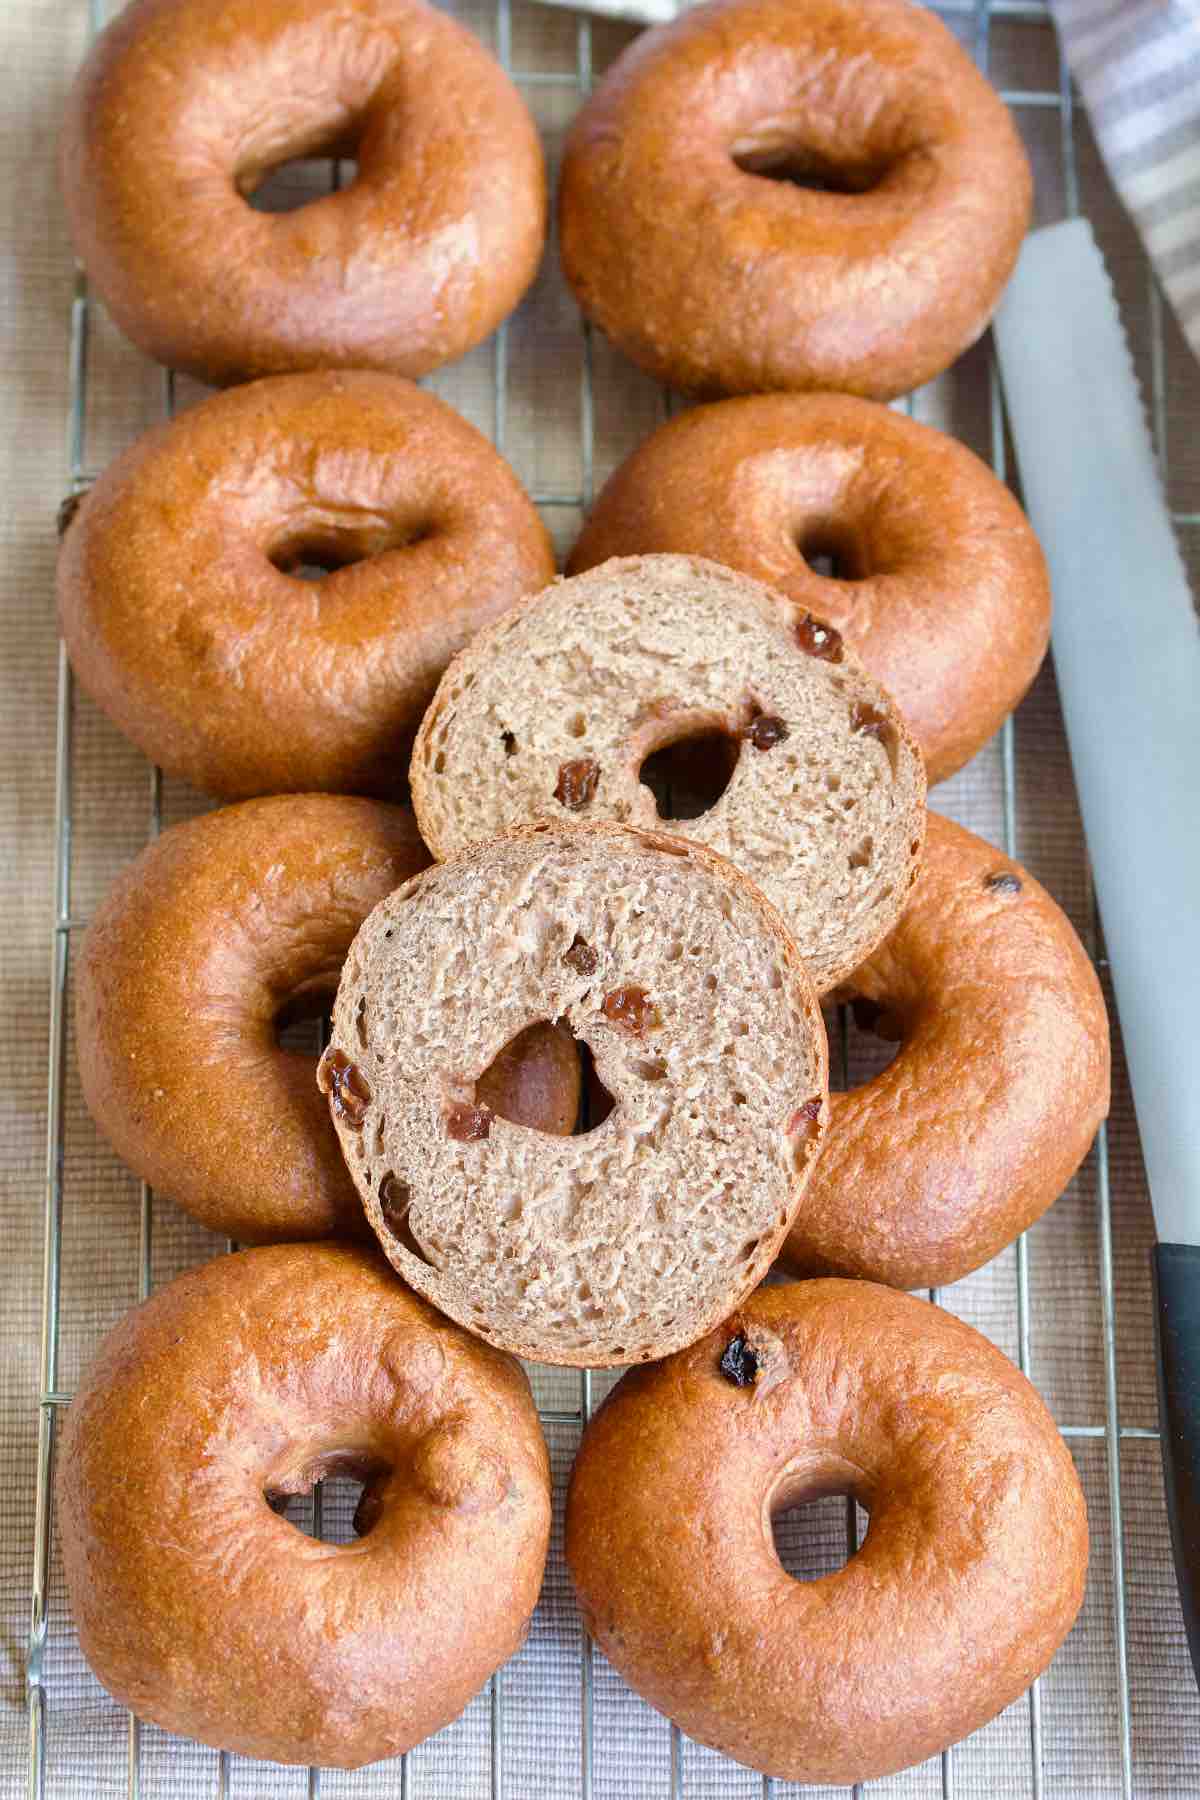
Bake in preheated oven for approximately 20 minutes until glossy and golden brown.
***Quick Tip*** My oven is pretty temperamental so after 15 minutes I tend to flip my bagels bottom side up and bake like that for the remaining 5-7 minutes to ensure even bake.
Remove bagels from the oven and transfer onto wire rack to cool completely.

🥡 Storing
Store: Cinnamon and raisin bagels are best super fresh but they do keep well and toasting them when day or two old, brings them back to life.
You can store them somewhere dry, in a linen/cotton bread bag or even ziplock style, reusable plastic bag for 3-4 days.
Freeze: They freeze really well so if you know you are not going to eat them, feel free to freeze them for up to 3 months.
To freeze slice them in half first and place in the freezer friendly bag. Pre-slicing them makes it easy to pop them into the toaster straight from your freezer without defrosting first.
Defrost: You can also defrost them on the kitchen counter in couple of hours or overnight and toast or warm up in the oven.

💭 Pro Tips
When heating up water make sure you heat it up to lukewarm temperature of roughly 37°C/100°F (digital food thermometer comes handy here). You should be able to dip your little finger in the liquid and just feel warmth. Warm liquid will help to activate the yeast. If you get it too hot, wait until it cools down as hot water will have an opposite effect on the yeast.
I find the amount of water to be pretty spot on. However, we all use different flours therefore you might need to add either drop more water or flour when kneading depending whether the dough is too dry or too sticky.
When poaching bagels make sure the water is at constant simmer. Bring it back to boil once you're done with the first batch of bagels. Boiling water means hight temperature which is the first step to that bagel crust we're after.
The hole in the bagels will inevitably close up a bit between shaping and baking, that's ok. Don't be tempted to stretch it too much as it will deflate the dough and make your bagels thin.
Be gentle when lowering bagels into the water as not to burn yourself. I find using your hand here instead of spatula works best.
🍴 Serving suggestions
For me there are only two ways of enjoying these cinnamon raisin bagels:
- Super simply with your favourite vegan or dairy butter.
- With your favourite nut butter and if you're feeling super fancy, jam (for me my blackberry jam is a must).
Then of course you've got some variations on the above. Think butter and jam, jam only, honey, malt extract, lemon curd, elderflower curd etc.
For me, however, it will always be first two. ❤️

❓ FAQ
Yes you do otherwise you will have rolls and not bagels. Boiling bagels prior to baking helps them develop that dense and chewy texture. They will not rise/spread in the oven and become fluffy like rolls.
Some recipes do call for it to help with the shine but it really isn't necessary especially if you're using barley malt extract in poaching water. However, if you'd like to use it you can.
Have you tried my Cinnamon and Raisin Bagels recipe?
Please consider giving it ⭐️⭐️⭐️⭐️⭐️ rating in recipe card below and share your views or tips in the comments.
😋 More bread recipes
Easy Breadsticks
Irish Soda Bread with Yogurt
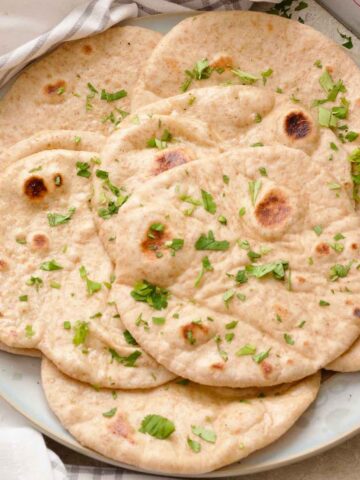
Easy Bread Rolls
Christmas Focaccia with Chestnuts and Stuffing
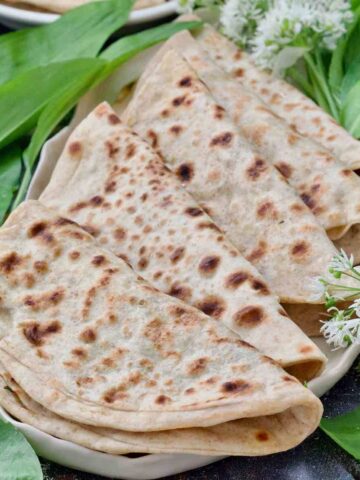
Easy Flatbread (No Yeast)
📋 Recipe

Cinnamon and Raisin Bagels
Equipment
Ingredients
- 500 g strong white bread flour see notes
- 2 tsp 7g sachet quick/instant/easy bake yeast see notes
- 2 teaspoon fine salt
- 3 tablespoon caster sugar see notes
- 4 teaspoon ground cinnamon
- 1 teaspoon ground allspice optional but highly recommended
- 2 tablespoon light olive oil or any neutral tasting oil (not extra virgin olive oil)
- 300 ml lukewarm water see notes
- 50 g raisins or sultanas
Poaching Water
- 1 tablespoon baking soda or barley malt extract or both see notes
Instructions
- Put flour, spices, sugar, salt and yeast in a large mixing bowl or a bowl of your stand mixer. Ensure that when you add both salt and yeast into the bowl you initially keep them on separate sides.Give all your dry ingredients a gentle mix without any liquids first using your hand or dough hook attachment.500 g strong white bread flour, 2 tsp 7g sachet quick/instant/easy bake yeast , 2 tsp fine salt, 3 tbsp caster sugar, 4 tsp ground cinnamon, 1 tsp ground allspice
- Next, add olive oil and as you turn on the mixer, start adding the water as you mix and then knead the dough either by hand or with the dough hook attachment in your mixer.2 tbsp light olive oil, 300 ml lukewarm water
- Towards the end add raisins and continue kneading to incorporate them into the dough. Knead the dough until it's smooth and elastic. It should be really nice to work with and not at all sticky. If yours is sticky, add a little bit more flour, if it feels dry a tiny bit more water, only teaspoon at a time.50 g raisins or sultanas
- To check whether dough has been kneaded enough and is ready for proving press it gently with your finger. If it springs back slightly it's ready, if it doesn't knead for a bit longer.Once your dough is ready, put it back in lightly oiled bowl, cover and place in a warm and draught free place until doubled in size (about 1-2 hrs).***Quick Tip*** If your leave your dough in your kitchen at a normal room temperature of about 20°C/68°F it will prove just as well, it might take a bit longer but it will.
- Once double in size, knock back the dough with your fist to deflate it and turn it out onto kitchen surface. I like to weigh my dough and divide it into 10 equal pieces to ensure all my bagels are the same size (saves some arguments at breakfast time plus ensures they all bake evenly). To shape a dough into a ball that will become your bagel, take one piece of dough and flatten it slightly with your fingers or the palm of your hand.Next, start bringing pieces of dough into the middle, making your way around until you have a shape of a round(ish) disc.Put the dough on the kitchen counter (smooth side up), cap it with your hand and start rolling it in place very gently using circular motion and dragging it towards you every so often to create a bit of tension and make a nice and firm ball.***Quick Tip*** Shaping will be much easier if you've got some traction on the counter so I wouldn't recommend flouring your surface for this. Finally, turn your dough ball seam side up and give it a little pinch with your fingers to hold it together. Place it seam side down and repeat with remaining pieces of dough.
- Place your dough balls on a surface liberally dusted with some flour, cover lightly with a clean tea towel and leave them to puff up slightly (about 30 minutes or slightly longer).
- Using floured forefinger make a hole in the centre of each dough ball (one at a time) stretching it gently, as not to deflate the dough, to make the hole bigger. Put bagels on a well floured counter or baking sheet and cover them again with a clean tea towel.
- Meanwhile, preheat the oven to 200°C/400°F/Gas Mark 6. Bring a large saucepan or stock pot of water to a boil and once boiling add either 1 tablespoon of baking soda or barley malt extract or both to the water. Place 2-4 bagels (depending on the size of your pan/pot) in the boiling water at a time and poach for approximate 60-90sec.Flip the bagels over gently using slotted spoon and boil for another minute or so on the other side. Take bagels out with a slotted spoon and drain thoroughly (wire rack is great for that) before placing on prepared baking sheet ready for baking. Repeat with the remaining bagels.1 tbsp baking soda or barley malt extract or both
- Bake in preheated oven for approximately 20 minutes until glossy and golden brown. ***Quick Tip*** My oven is pretty temperamental so after 15 minutes I tend to flip my bagels bottom side up and bake like that for the remaining 5-7 minutes to ensure even bake. Remove bagels from the oven and transfer onto wire rack to cool completely.
Notes
- Nutritional information is approximate, per bagel and should be treated as a rough guideline only.
- Plain (all-purpose) flour could be use at a push but strong fl our which is much higher in protein is preferable as it helps with the final texture of bagels.
- I recommend easy yeast that doesn't require activating and can be added directly to the flour. However, feel free to use dried active yeast which you simply dissolve in the lukewarm water and leave for a few minutes before adding the liquid to the flour.
- You can substitute some of the sugar for barley malt extract. For details see❗Word on barley malt extract and baking soda above.
- Best eaten on the same day but can be stored in the airtight bag for 3-4 days or frozen for up to 3 months. See -🥡 Storing above.
Sharon says
Hi Jo,
They are so good! I made them without barley malt but with bicarb in boiling water and still got that nice chewy texture. Addition of allspice is subtle but works so well. These are going to be my go to now, thanks so much!
joskitchenlarder says
So pleased to hear that Sharon! Thanks for letting me know ☺️. They're very moreish and definitely simple enough to keep making on repeat (I think) lol.
Sharon says
So excited to try these! Thank you!
joskitchenlarder says
I hope you like them! Do let me know what you think.☺️