
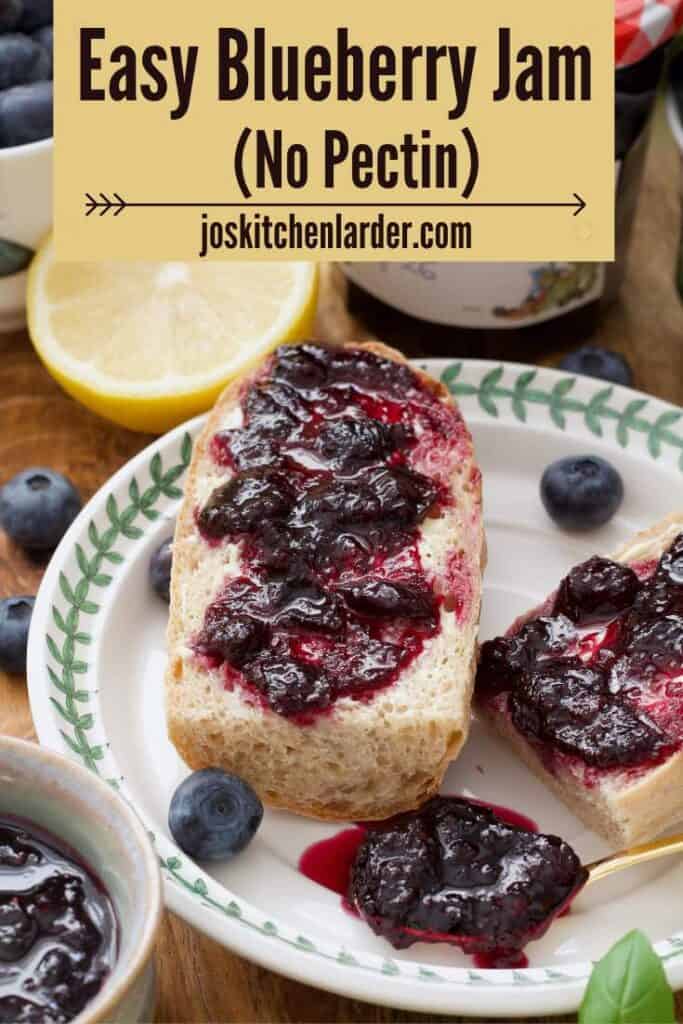
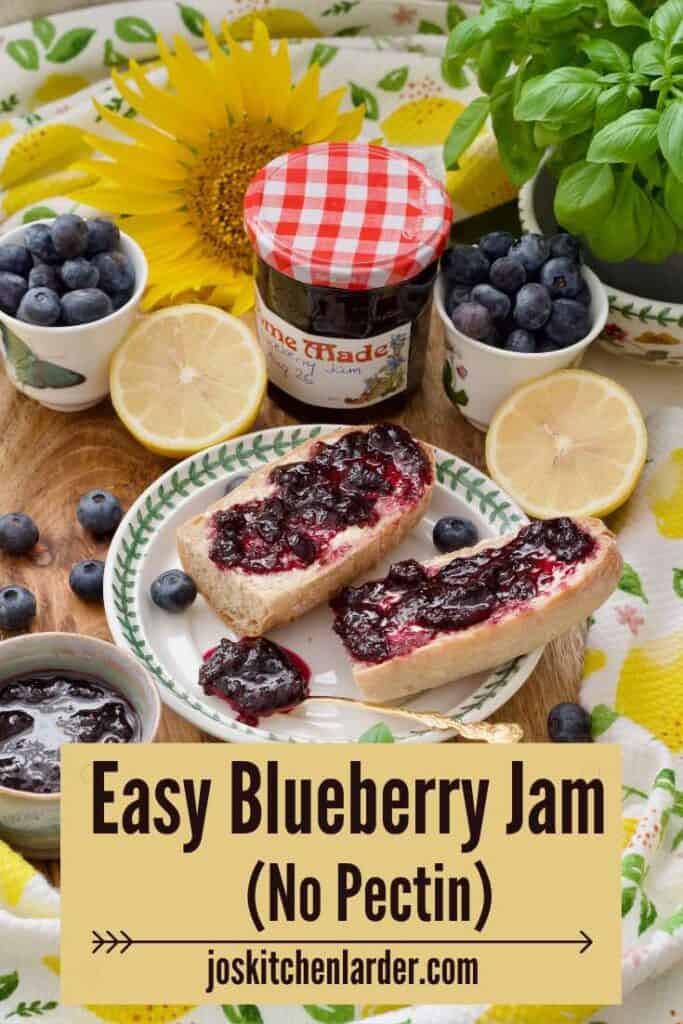
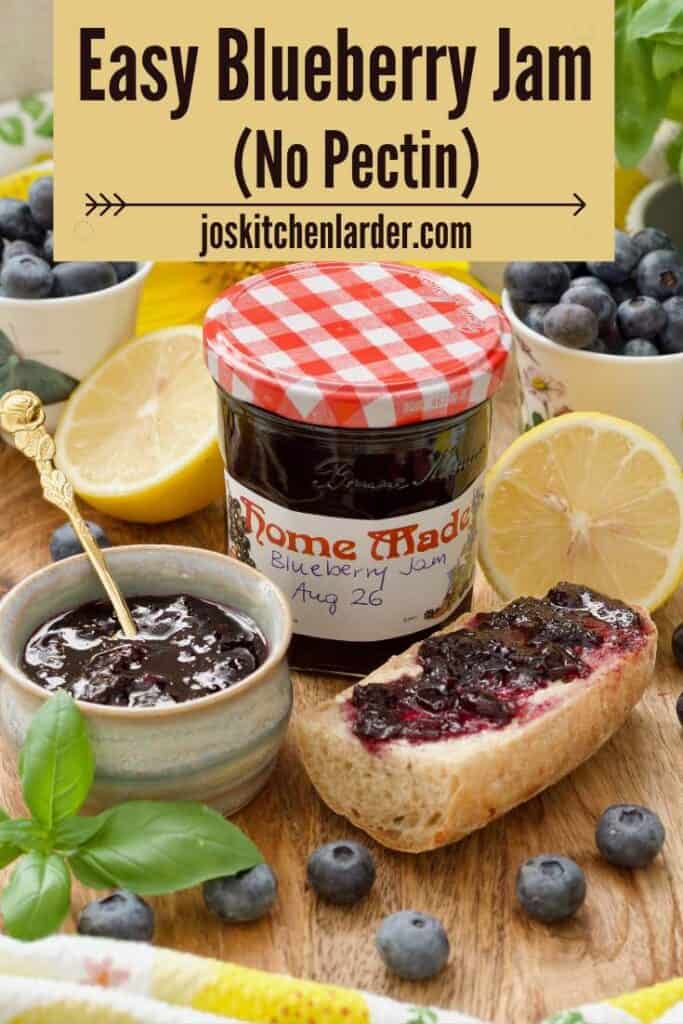
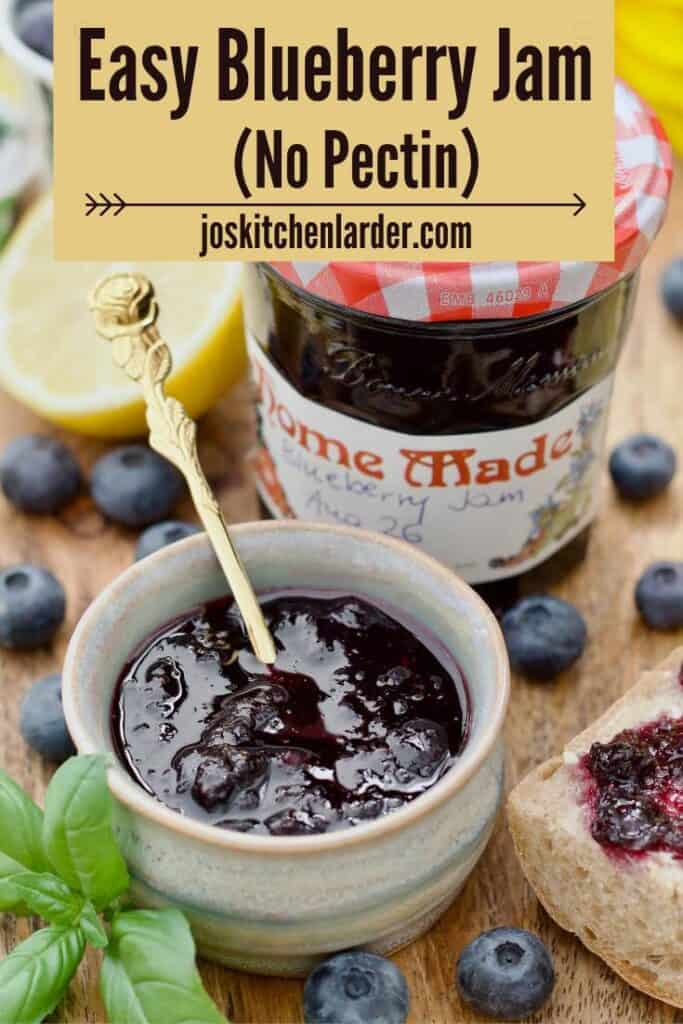
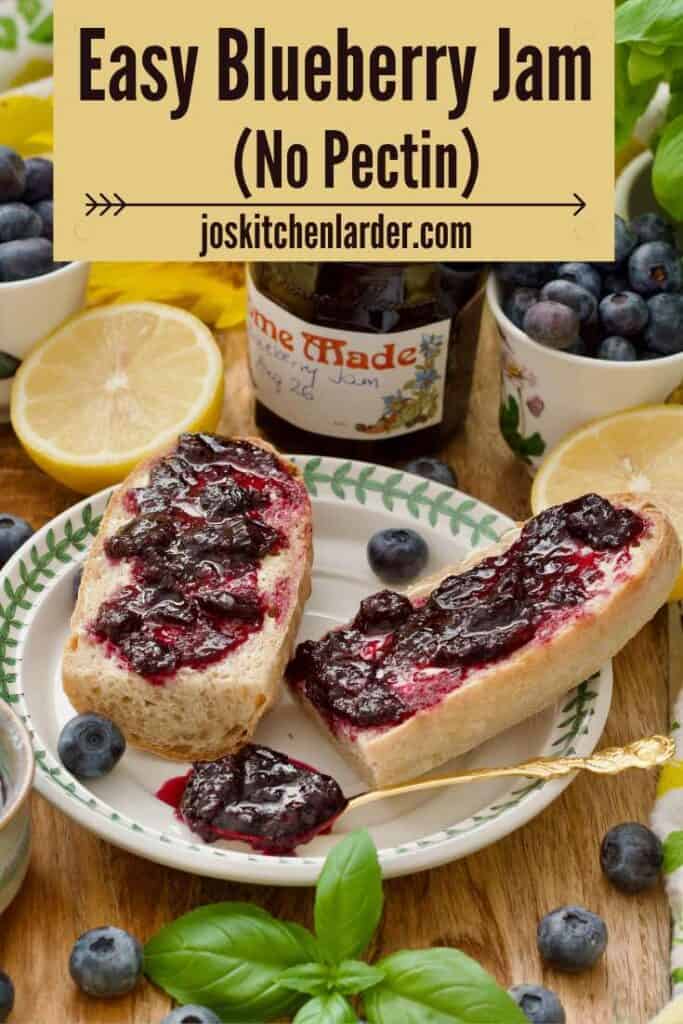
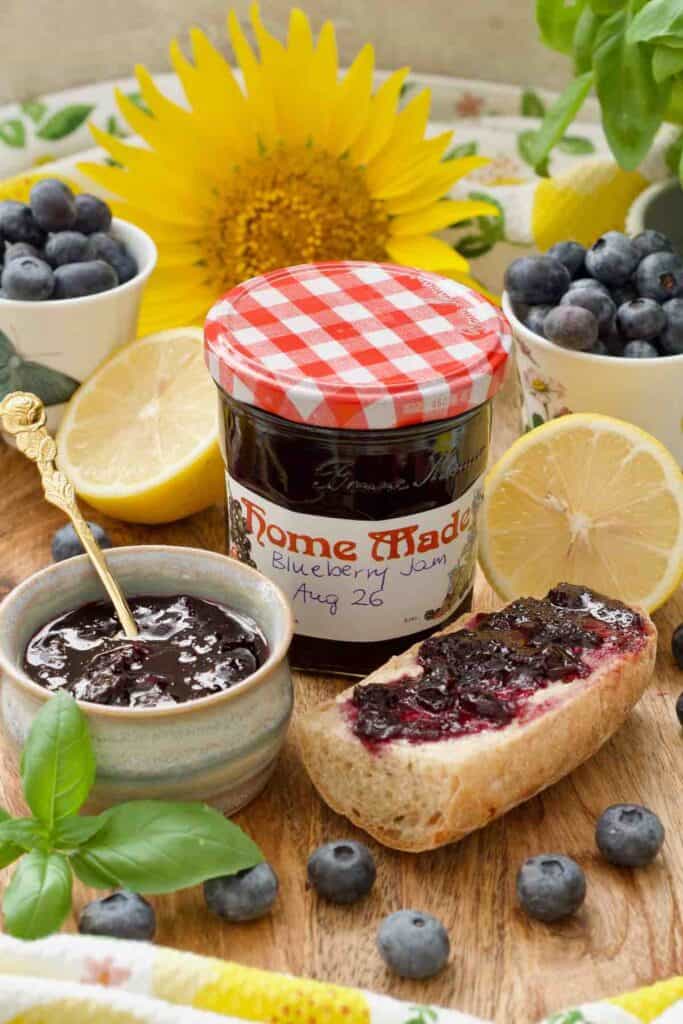
This tried and tested easy blueberry jam recipe has only 3 ingredients and one simple method. No pectin, no hassle, only a little time and you can enjoy this delicious homemade preserve at your next breakfast.
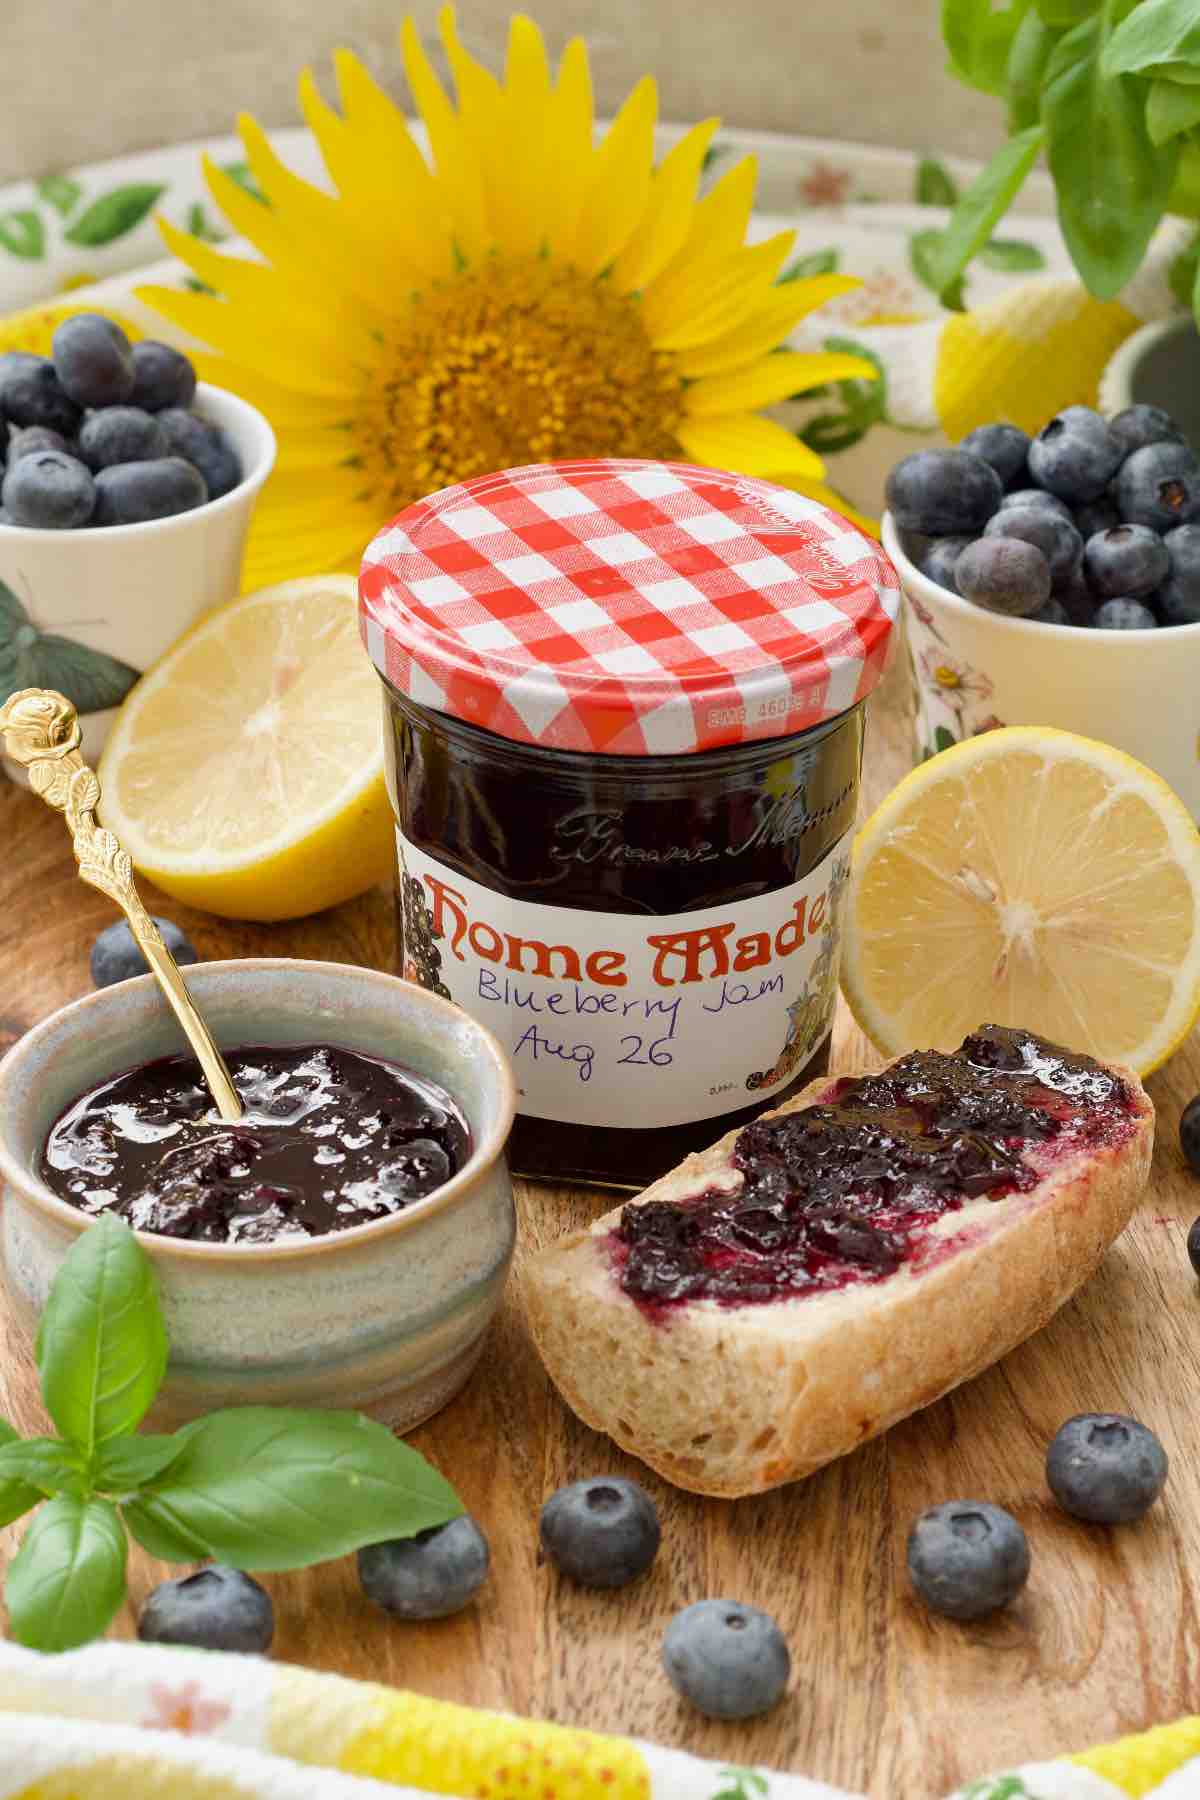
I don't know about you but every year I cannot wait for blueberry season and when it arrives I absolutely fill my boots with them whilst they're at their sweetest. Once I'm done enjoying them as they are, I look for ways to put them to a good use.
There are of course muffins, scones, buns, smoothies, cordial and a loaf cake which we all love but I also try and preserve some of that summery goodness and so I make a batch or two of my easy blueberry jam.
This recipe is based on my super popular Easy Blackberry Jam which I've been making for years now, it never failed me and you guys love it too.
Jump to:
🫐 blueberries and pectin
Most berries are usually low to medium in pectin which when it comes to jam making could be problematic especially if we don't want to add it in.
The riper and sweeter the berry the less pectin it will have. Super ripe and sweet blueberries will be very low in pectin whereas slightly unripe ones will have more of it.
***Quick Tip*** If you grow your own blueberries or get it from the farm, see whether you can pick few unripe ones to add to your jam as a little extra help (don't worry if not though).
If you buy yours from the supermarket make sure they're not super overripe but still nice and firm.
When it comes to blueberries and when making blueberry jam without pectin, we use lemon juice to help the jam set. What's nice about using lemon juice as our natural pectin is that not only does it help the set but it also contributes to the flavour and cuts through all that sweetness. It's a win win situation.
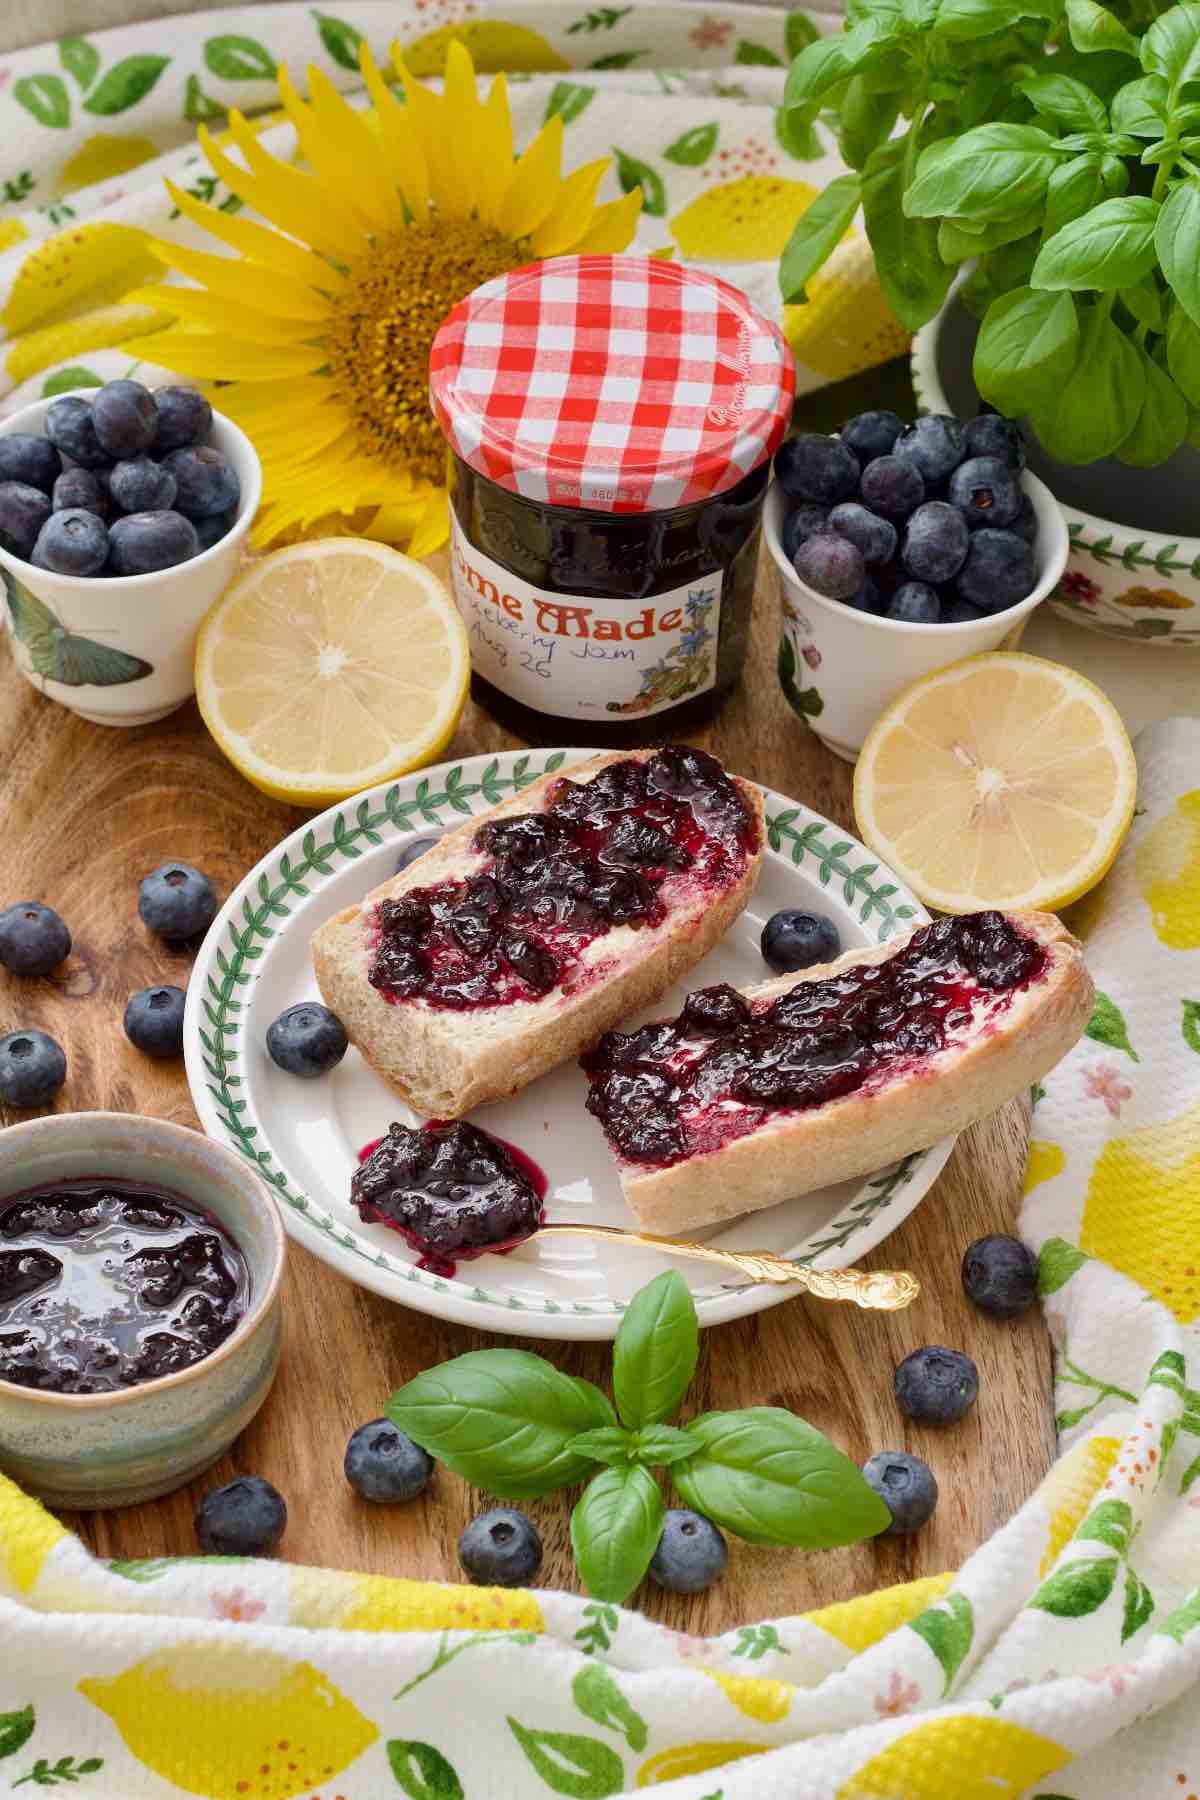
✔️ Why you'll love this recipe
- Simple and foolproof homemade blueberry jam recipe without added pectin.
- Perfect addition to your preserve collection if you're into your jams.
- Small batch that won't overwhelm you.
- Breakfast hero!
- Naturally vegan and gluten-free.
🛒 Ingredients to make Easy Blueberry jam
Here's what you will need to make my Easy Blueberry Jam:
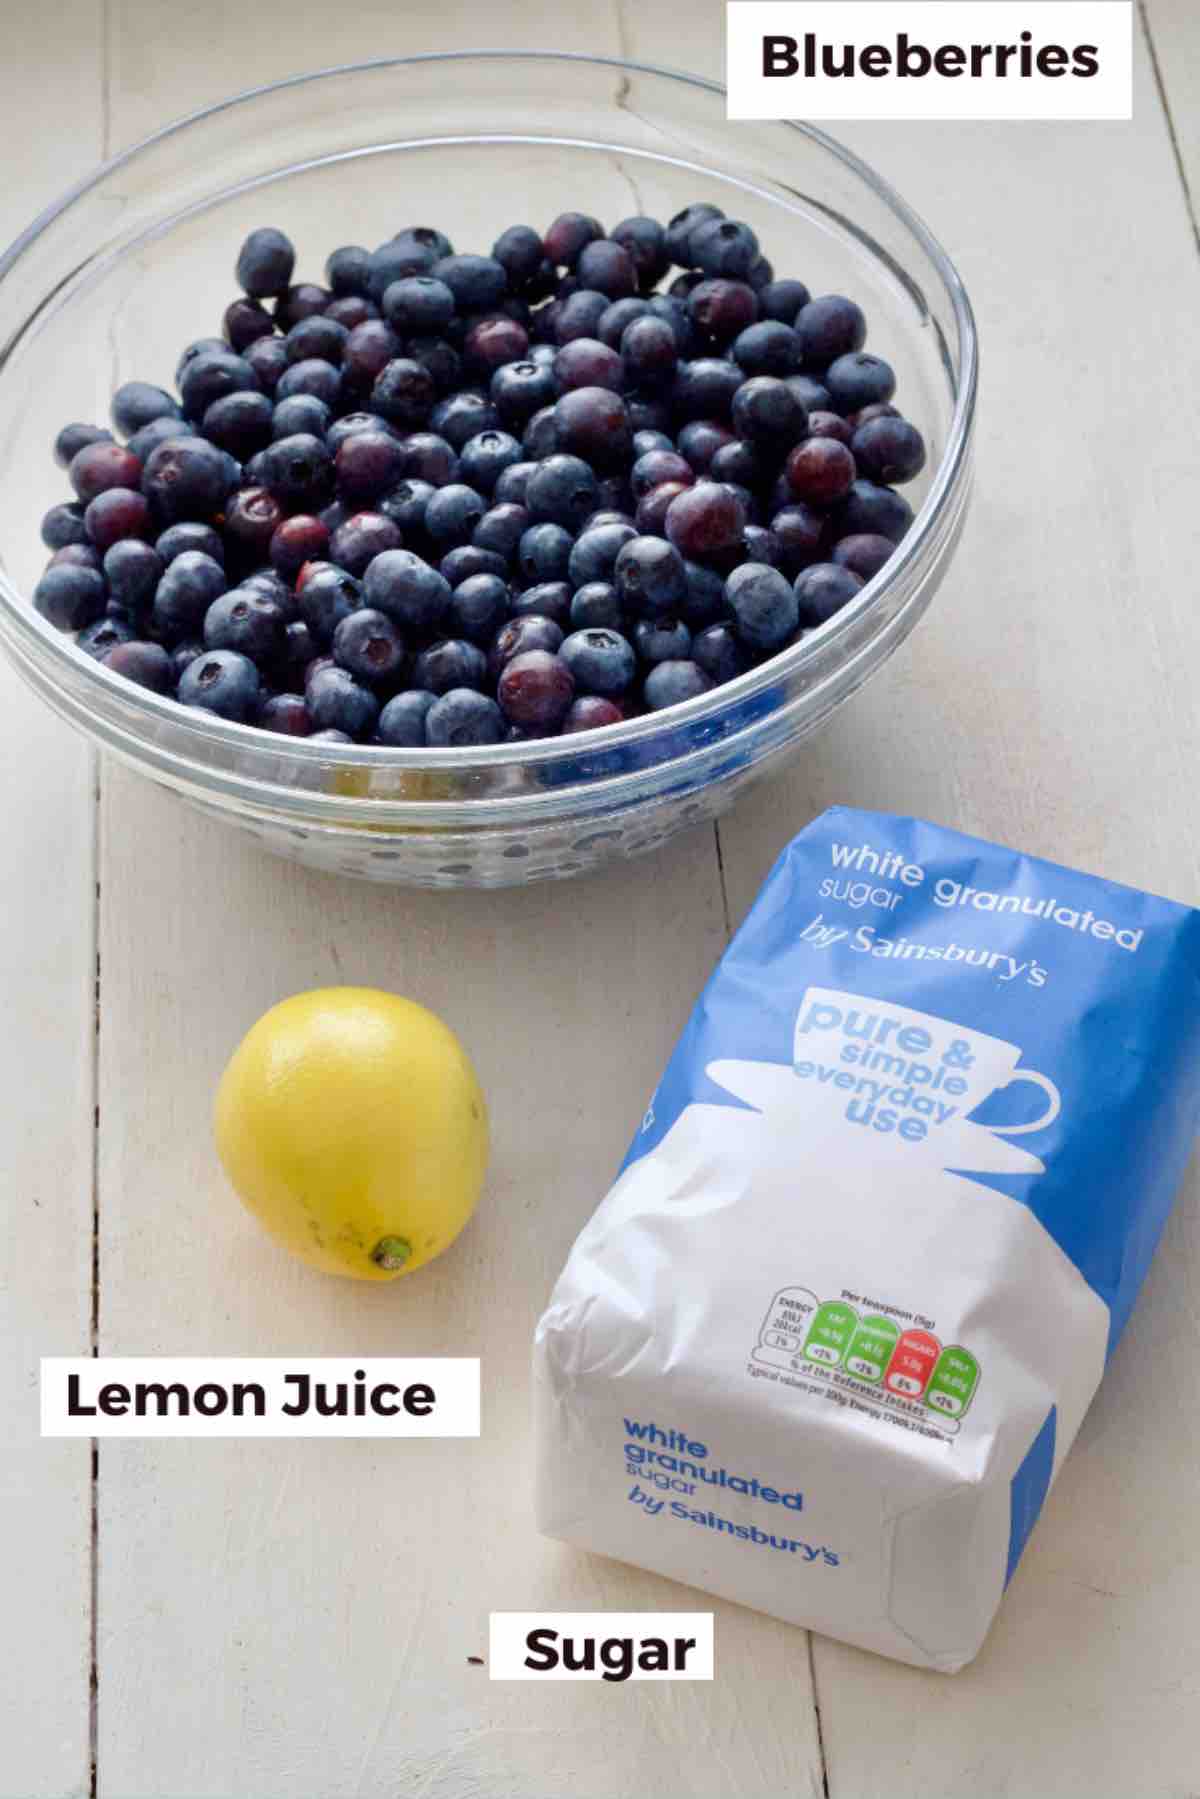
Blueberries - Great thing is that you can use either fresh or frozen blueberries which makes this recipe relevant all year round.
Make sure your berries are nice and firm and not too mushy (few a bit overripe will be ok).
If using frozen blueberries don't defrost them first, there is no need.
Sugar - I use simple granulated sugar but you can use caster (fine) sugar too if you want.
Lemon Juice - I used 1 tablespoon of lemon juice per 250g of blueberries. My jam was still pretty sweet but it's a jam after all and that's how we like it.
***Quick Tip*** You can increase the amount of lemon juice but DON'T use less.
👩🏻🍳 How to make easy blueberry jam
Ingredient quantities & detailed instructions to be found in recipe card at the bottom of the post.
Step 1:
Place 2-3 small saucers/plates in the freezer for "wrinkle" test (set test) later.
Sterilise the jars. Refer to 🫙 Sterilising Jars below.
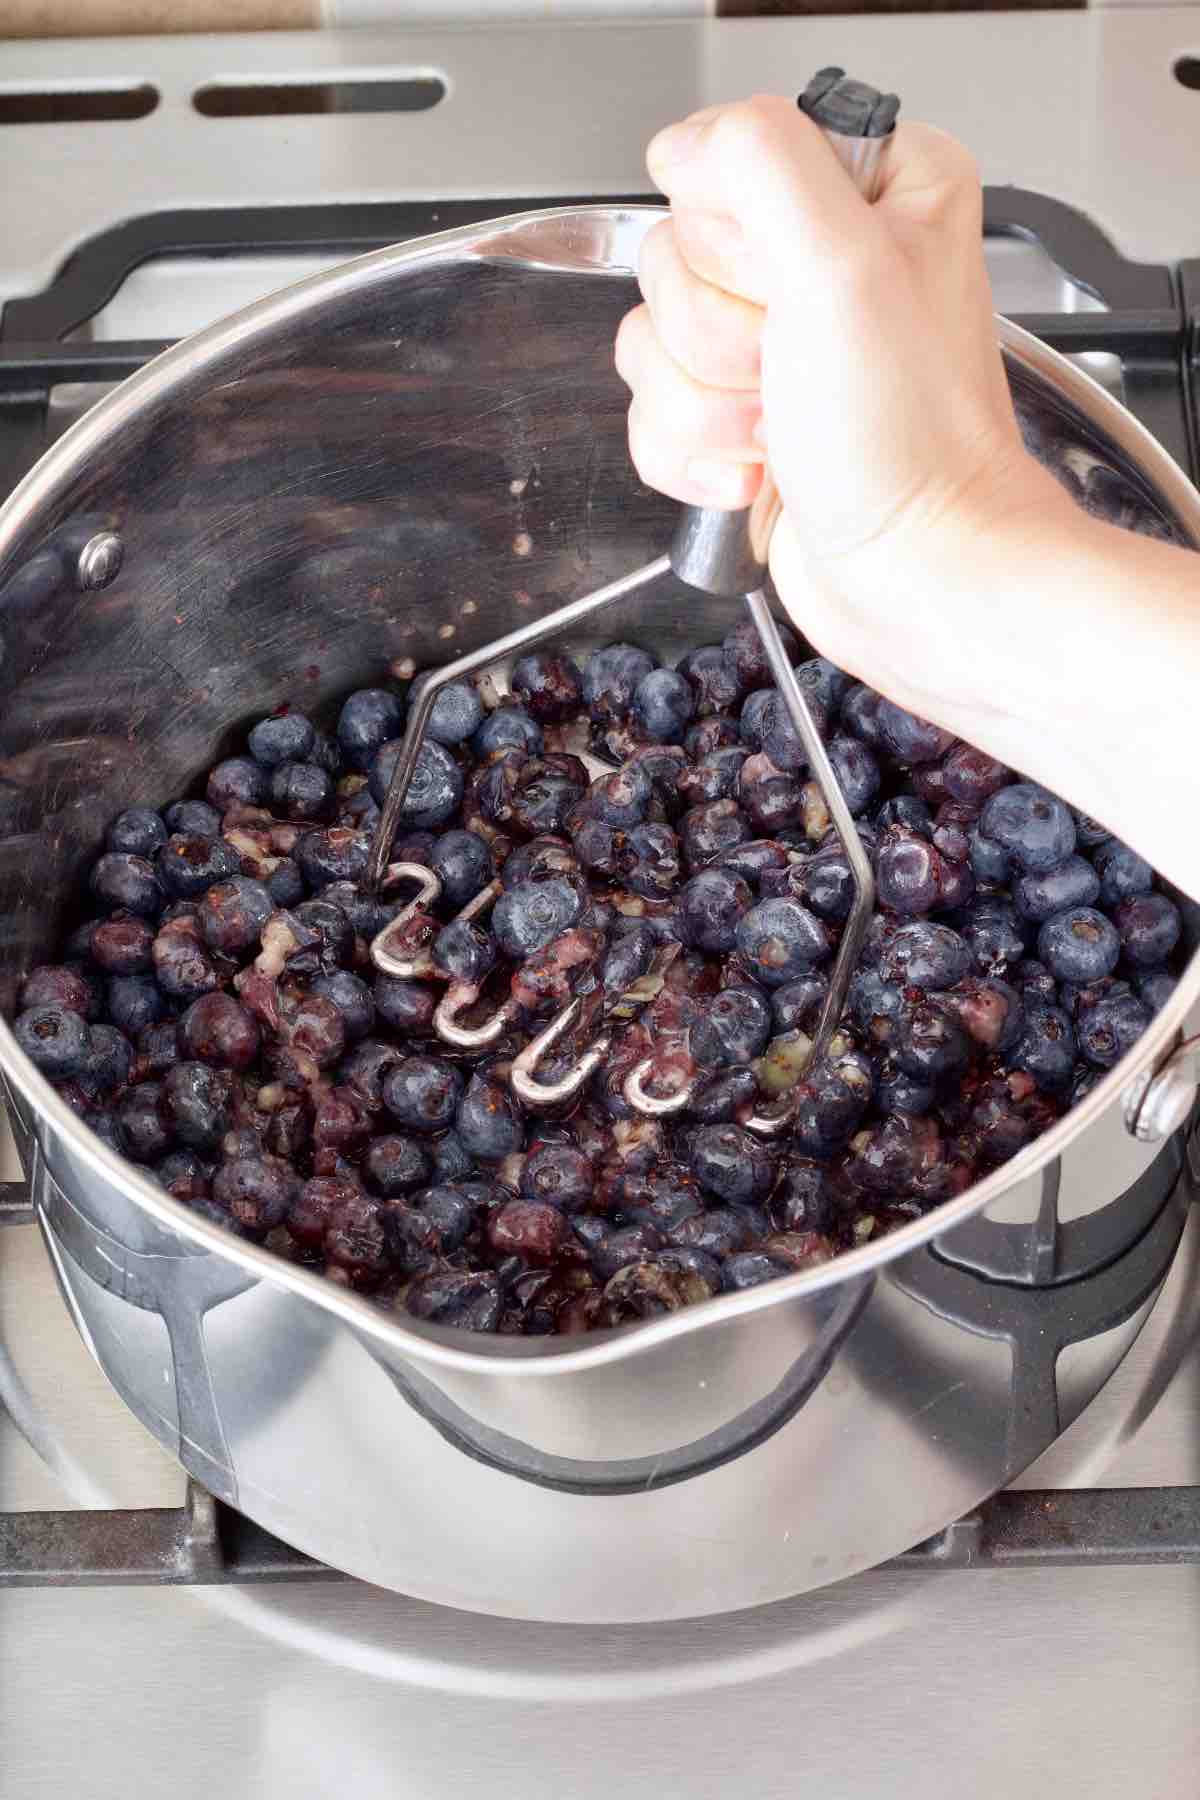
Start by washing and sorting your blueberries, removing any stalks that might be attached and discarding any mushy ones.
Put prepared blueberries in a large pan and give them a little mash with potato masher to break them down slightly and release their juices a little quicker (optional).
Step 2:
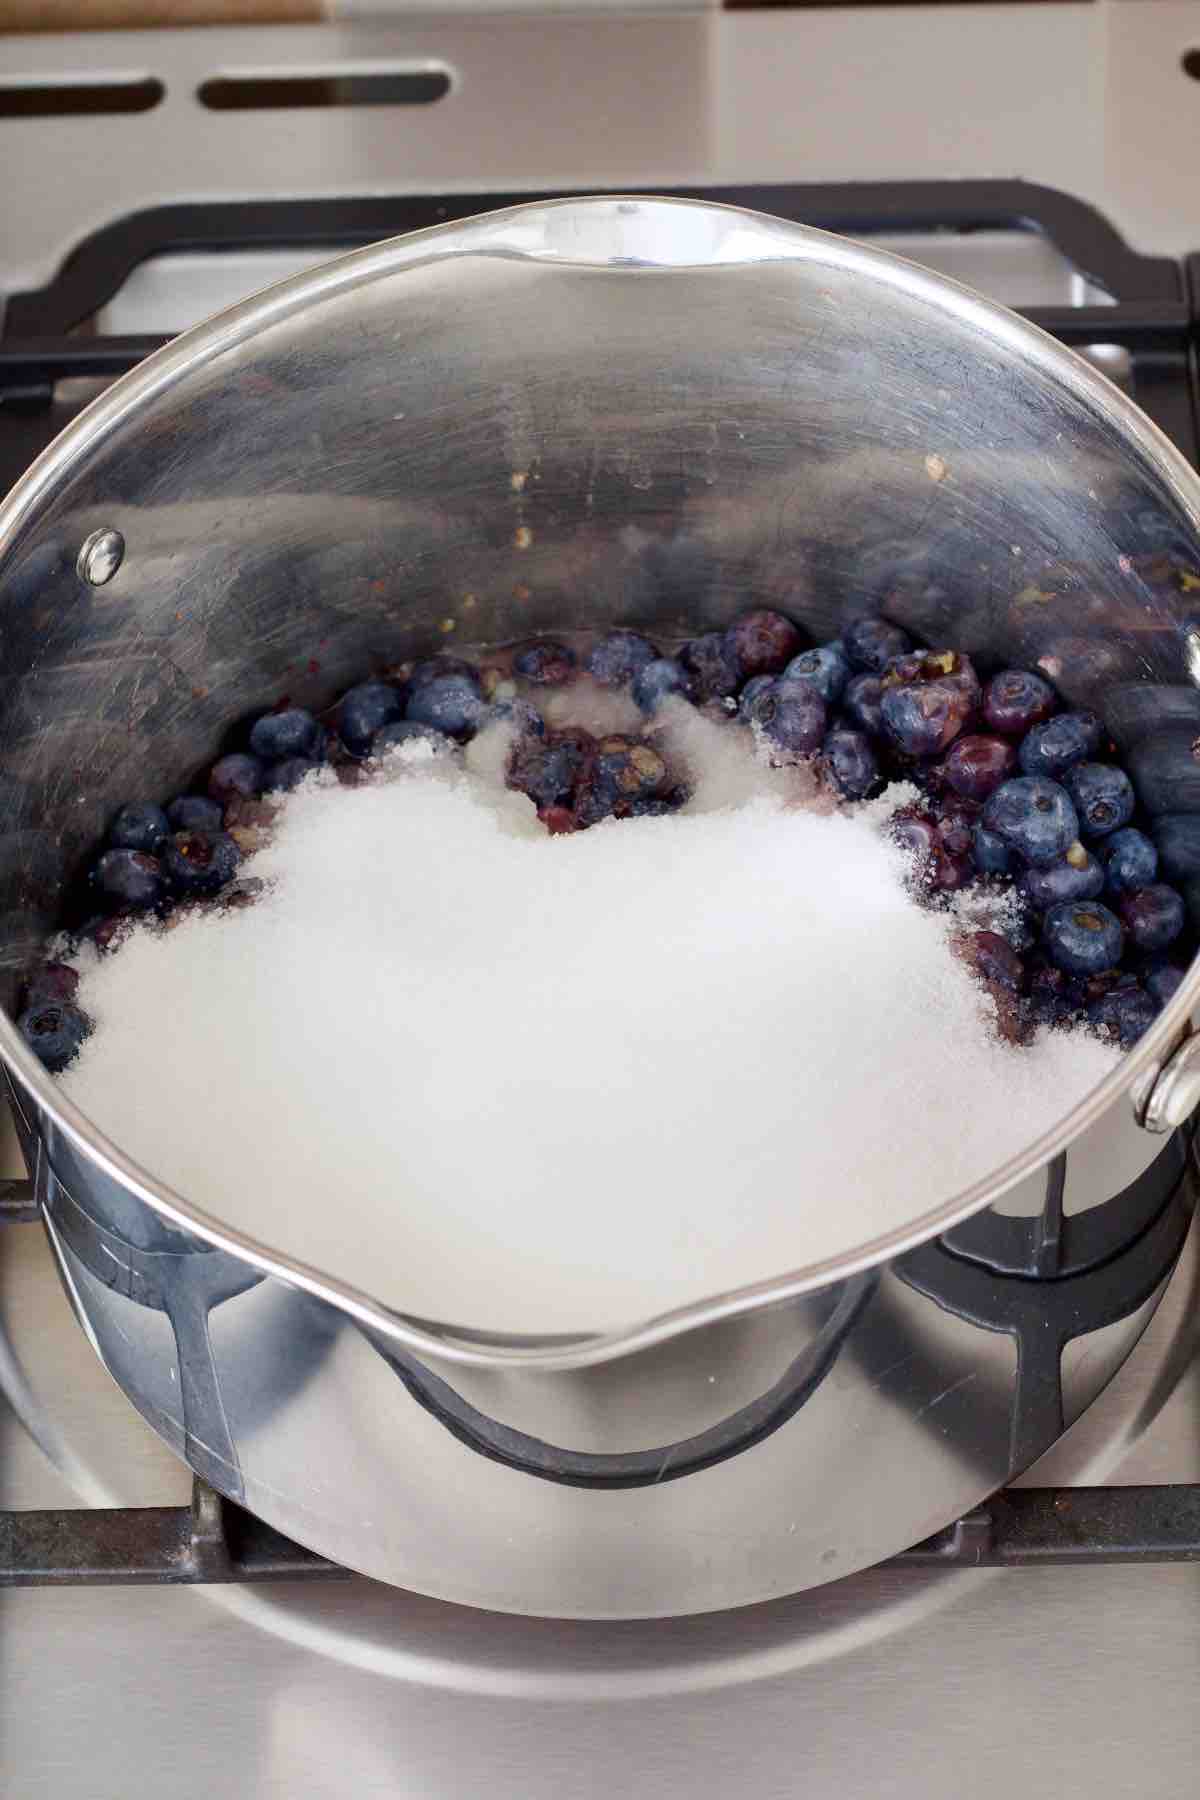
Add lemon juice and sugar and give the mixture a good stir.
Step 3:
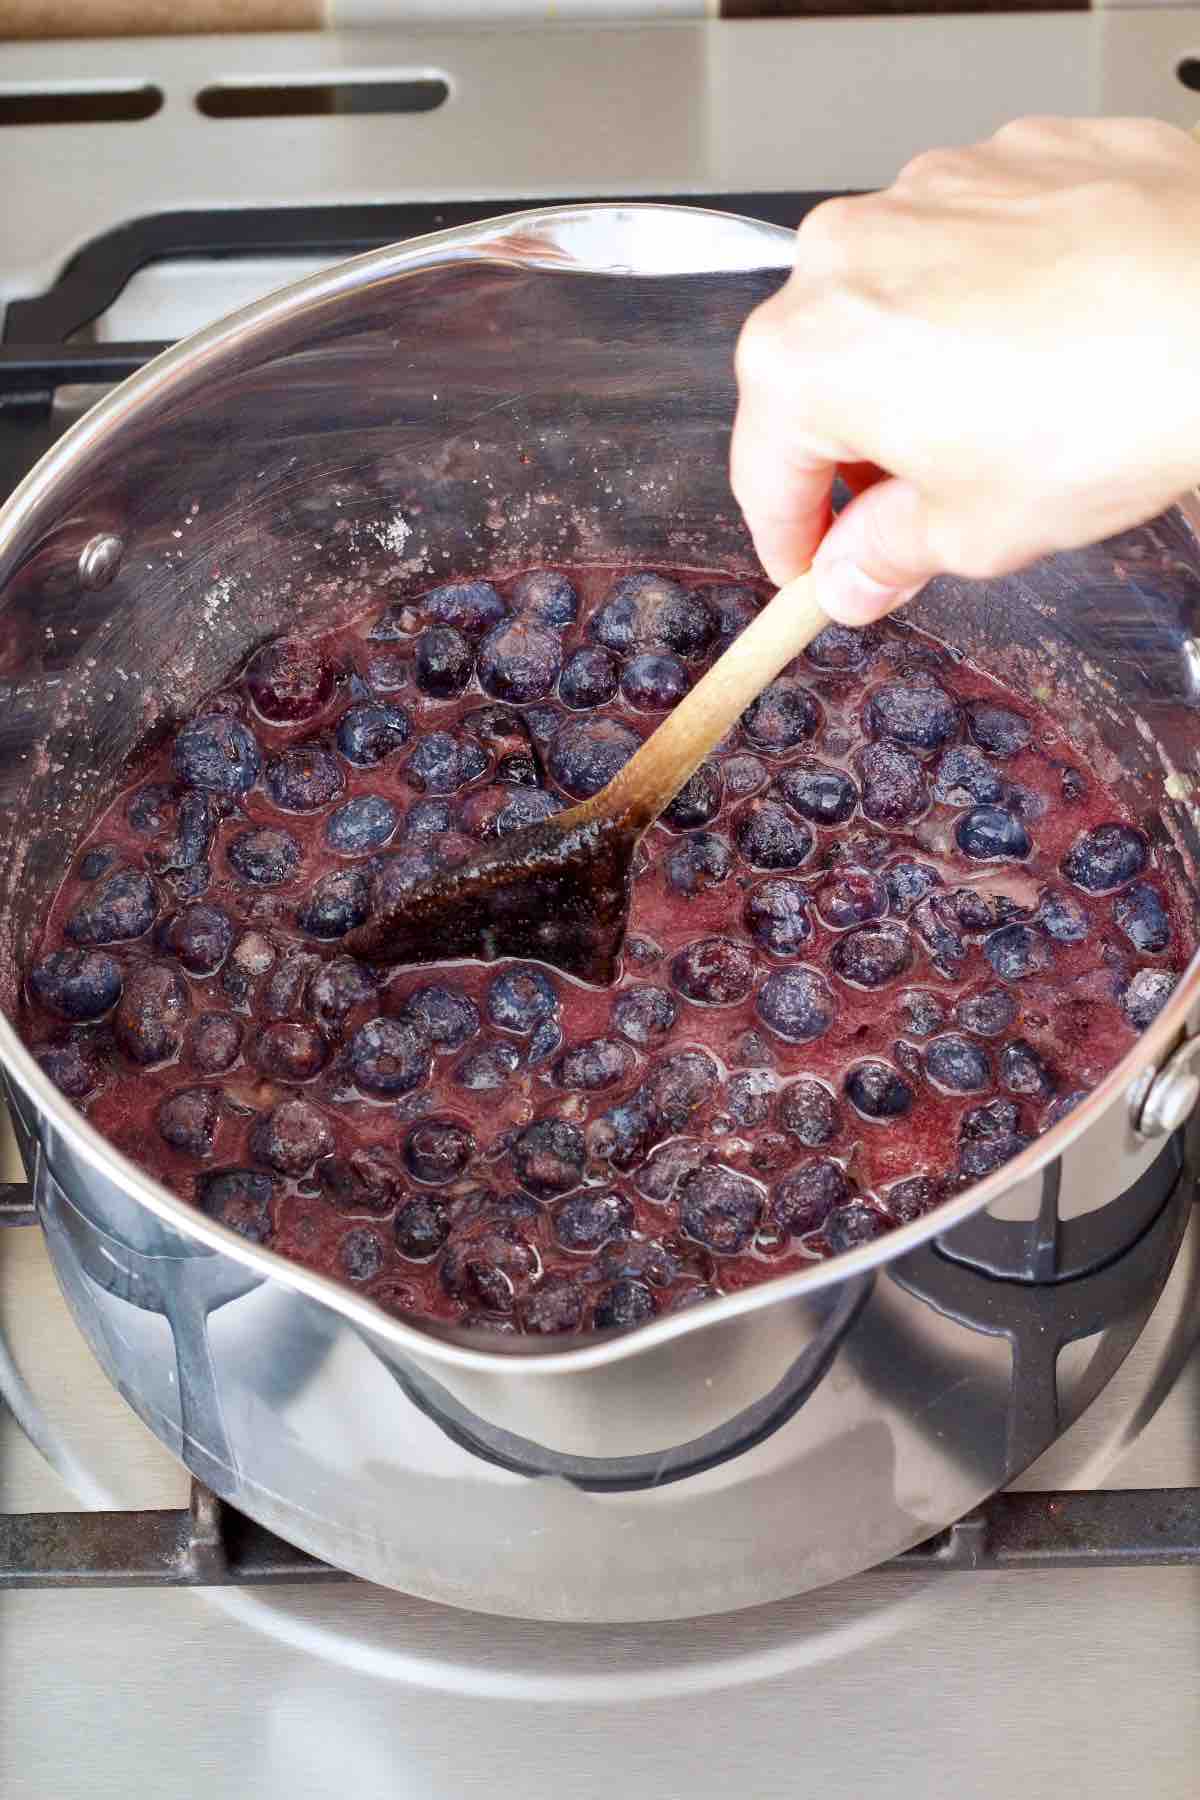
Put the pan on a low-medium heat and simmer gently (stirring from time to time) until all the sugar has dissolved.
It might take anything between 10-15 minutes and even longer if using frozen berries.
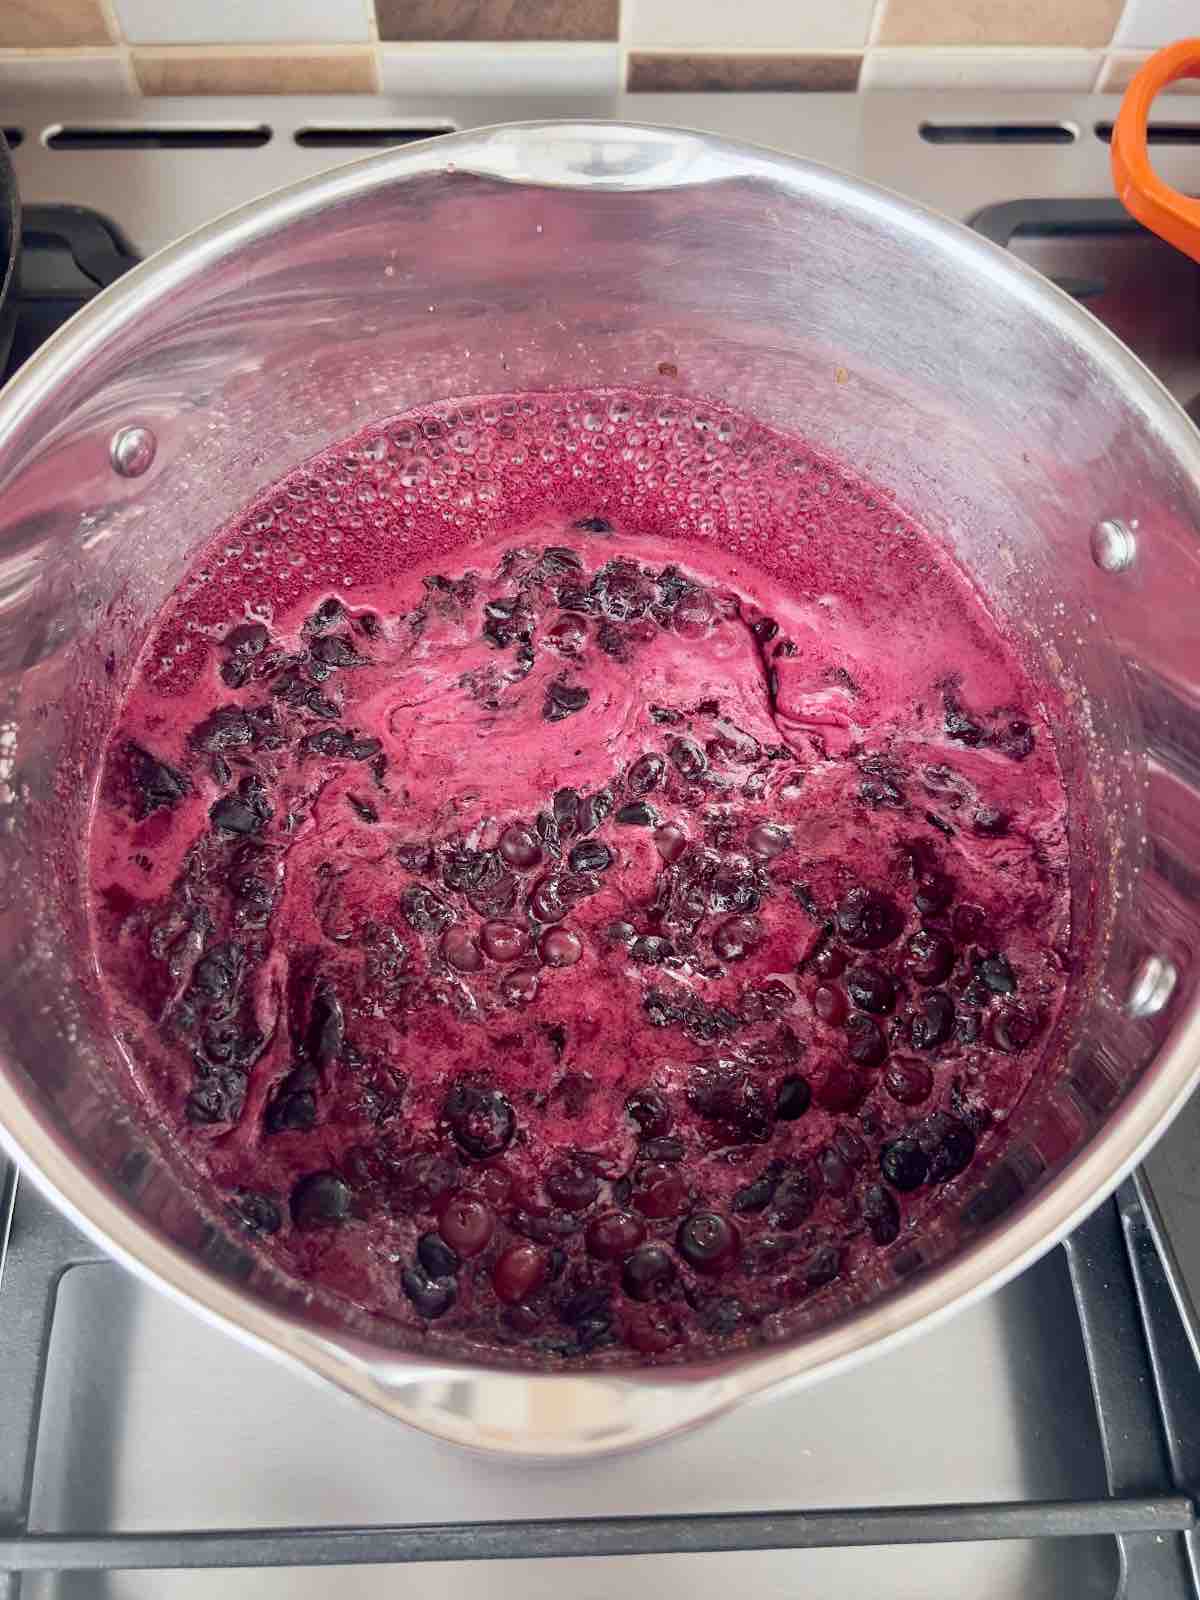
Step 4:
Once the sugar has dissolved, bring jam mixture to rolling boil for approximately 15 minutes.
Do watch it but try not to stir it during this phase which will lower the temperature of the mixture and might also encourage crystallisation (formation of sugar crystals in the jam which affects its texture).
***Quick Tip*** You can of course gently stir it once or twice to make sure it's not burning at the bottom but don't overdo it.
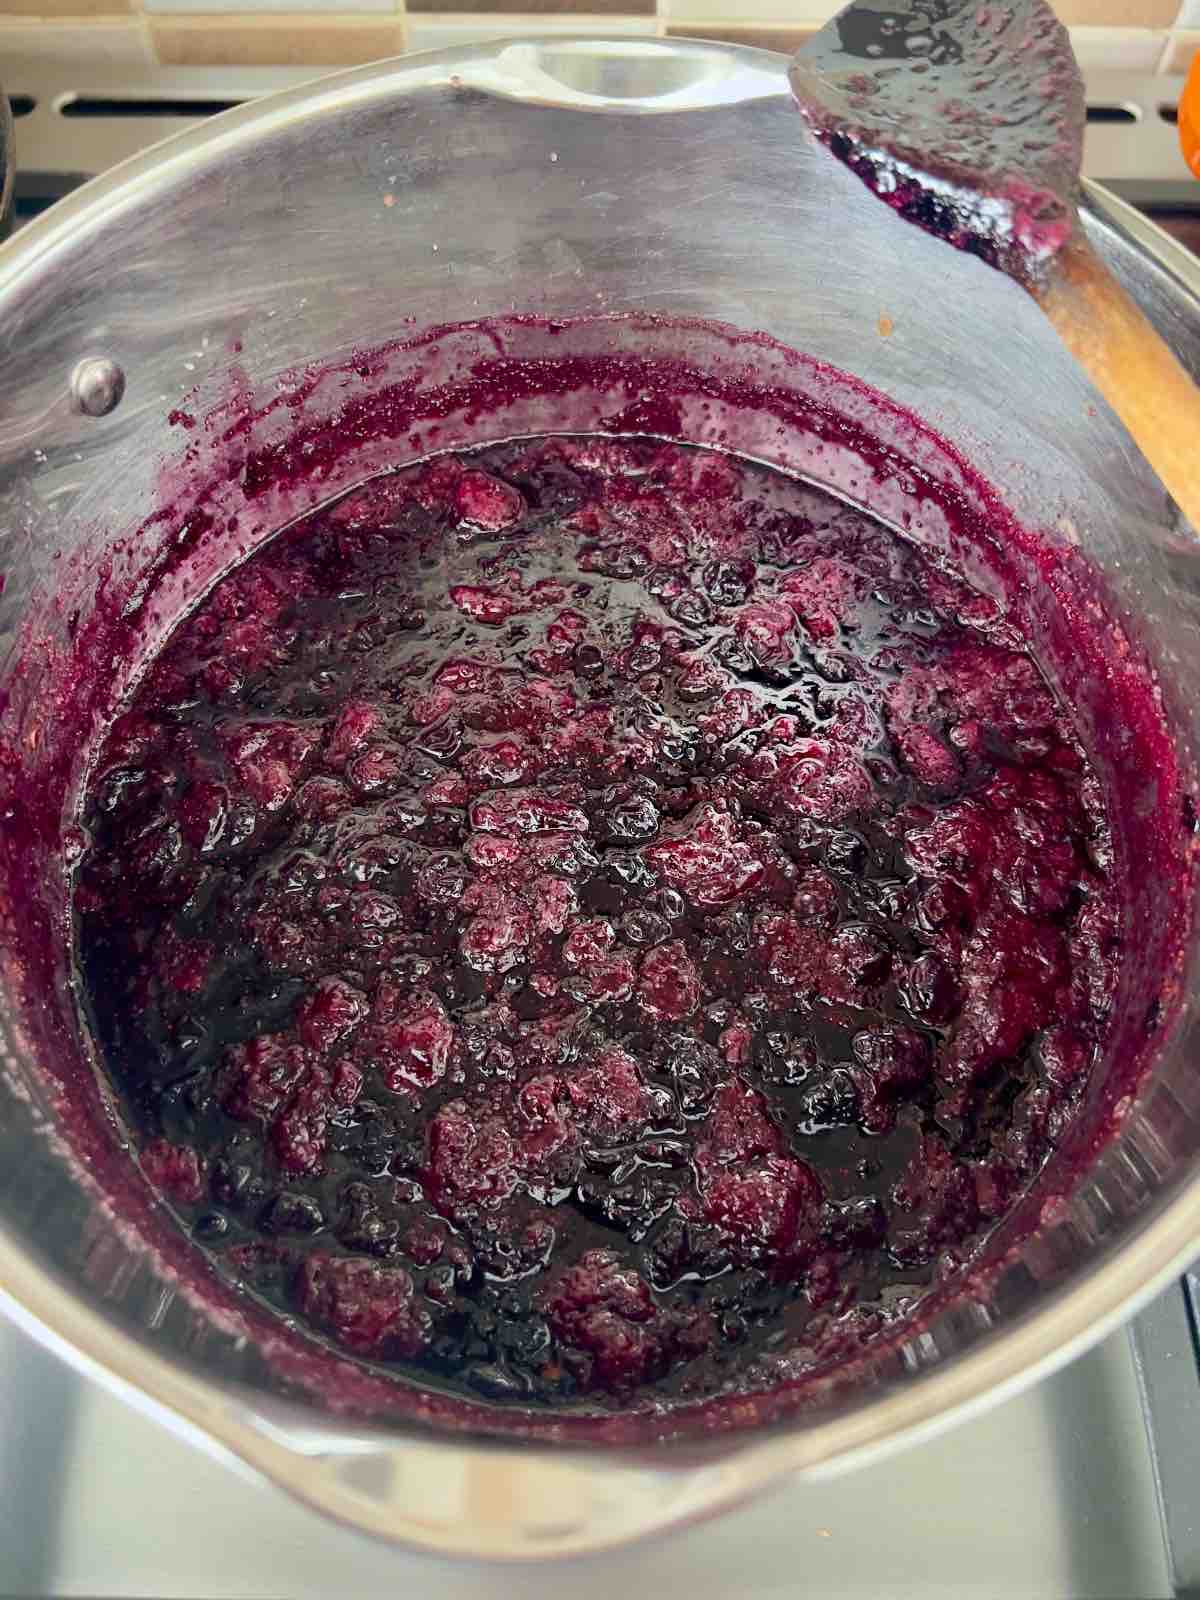
Step 5:
Once 15 minutes is up and if you have digital thermometer you can check whether your jam has reached setting point by checking its temperature.
You are looking for 105°C/221°F or higher, anything below continue boiling for another 5 minutes and check again (every 5 minutes) until you reach desired temperature.
***Quick Tip*** Even though these days I always use my digital thermometer when making jam, I still use the "wrinkle test" on a cold plate to double check the jam is indeed set. Better to be safe.
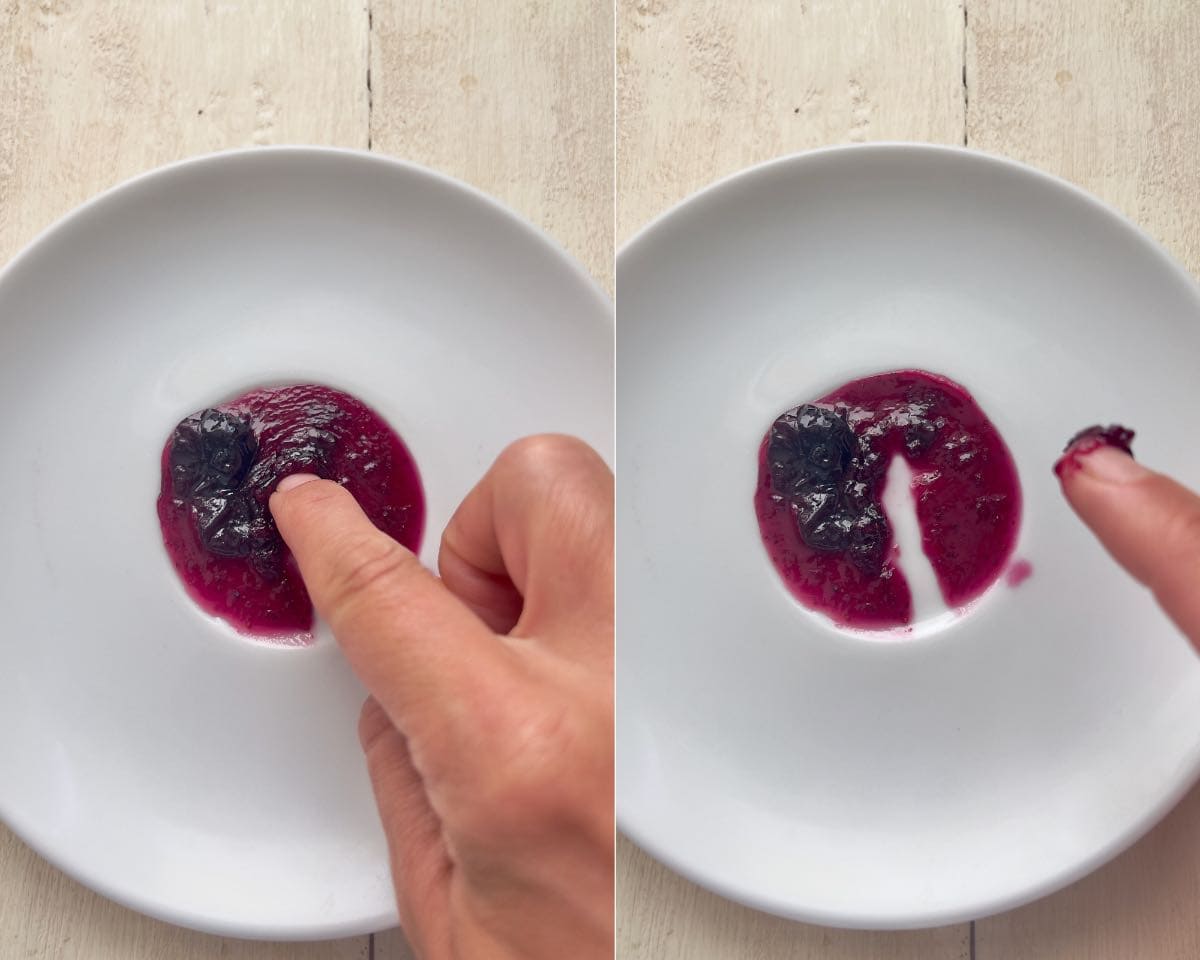
Step 6:
If you don't have a thermometer, take the pan off the heat to do the "wrinkle test" by placing small amount of jam on the saucer straight out of the freezer. Put it into the fridge for 1-2 minutes and once out push the jam gently with your finger. If it "wrinkles" and stays in place it’s ready. If it doesn’t then continue boiling your mixture and check it every 5 minutes until you get the set.
When making this particular batch it took me approximately 35 minutes to reach setting point.
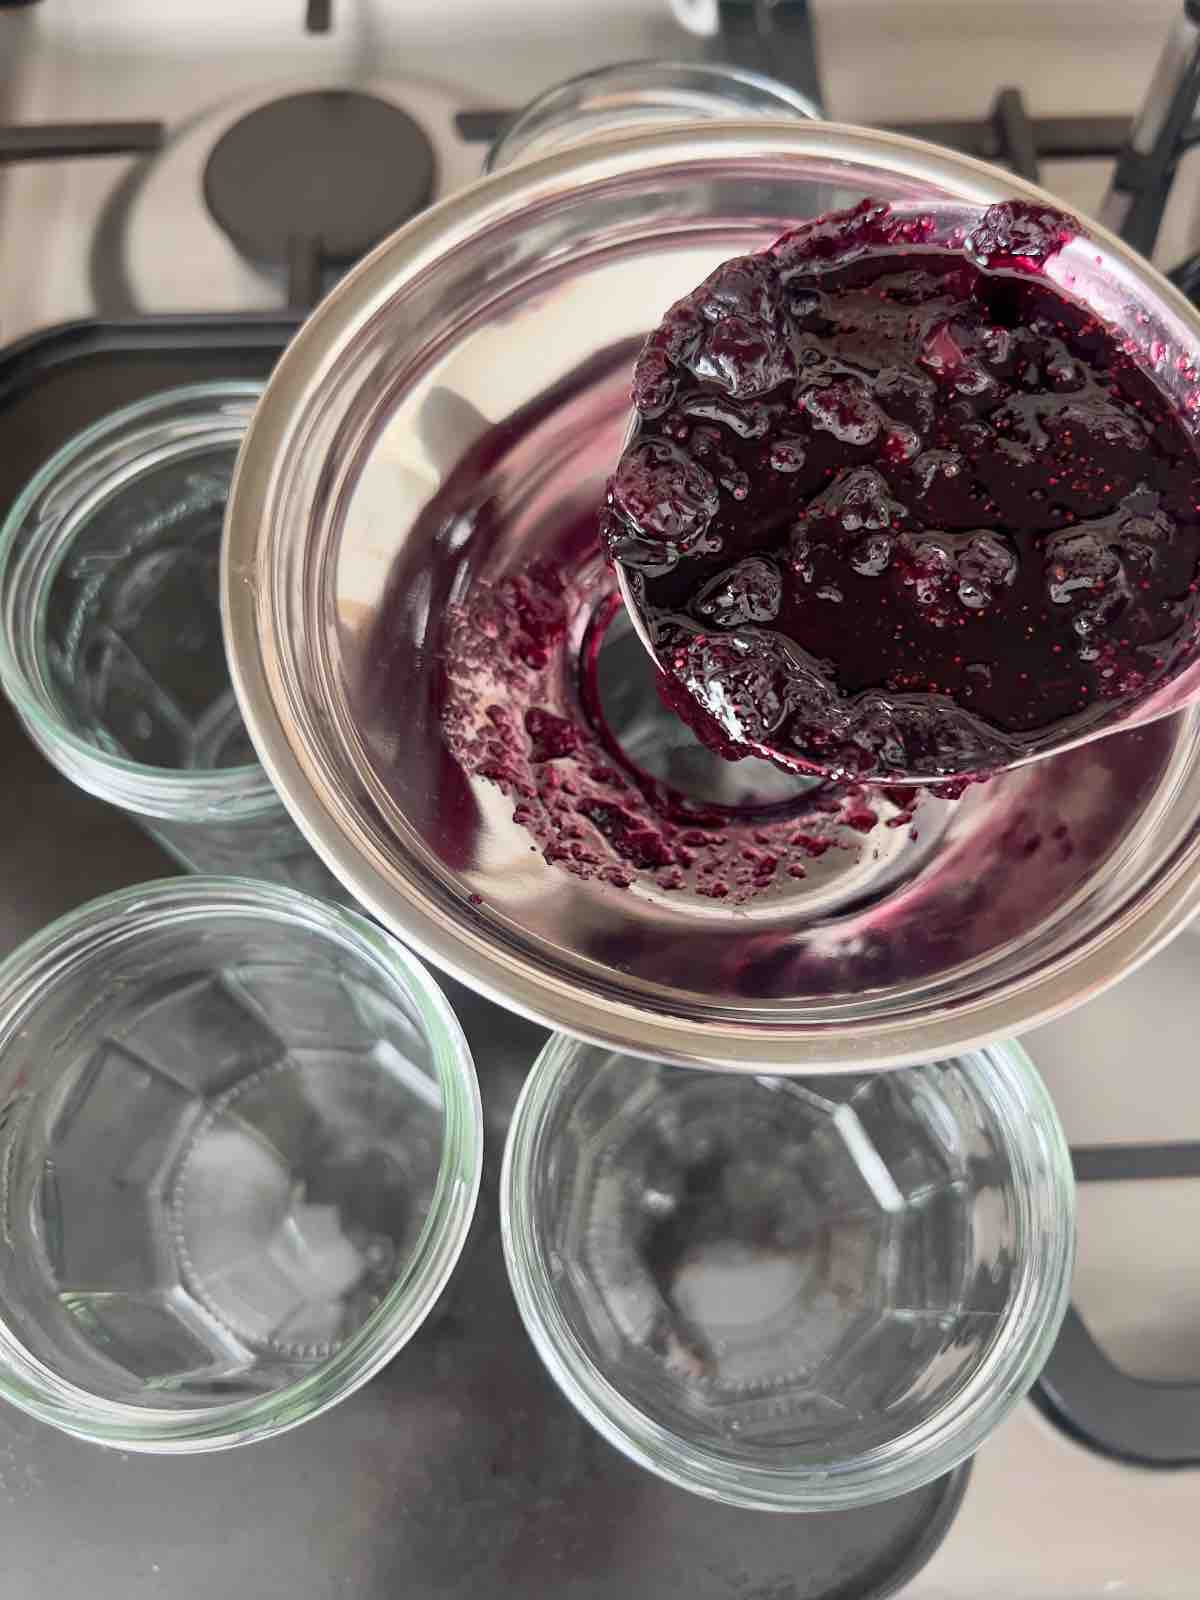
Step 5:
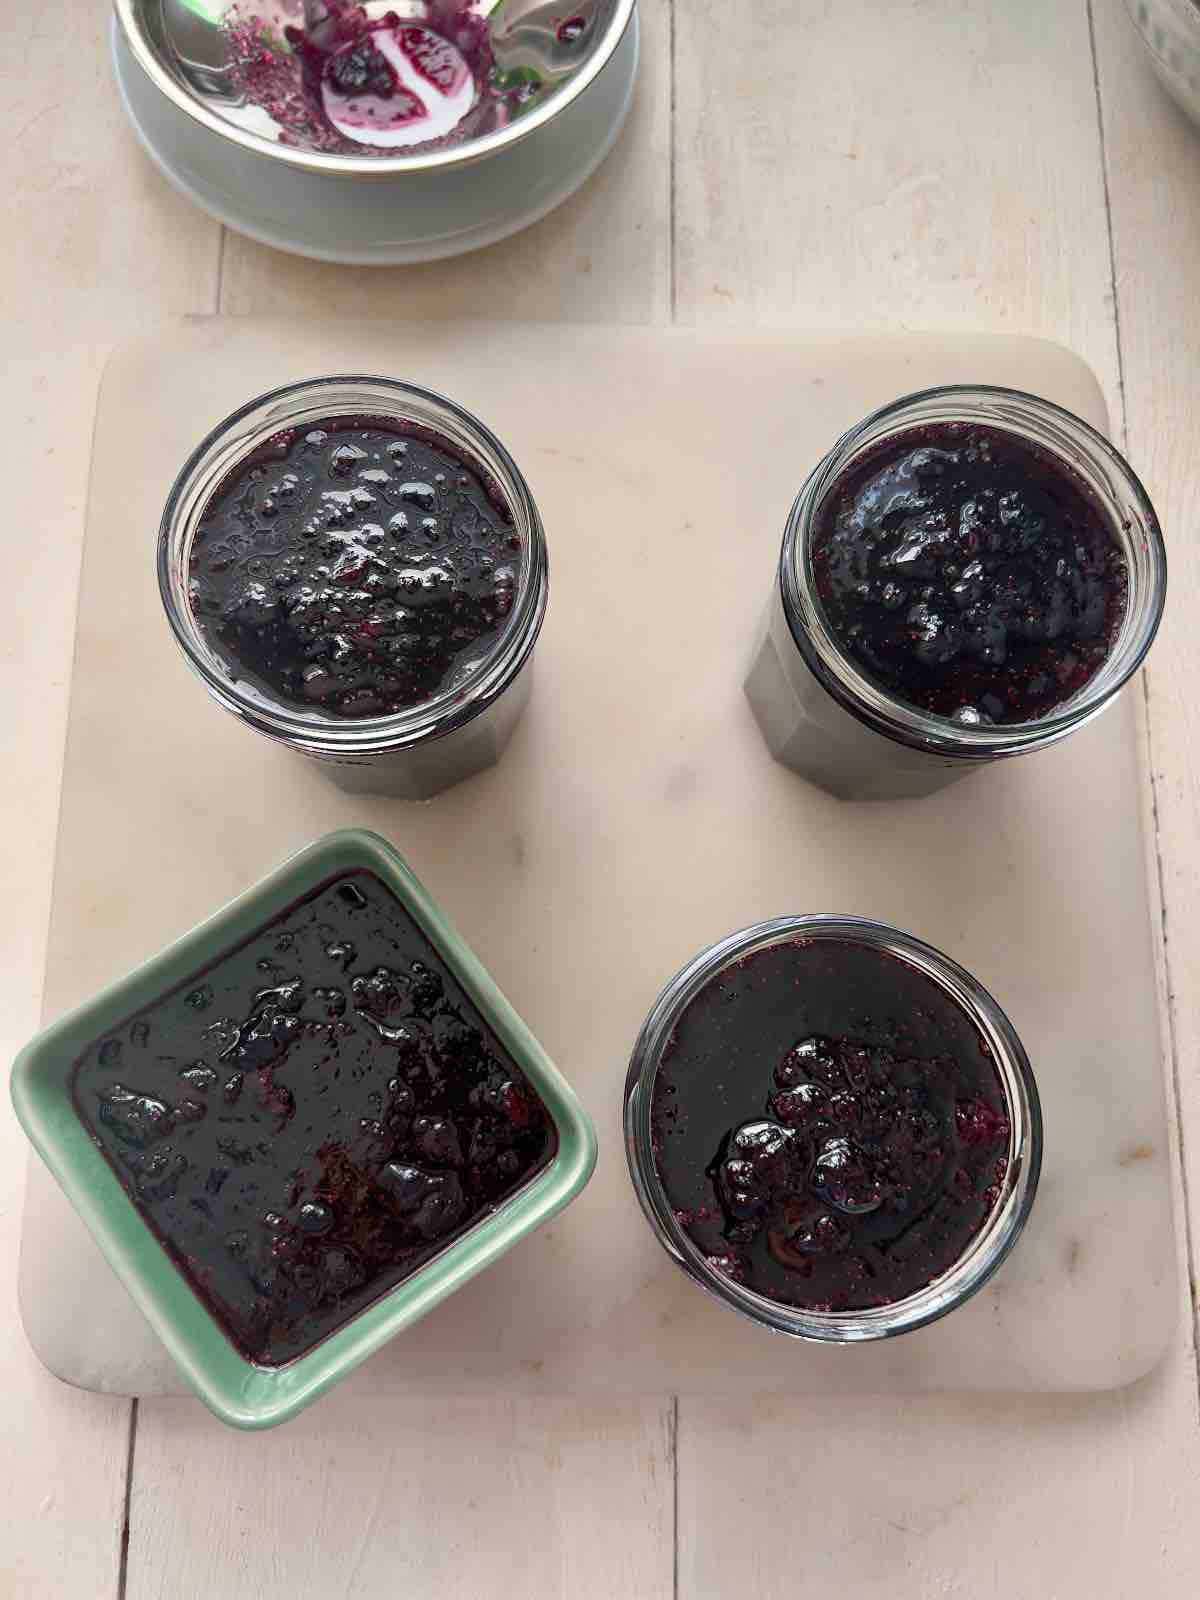
Once your jam is ready, transfer it as soon as possible (whilst still hot) into hot, sterilised jars. Screw on the lids and leave to cool.
You will hear the clicking noise as your jars seal and there will be no bubble in the lid as you press it which is as it should be. It may take some time for it to happen from the moment you put the lids on so don't worry if it doesn't happen straight away.
Step 6:
Let the jars cool completely before applying any labels.
This particular batch of blueberry jam made with 1kg fruit yielded 3 x 370g (324ml/11.5oz) jar + a little extra which I didn't bother putting in a jar and kept it in a small bowl for next day's breakfast.
🫙 Sterilising jars
Using sterilised jars for your blueberry jam will prolong its shelf-life considerably.
To sterilise the jars, simply wash them (together with lids) in hot soapy water and dry stood up on a clean baking tray in the oven preheated to 150°C/300°F for 10-15 min. The jars should be straight from the oven when you pour in your hot jam.
***Quick Tip*** Never pour hot jam into cold jars as temperature difference will make them shatter.
As jar lids are made using different materials and some include plastic, oven is not really a good option here (unless you're sure the lids are 100% metal). They can, however, be sterilised by putting them in a pan of cold water and bringing to boil for about 10 minutes. Take them out of the pan with clean tongs and place on a clean kitchen towel to dry.
If your jars have rubber seals boil those as well as hot oven will make them brittle.
You could also sterilise jars, lids and rubber seals on a hot cycle in a dishwasher. Make sure to time it right so that the cycle is finished roughly at the similar time you're ready with your jam.
🥡 Storing blueberry jam
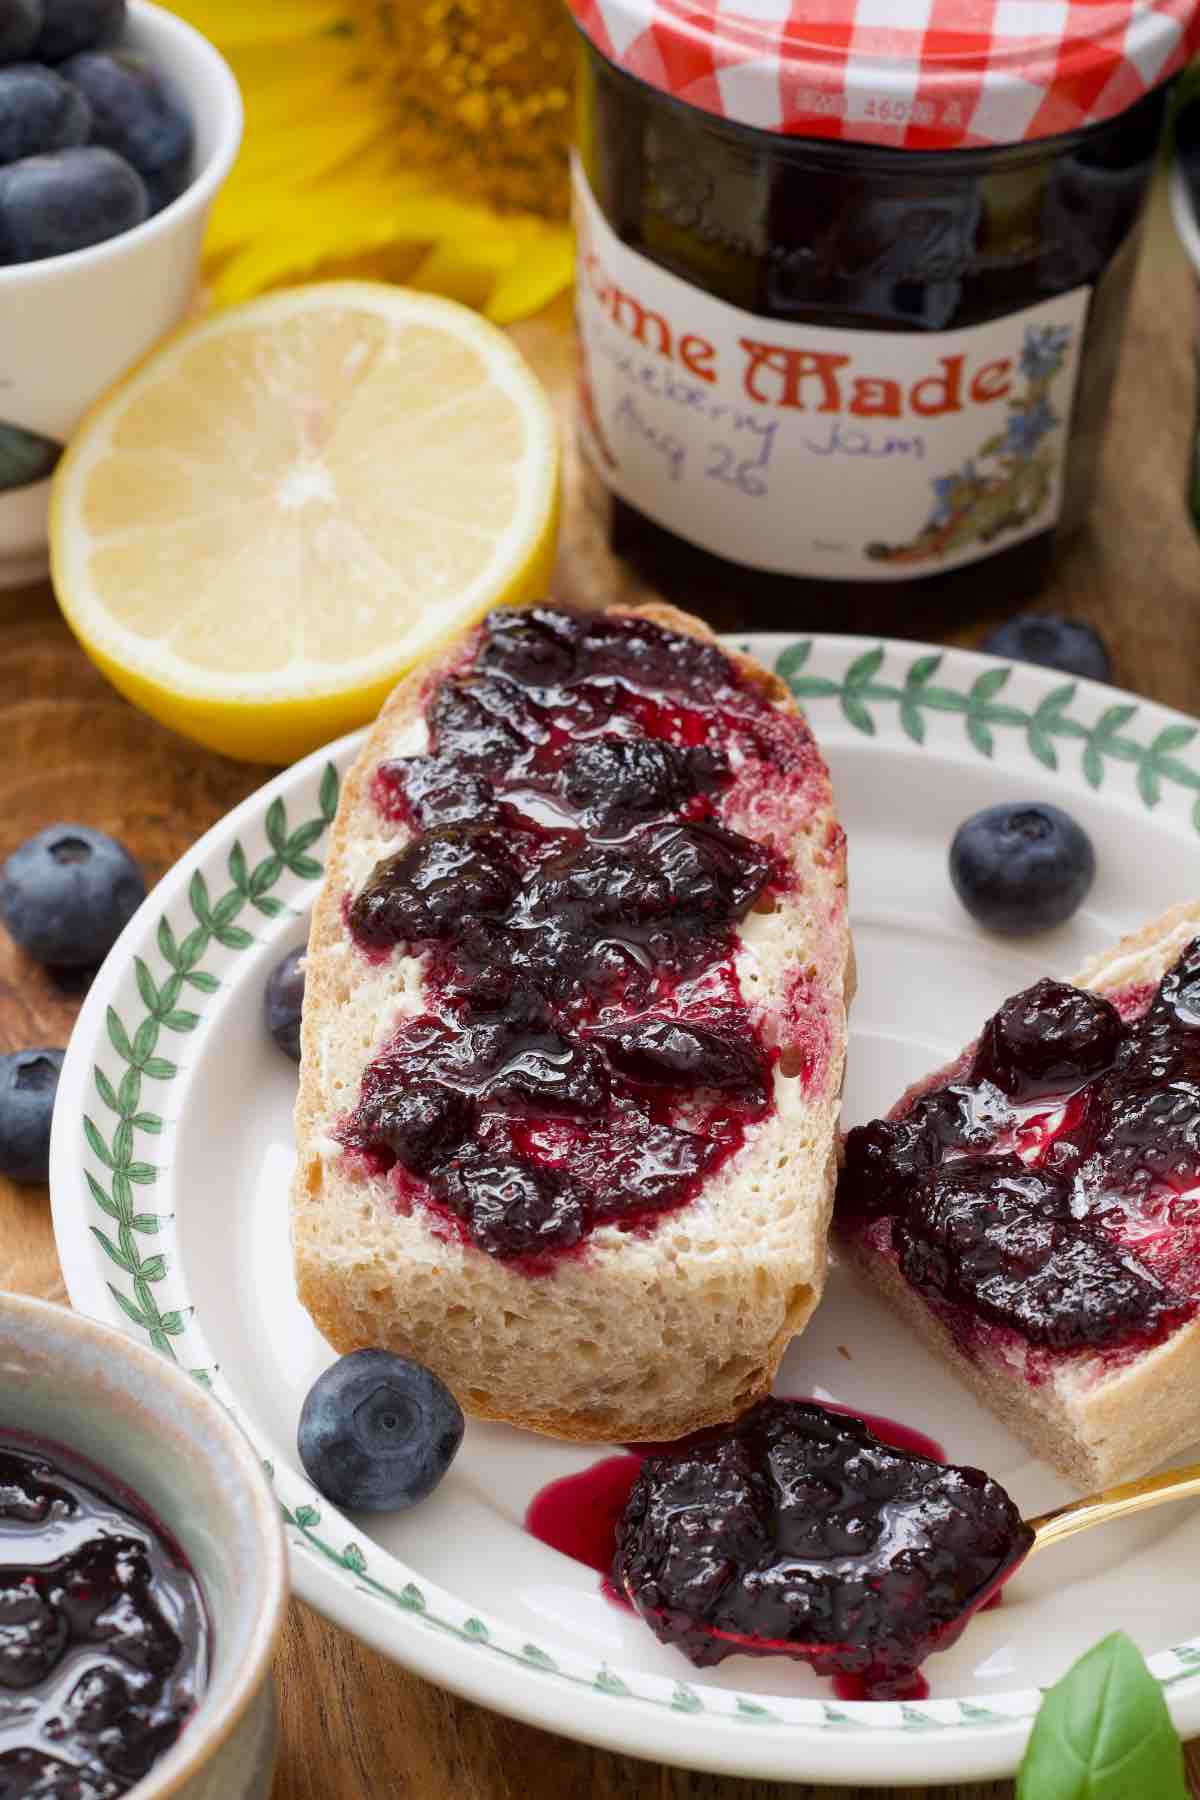
Store: As long as you've sterilised your jars properly and they've sealed nicely, your jam should last a long time in a dark, cool(ish) place, away from direct sunlight.
I keep mine at the back of deep kitchen cupboard and last year's batch was still perfectly fine this year.
Once opened, jam should be kept in the fridge and eaten within a month or so. It will last longer if you use fresh spoon every time you use some.
🍽 Equipment
You can make any jam without fancy equipment but for regular jam makers with a budget, there are few pieces of kit which will make your life easier:
Large Stainless Steel Stock Pot or Preserving Pan
Personally, I use my trusty old 5.5 ltr stock pot (although larger capacity might be better) I've had for years as I simply do not have storage room for any extra pans. If I did, however, I would treat myself to proper preserving pan which is definitely made for purpose.
Thermometers
Simple and inexpensive jam thermometer which you attach inside your pan will let you know when your jam has reached setting point.
Personally, I prefer using my digital thermometer but both are really great at eliminating guess work.
***Pro Tip*** Even though I use thermometer, I still double check the set using cold saucer "wrinkle test" just to be sure.
If I had to choose a singular piece of equipment for jam making it would be it. Forget messy jar filling, this little gadget makes it a breeze.
💭 Pro tips
Clean and go through your blueberries. You don't want any stalks or other debris to contaminate your jam. Also make sure to discard any mushy ones that are past their best.
The wider your pan the better. And this is why using purpose made preserving pan is beneficial. The reason being that there is more surface area allowing for quicker evaporation of extra liquid. There is also enough height for jam not to boil over.
Make sure all the sugar has dissolved before cranking up the heat. This first stage is really important as undissolved sugar will cause jam crystallisation when it cools down which affects its consistency. Low and slow, stirring often is the key.
Sugar ratio. I have reduced the amount of sugar from the standard 1:1 fruit to sugar ratio and used 1kg blueberries to 700g sugar. The jam is still very sweet but I wouldn't recommend reducing it any further unless you're not fussed about the shelf-life of your jam as sugars acts not only as a sweetener but also preservative.
Always take the pan off the heat when checking for set (doing the "wrinkle test"). You don't want to overcook your jam (oh yes it's possible).
If reusing jars and lids give them a good check. Most of the time glass jars will be fine and can be reused for years. As far as lids go, they do deteriorate with time and if reused numerous times they might get deformed and not create a proper seal. Replacement lids in different sizes are readily available online.
Don't panic if your lids don't pop or click straight away. It takes time for it to happen and sometimes it's quick and sometimes it takes longer. As long as you filled hot jars with hot jam and your lids aren't damaged or dented it will happen.
Sterilise more jars and lids you think you'll need. If however you run a bit short or have a very small extra amount left that doesn't warrant a jar, simply pop it in a bowl or any small dish and have on toast for breakfast.
🍴 Serving suggestions
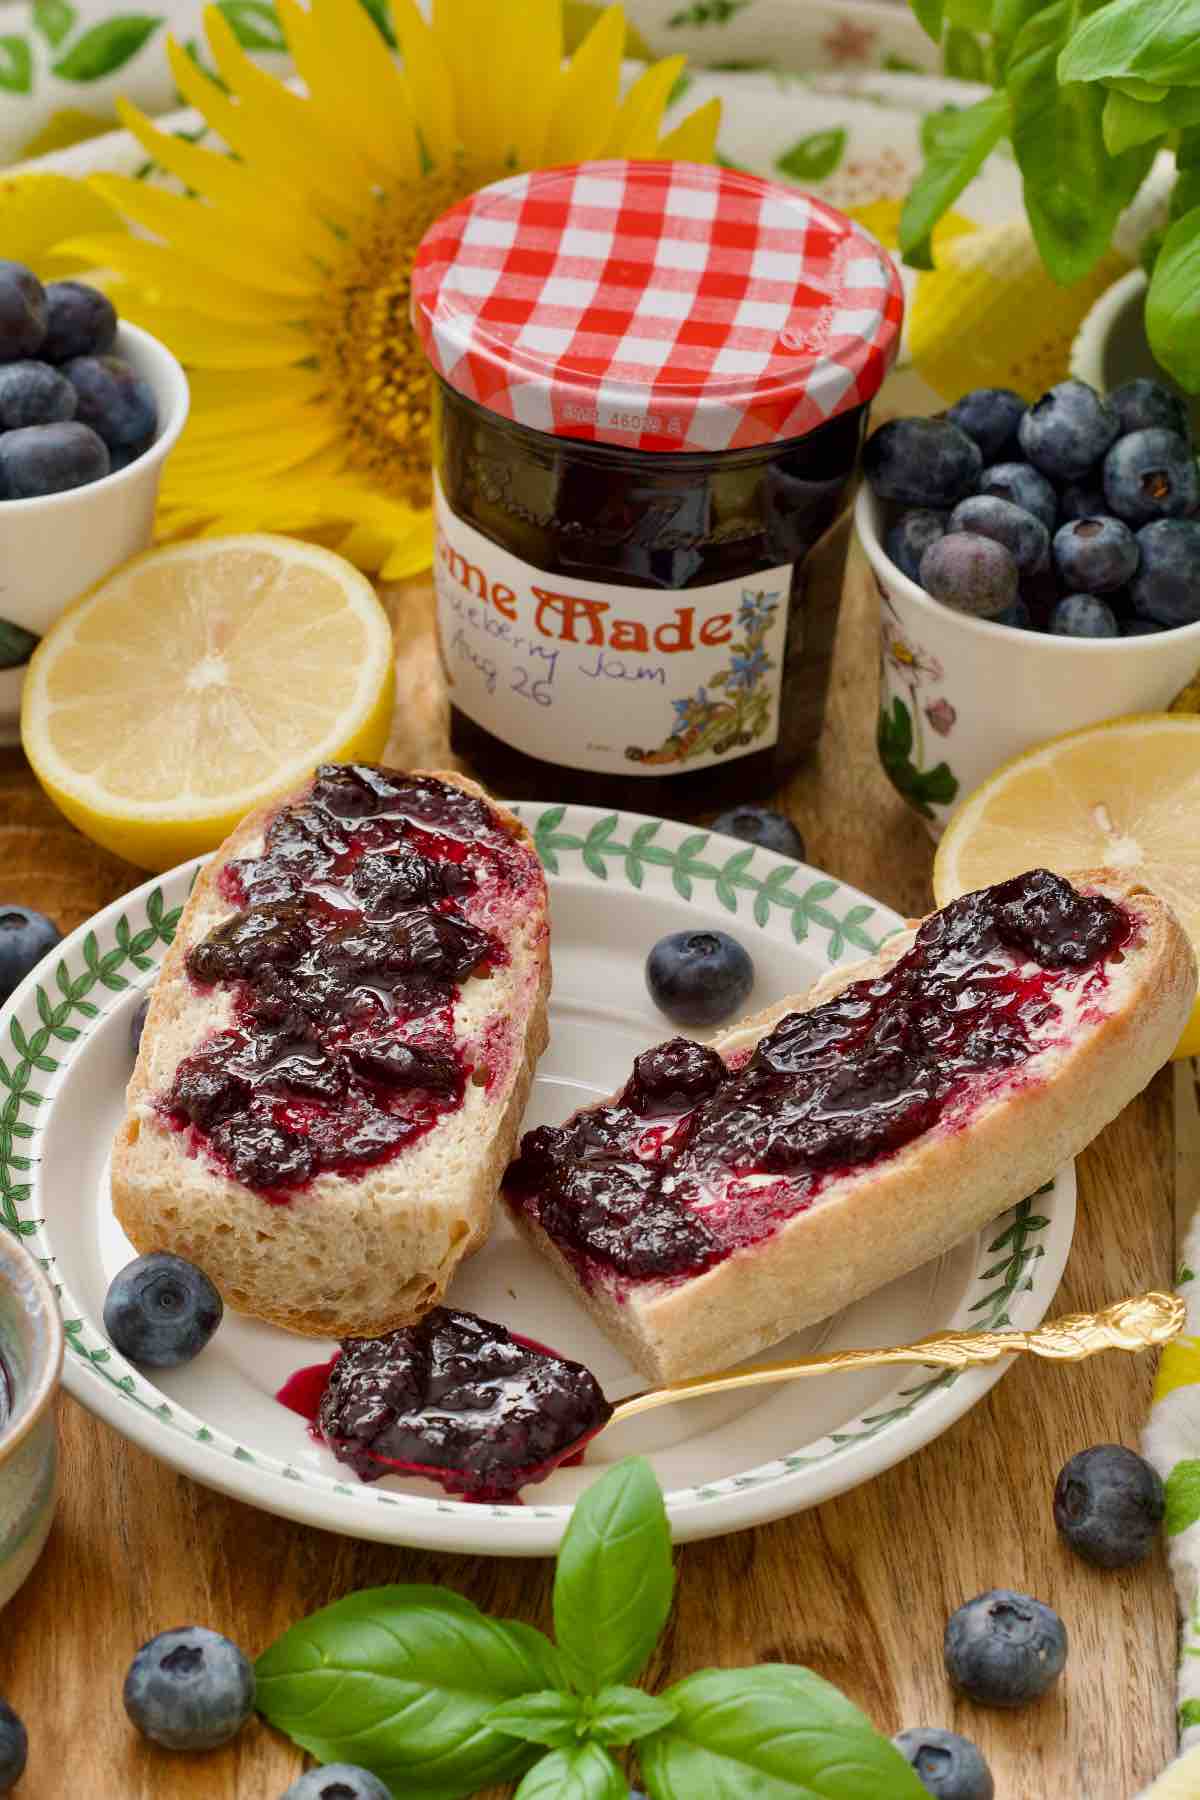
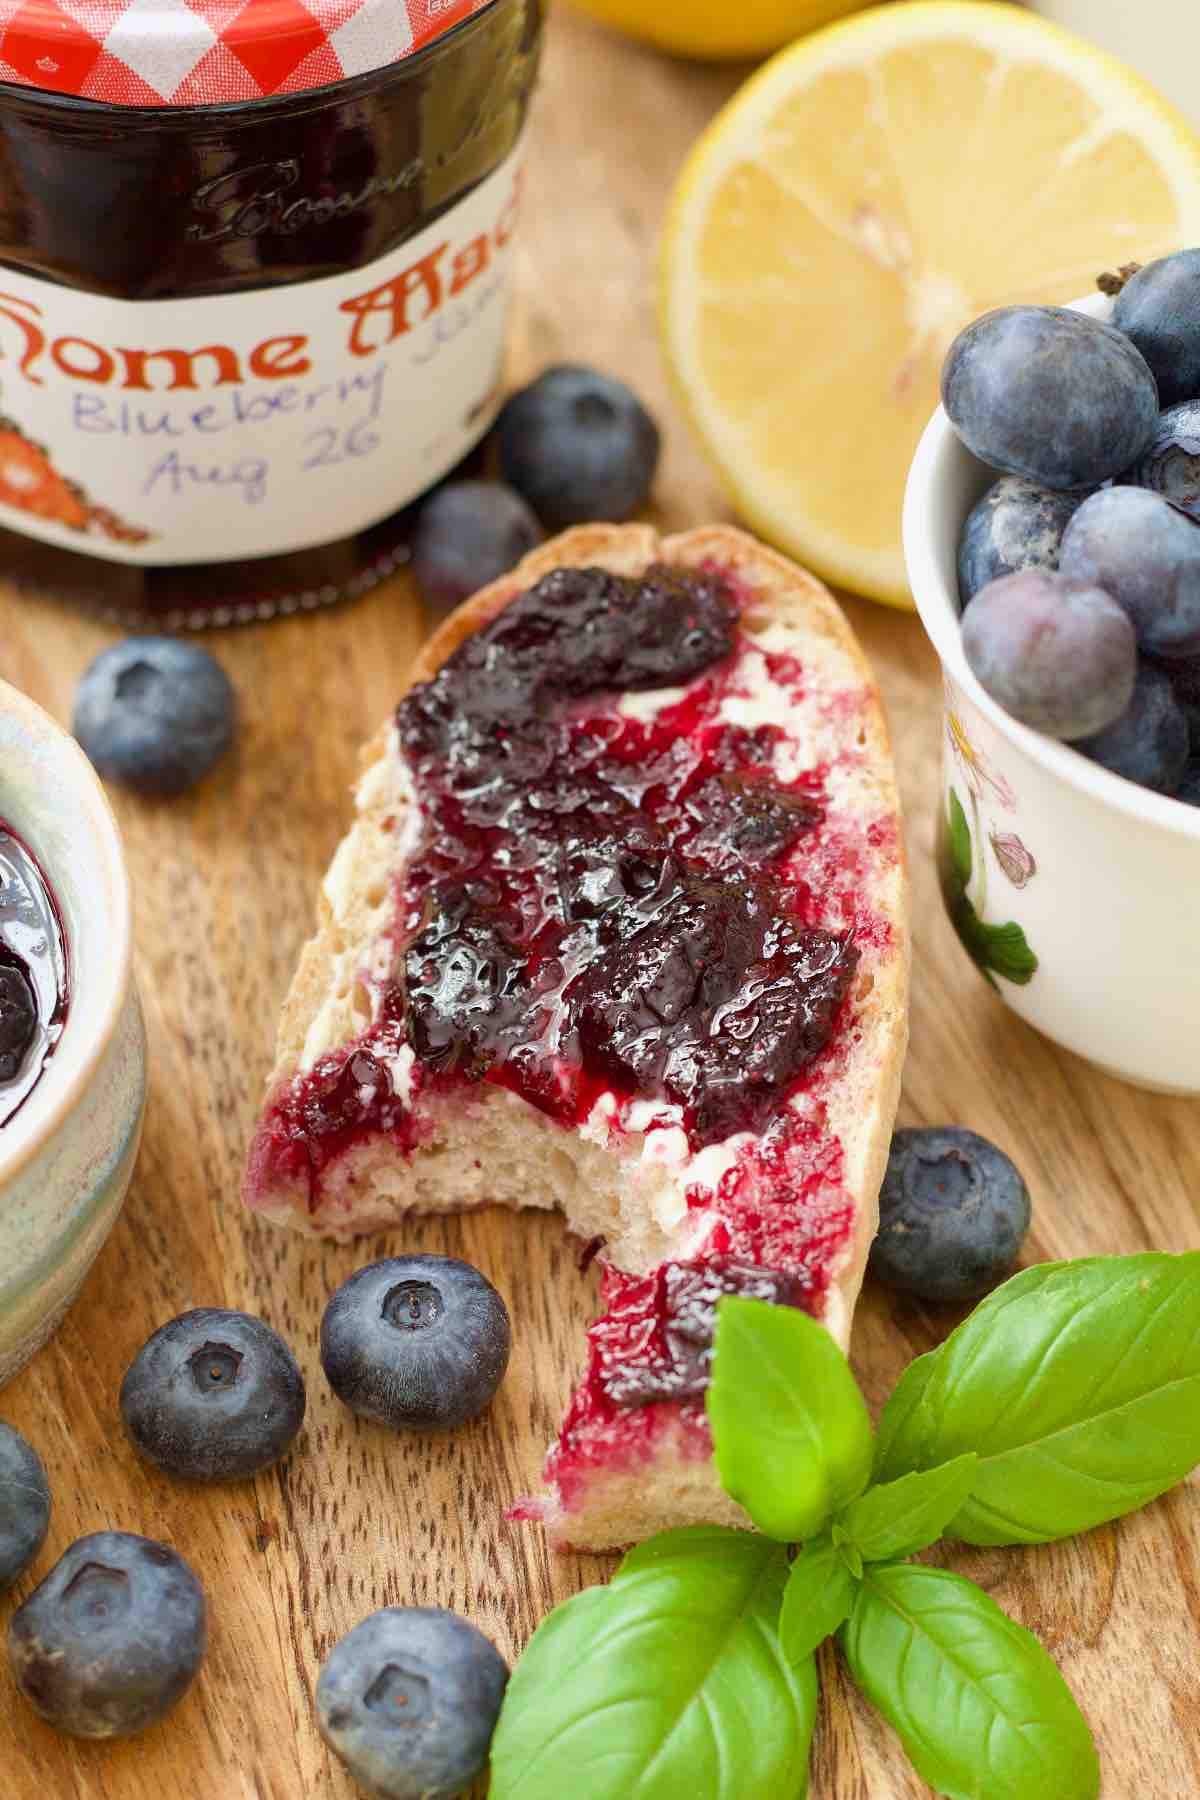
Where do I start...? I'm sure you don't need any advice here, however let me share few recipe ideas that go really well with my blueberry jam.
Crumpets are such a great base for butter and jam. Let's go!
If like me you love combination of peanut butter and jam, I would highly recommend it on top of homemade cinnamon and raisin bagels. To die for.
I absolutely adore adding a dollop of jam to thick Greek yogurt and granola or a bowl of steaming hot porridge. Yum!
And don't forget pancakes, whether you prefer English pancakes or fluffy ones, blueberry jam topping can make them even more delicious.
Cream tea anyone? Get those scones ready. And if you fancy a change from strawberry in your next Victoria sponge, by all means go for it. Blueberry jam will work a treat.
❓ FAQ
I have never used sweeteners when making jams so cannot advise, sorry.
No you don't. This is something I do when making most of berry jams but you absolutely don't have to.
If it's just one jar I wouldn't worry too much, just pop it in the fridge and use it first within a month or so. There is nothing wrong with the jam but as seal wasn't created it cannot be kept out of the fridge, that's all.
Have you tried my Easy Blueberry Jam (No Pectin)?
Please consider giving it ⭐️⭐️⭐️⭐️⭐️ rating in recipe card below and share your views or tips in the comments.
😋 Other jams you might want to try
Easy Blackberry Jam (No Pectin)
Easy Plum Jam Recipe (No Pectin)
📋 Recipe
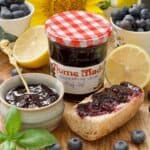
Easy Blueberry Jam (No Pectin)
Equipment
- Preserving Pan or any large stainless steel pan (stock pot)
- 2-3 small plates/saucers for "wrinkle" test
- 3-4 jam jars with lids I used 3 x 324ml(11.5 oz) jars and had some extra jam left which I put in a small bowl to have for breakfast.
Ingredients
- 1 kg blueberries fresh or frozen
- 700 g granulated or caster (fine) sugar
- 4 tablespoon lemon juice or more, see notes
Instructions
- Place 2-3 small saucers in the freezer for "wrinkle" test (set test) later. Sterilise the jars. Refer to 🫙 Sterilising Jars above. Start by washing and sorting your blueberries, removing any stalks that might be attached and discarding any mushy ones. Put prepared blueberries in a large pan and give them a little mash with potato masher to break them down slightly and release their juices a little quicker (optional).1 kg blueberries
- Add lemon juice and sugar and give the mixture a good stir.700 g granulated or caster (fine) sugar, 4 tbsp lemon juice
- Put the pan on a low-medium heat and simmer gently (stirring from time to time) until all the sugar has dissolved.It might take anything between 10-15 minutes and even longer if using frozen berries.
- Once the sugar has dissolved, bring jam mixture to rolling boil for approximately 15 minutes. Do watch it but try not to stir it during this phase which will lower the temperature of the mixture and might also encourage crystallisation (formation of sugar crystals in the jam which affects its texture). ***Quick Tip*** You can of course gently stir it once or twice to make sure it's not burning at the bottom but don't overdo it.
- Once 15 minutes is up and if you have digital thermometer you can check whether your jam has reached setting point by checking its temperature. You are looking for 105°C/221°F or higher, anything below continue boiling for another 5 minutes and check again (every 5 minutes) until you reach desired temperature.***Quick Tip*** Even though these days I always use my digital thermometer when making jam, I still use the "wrinkle test" on a cold plate to double check the jam is indeed set. Better to be safe.
- If you don't have a thermometer, take the pan off the heat to do the "wrinkle test" by placing small amount of jam on the saucer straight out of the freezer. Put it into the fridge for 1-2 minutes and once out push the jam gently with your finger. If it "wrinkles" and stays in place it’s ready. If it doesn’t then continue boiling your mixture and check it every 5 minutes until you get the set.When making this particular batch it took me approximately 35 minutes to reach setting point.
- Once your jam is ready, transfer it as soon as possible (whilst still hot) into hot, sterilised jars. Screw on the lids and leave to cool. You will hear the clicking noise as your jars seal and there will be no bubble in the lid as you press it which is as it should be. It may take some time for it to happen from the moment you put the lids on so don't worry if it doesn't happen straight away.
- Let the jars cool completely before applying any labels. This particular batch of blueberry jam made with 1kg fruit yielded 3 x 370g (324ml) jar + a little extra which I didn't bother putting in a jar and kept it in a small bowl for next day's breakfast.
Notes
- Nutritional information is per jar based on 4 x 324ml (11.5oz jars), is approximate and should be treated as a rough guideline only.
- I used lemon juice in ratio of 1 tablespoon per 250g of blueberries. You can use more than that but don't use less as it will affect set.
- The recipe can be scaled up or down but keep the ration of sugar and lemon juice.
- The jam will keep in a cool(ish) place away from direct sunlight for months (providing you sterilised the jars and they sealed properly. Once opened keep in the fridge and use within a month.
Comments
No Comments