
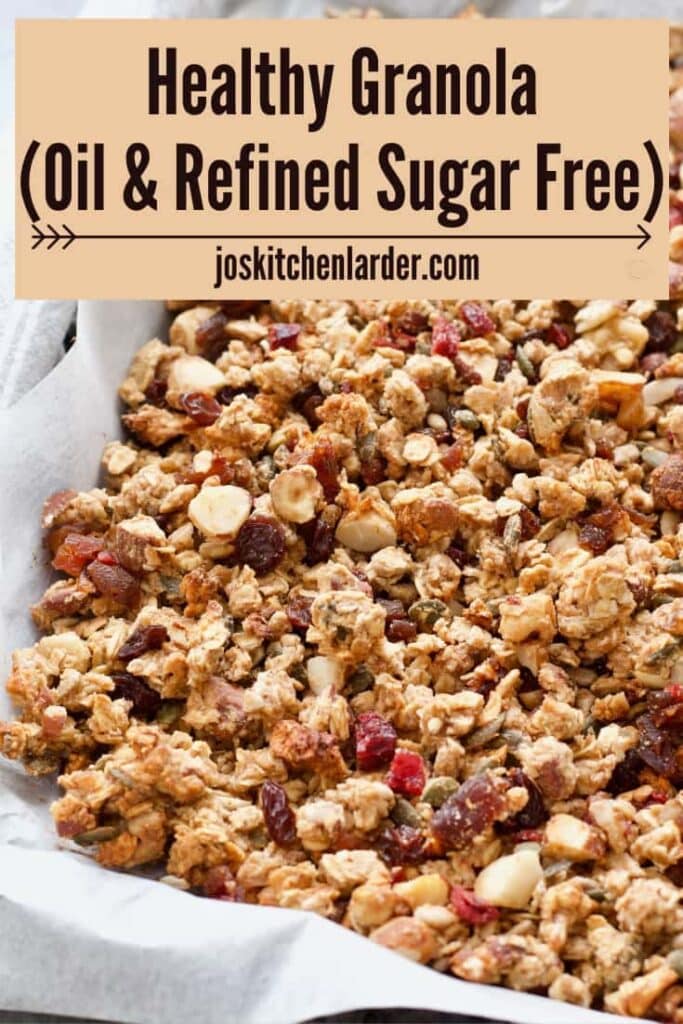
Making your own homemade granola is easier than you think! Enjoy it for healthy breakfast, as a snack or even dessert. It's sweet, nutty and full of crunchy clusters - simply irresistible! (Oil & Refined Sugar Free)
My homemade granola has become something of a breakfast staple in our house. It really is the best granola recipe around!
It's perfect for when there is no time for long winded prep as it allows me to throw a quick brekkie together in a matter of seconds.
Not only is homemade granola easy to make but it's also more economical and tastier than shop bought varieties which tend to be quite pricey.
It also goes without saying that making it yourself you can ensure it is much healthier.
My version which doesn't include any oil and refined sugar will help you achieve that!
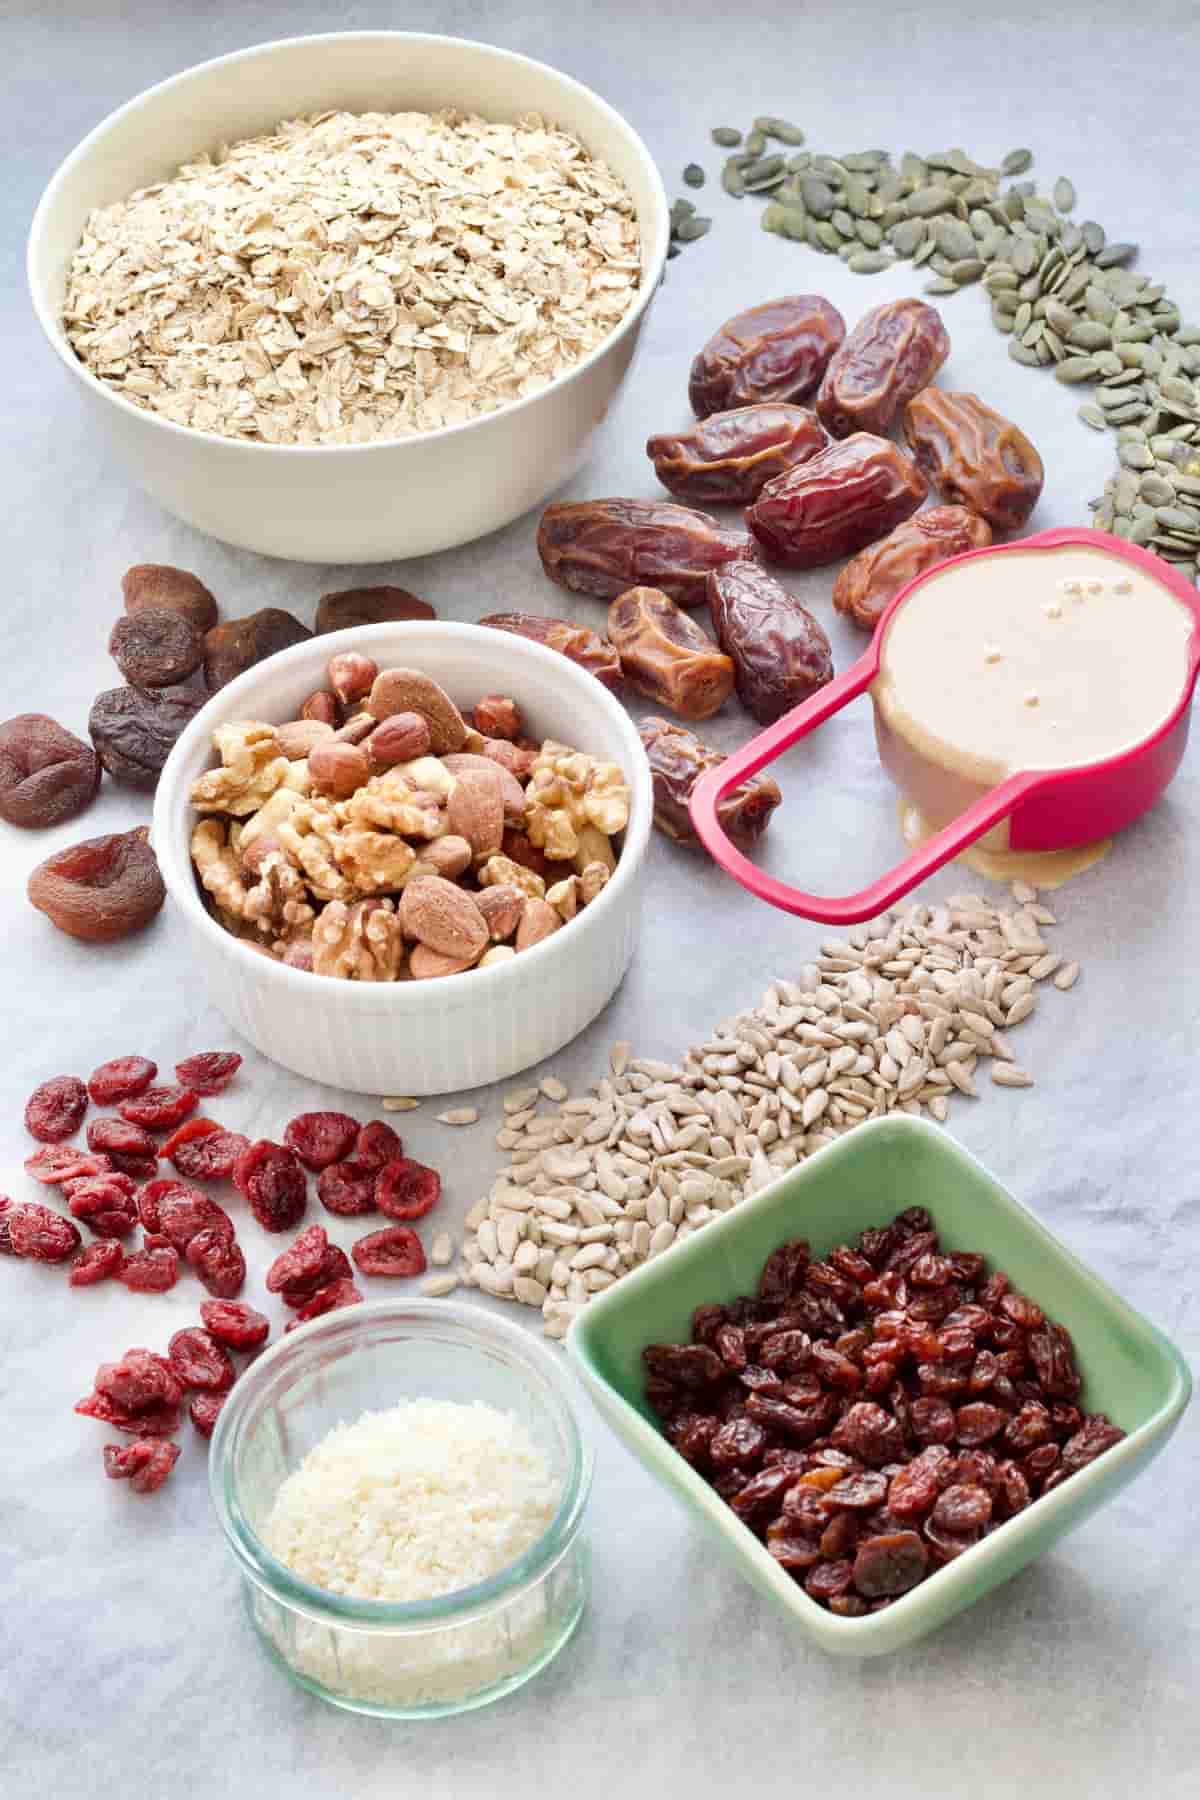
Ingredients
Oats - Make sure to use jumbo (old-fashioned) ones which haven't been processed as much as porridge oats and are much better for granola and getting those delicious and chunky clusters!
I use Flahavan's Organic Jumbo Oats which you can get online or in most supermarkets in the UK.
For gluten-free granola make sure to use gluten-free certified oats.
Nuts - I tend to use mixed nuts here as we love variety but it's completely up to you. Use your favourite ones.
If you're allergic to nuts, simply leave nuts out and increase the amount and variety of seeds you use.
Seeds - Pumpkin and sunflower seeds are our seeds of choice but feel free to add linseed, sesame and perhaps hemp seeds too if you want.
Dried fruit - Choose whatever dried fruit you like. We tend to go for raisins, cranberries and apricots.
Desiccated coconut - I adore coconut and love to have it in my granola. You could use coconut chips instead but make sure to add them to the tray with granola only for last 10 minutes of baking as they burn ever so easily.
You can also leave it out if not a fan.
Dates - Natural sweetener. Medjool dates are by far the best but any dates will do. Make sure to remove pits from your dates or get pitted ones if you can.
Both Tesco & Sainsbury's sell reasonably priced organic ones.
Tahini - This delicious, Middle Eastern sesame paste acts as a glue that helps with achieving those yummy clusters.
We go through a lot of tahini in our house so I buy it in bulk online as small, supermarket jars can get quite expensive. I highly recommend Pipkin Organic that comes in 900g container and is beautifully creamy and delicious.
Blended together with dates tahini turns into this naturally sweet, rich mixture you won't be able to resist to stuck your fingers in when cleaning your blender (caution advised).
Tips for making the best homemade granola
1. Use the best ingredients you can afford. When it comes to oats I always buy organic and look for dried fruits without added sugar (I know, crazy) and preservatives (unsulphured).
2. Make sure to use the baking tray that is big enough. If you want nice and crunchy granola you definitely don't want to overcrowd the pan.
I use one measuring 37x28cm (11x15in) but if you don't have one big enough use two smaller ones instead.
3. When you give your granola a stir every 10 minutes, make sure you don't break it up too much to keep those lovely clusters intact.
4. Don't be tempted to crank up the heat in your oven. Low and slow is the key to successful granola. I use this simple oven thermometer to ensure the correct temperature as my oven's thermostat tend to be all over the place.
5. Don't worry if after recommended 30 minutes in the oven your granola still feels quite soft. It will harden into crispy clusters as it cools down.
6. Always add dried fruit after your granola has been baked to prevent it from burning. Charred raisins are not particularly pleasant, trust me.
7. Let the granola cool completely before storing or it will get soggy.
Can I adapt this granola recipe?
Absolutely! This recipe is very flexible and easy to adapt.
The only thing I would advise you to do is to keep roughly the same ratio of dry and wet ingredients.
Feel free to make this granola nut free and use more (and different varieties of) seeds instead.
When it comes to dried fruit, world is your oyster, use whatever fruit you like.
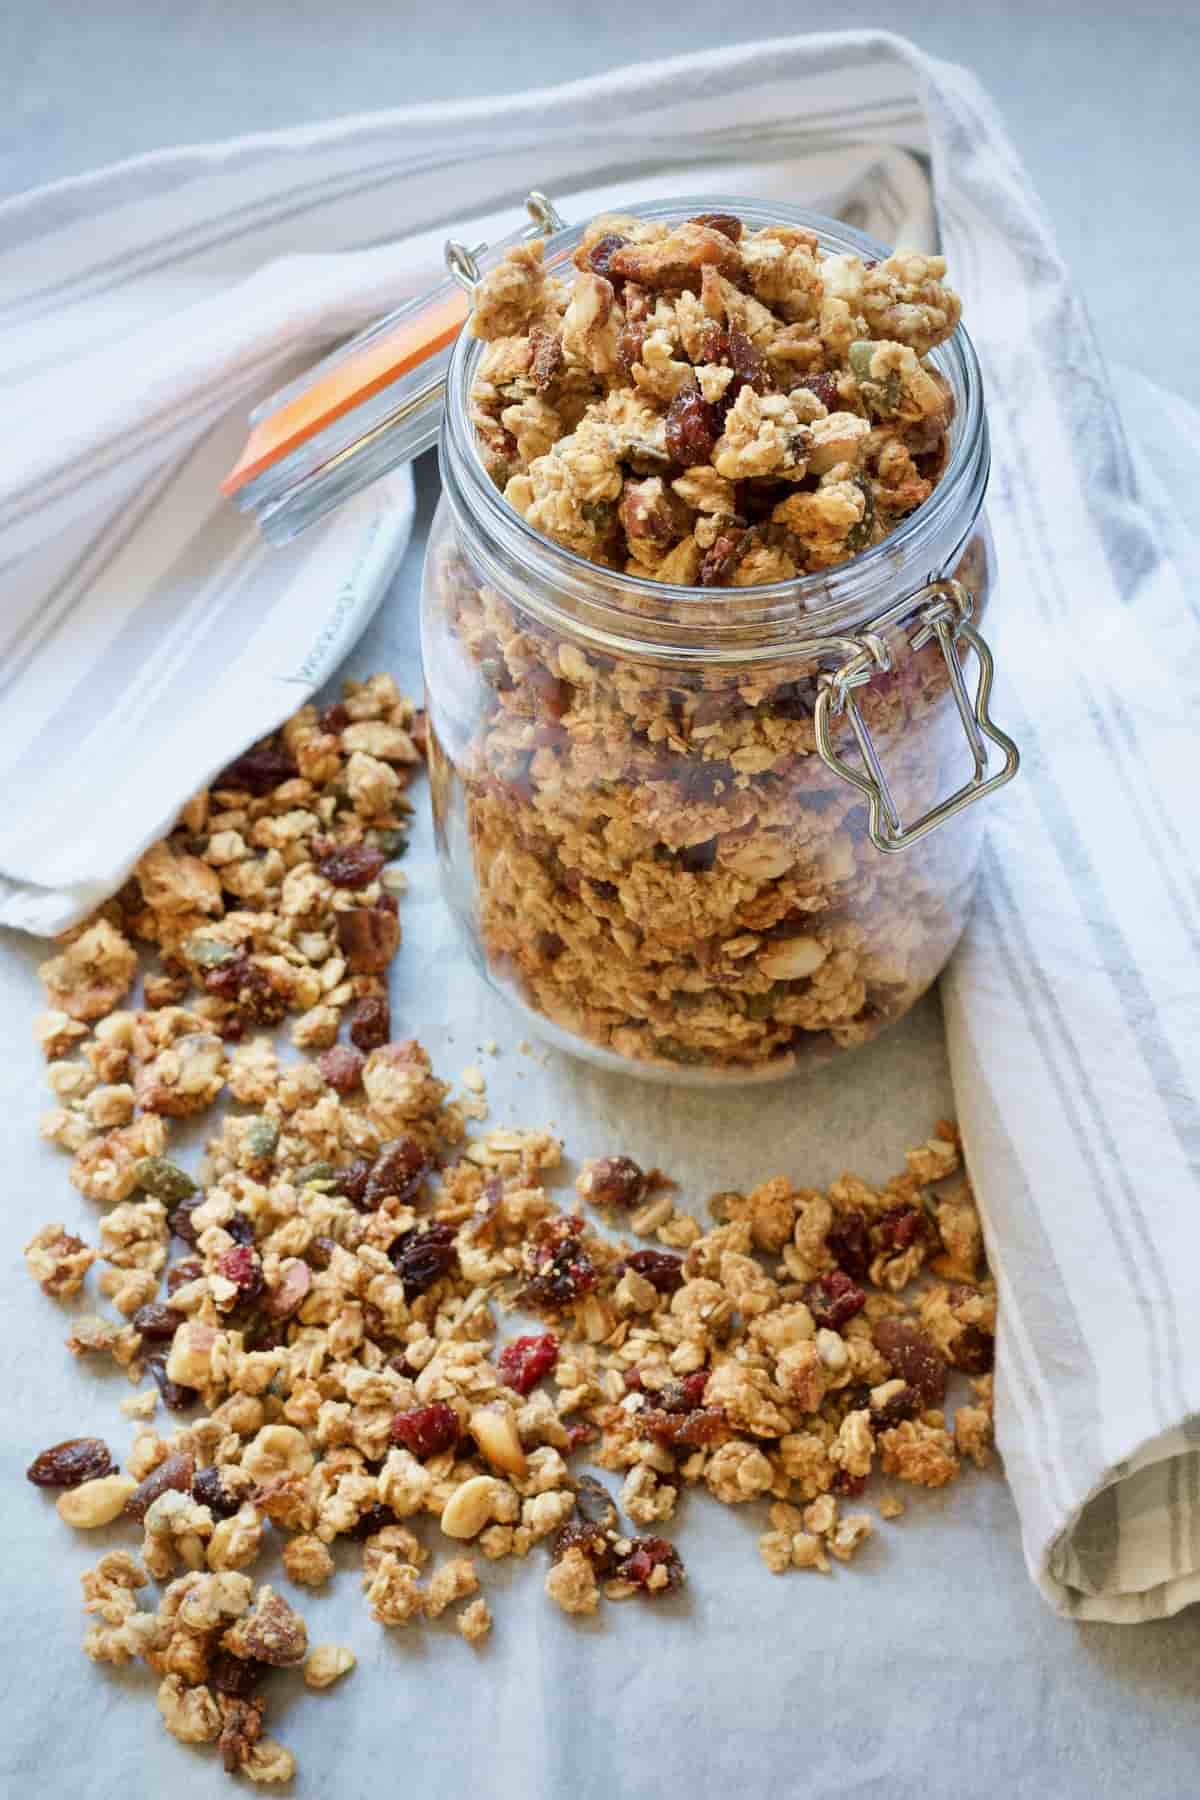
How to store homemade granola?
To keep it at its crunchy best, homemade granola should be stored in the airtight container at room temperature for up to a month.
I would not recommend storing granola in the fridge as even in the airtight container condensation can make it soggy.
How big is a single serving of granola?
My homemade granola recipe yields approximately 950g (2lb) of granola.
Single, healthy serving would be roughly 45g (½ cup).
Homemade granola - serving suggestions
I must admit I love snacking on crunchy granola clusters straight out of the jar and so do my kids. It's pretty much our version of trail mix.
As far as healthy snacking goes you really cannot beat it for a quick mid-morning or mid-afternoon energy boost.
Most of the time, however, we like to eat it simply with milk (homemade oat milk for us) or use it as a crunchy topping for creamy porridge. So so good!
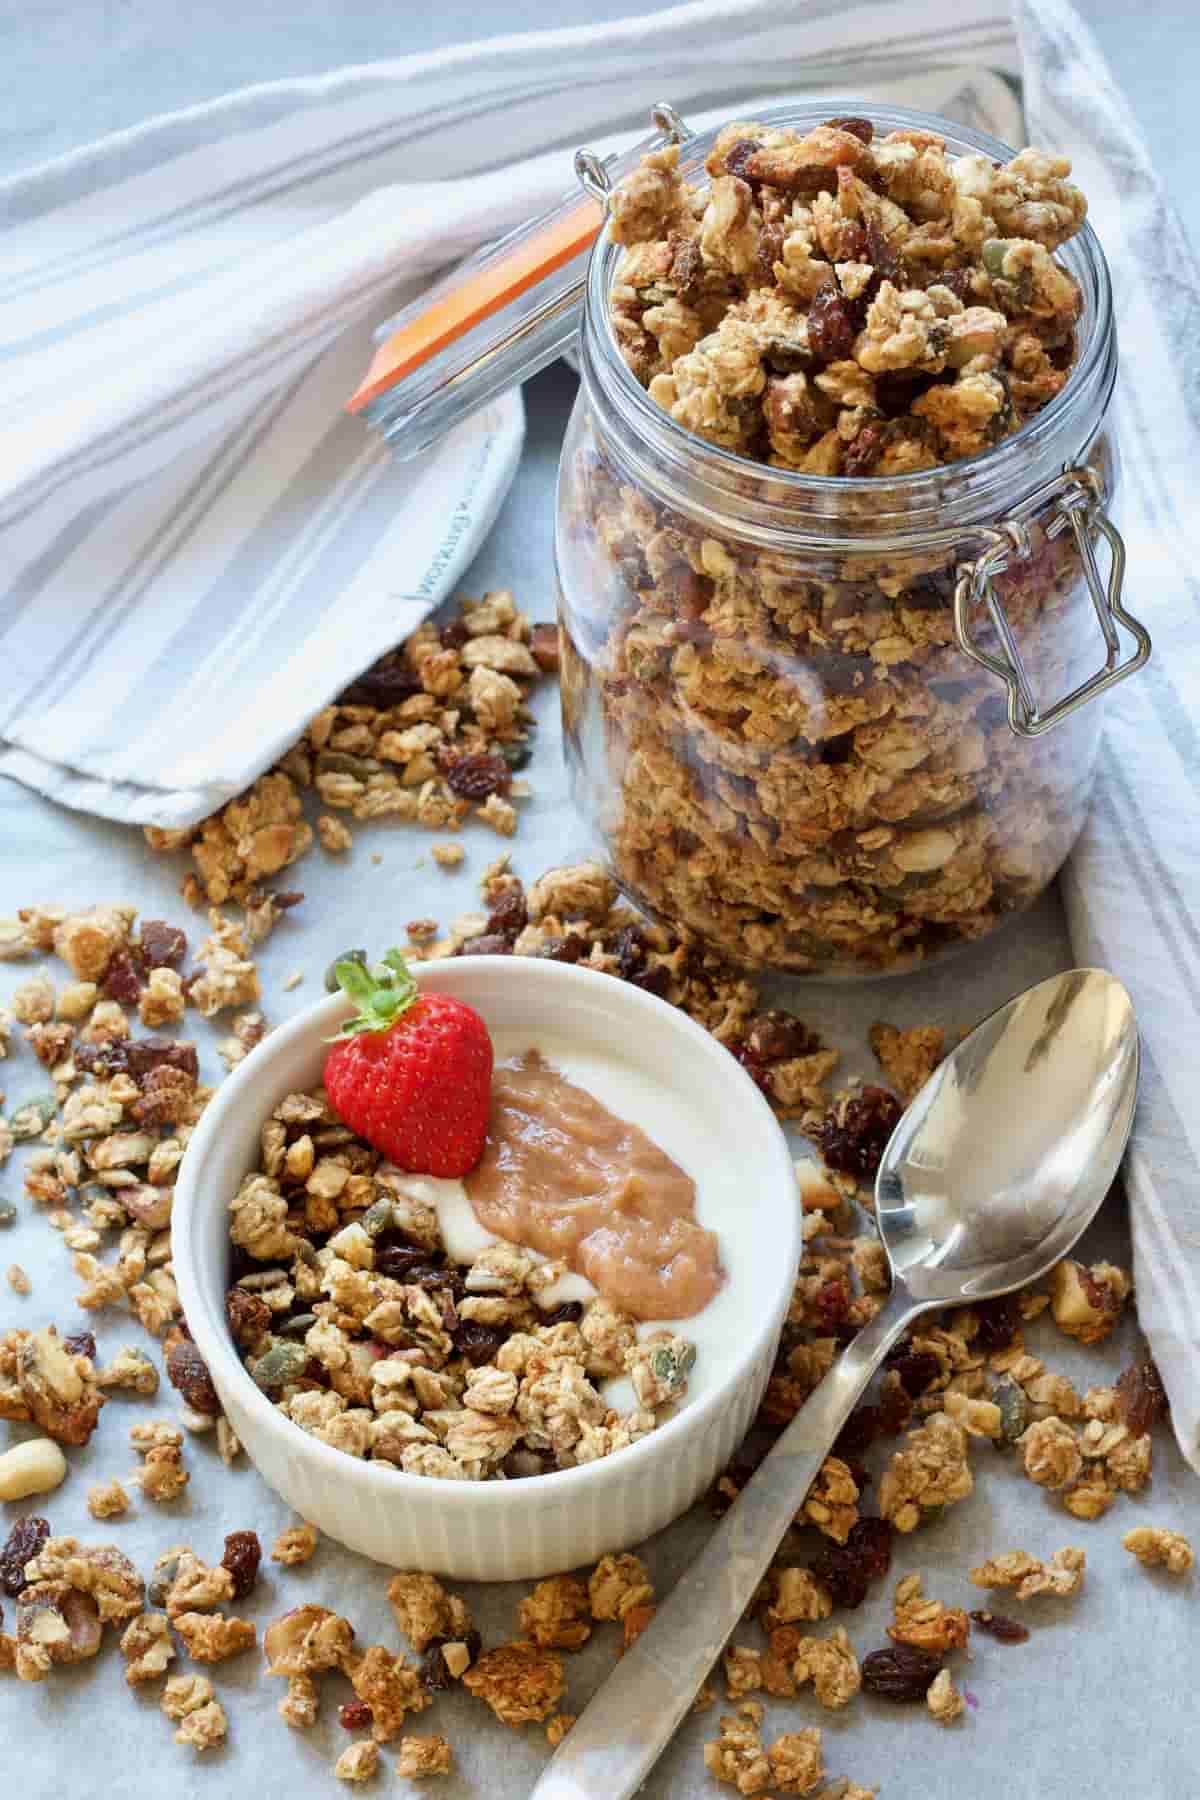
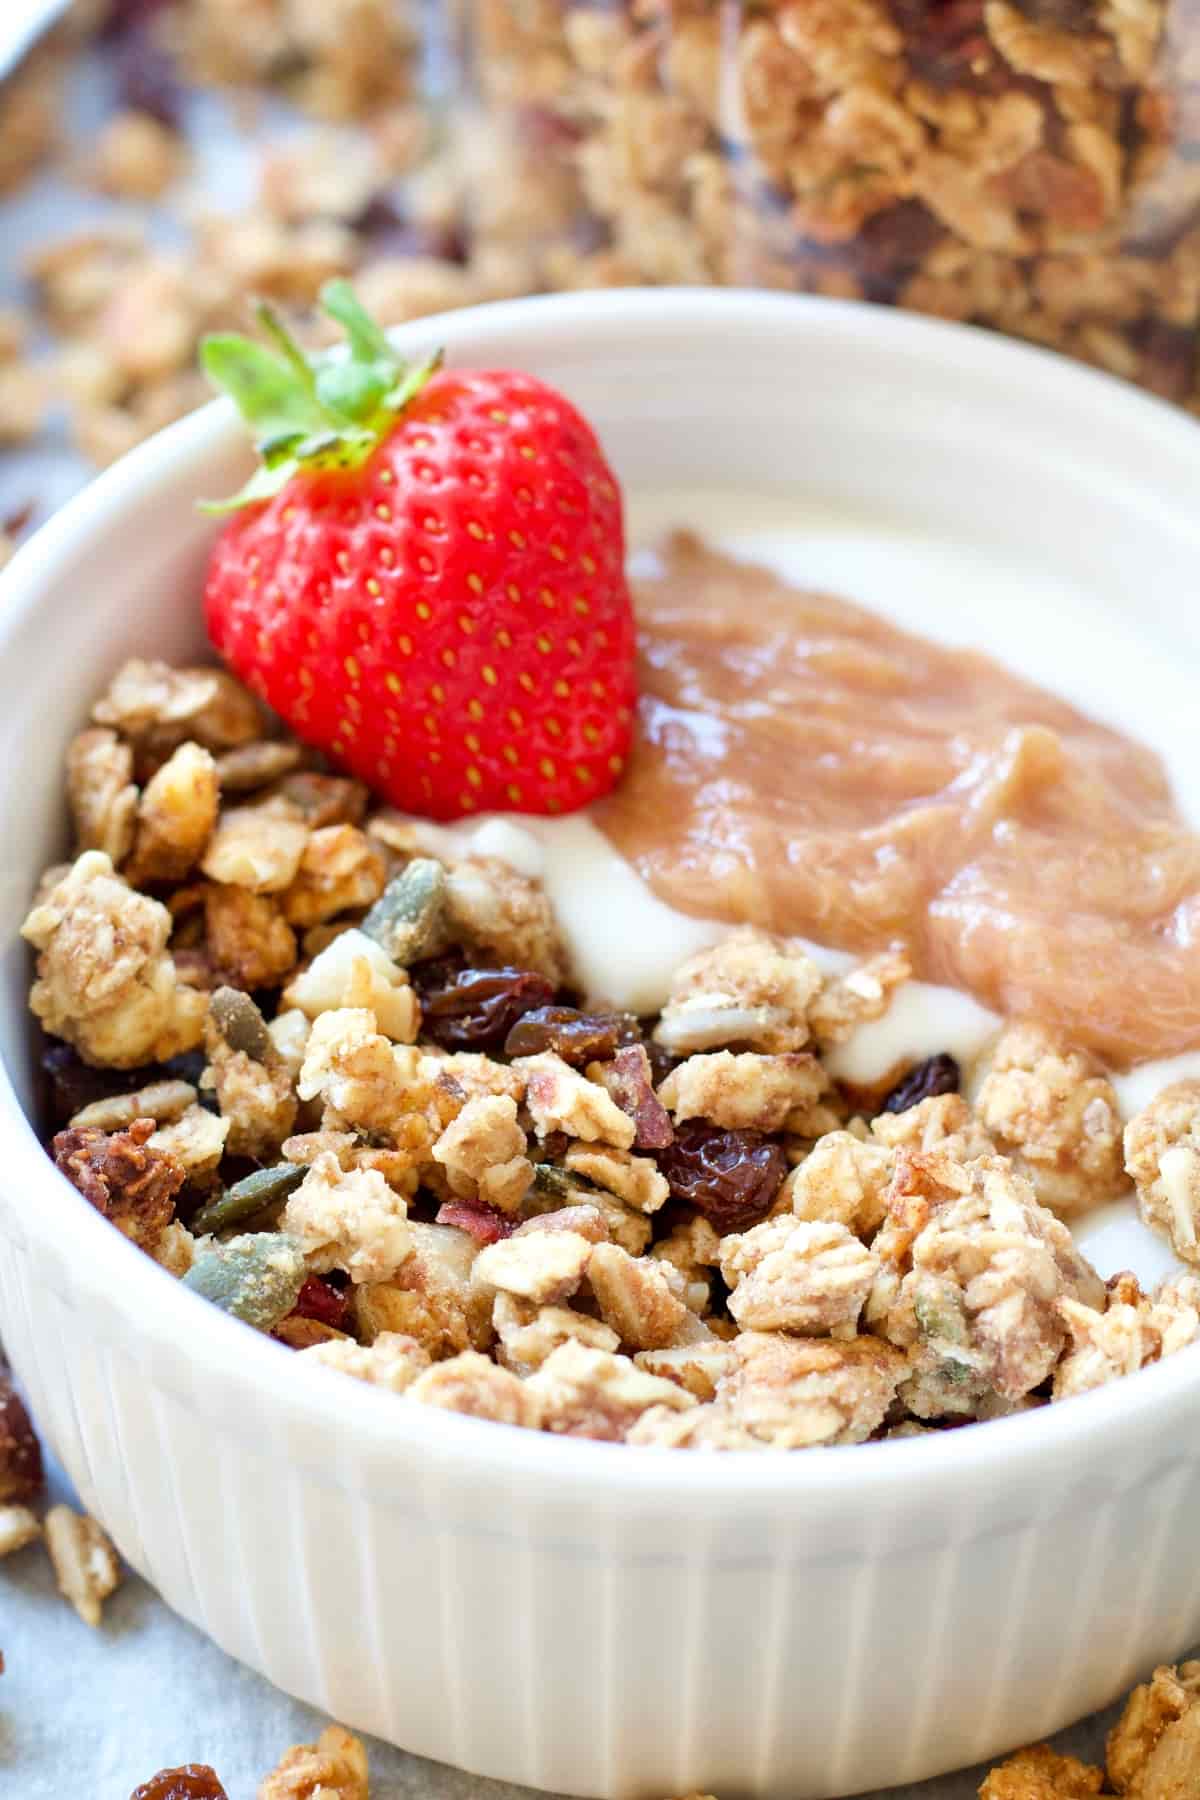
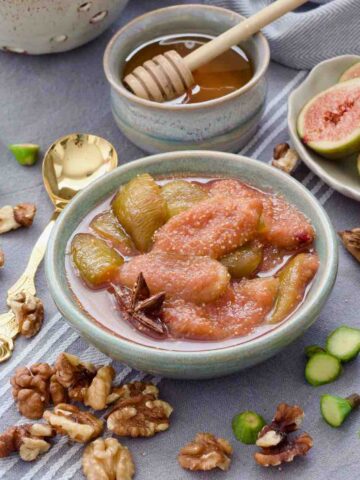
For healthy dessert option you might want to try it with your favourite yogurt and some stewed rhubarb, stewed pears, strawberry coulis, fig compote, although any other fruit compote or even jam will be delicious here too.
And for a little bit of breakfast indulgence, try it with yogurt and my lemon and elderflower curd - pure heaven!
How to make homemade granola - step-by-step
- Start with pitting Medjool dates and covering them with 60ml (¼ cup) of freshly boiled water. Let them sit in water for 5-10 minutes to soften.
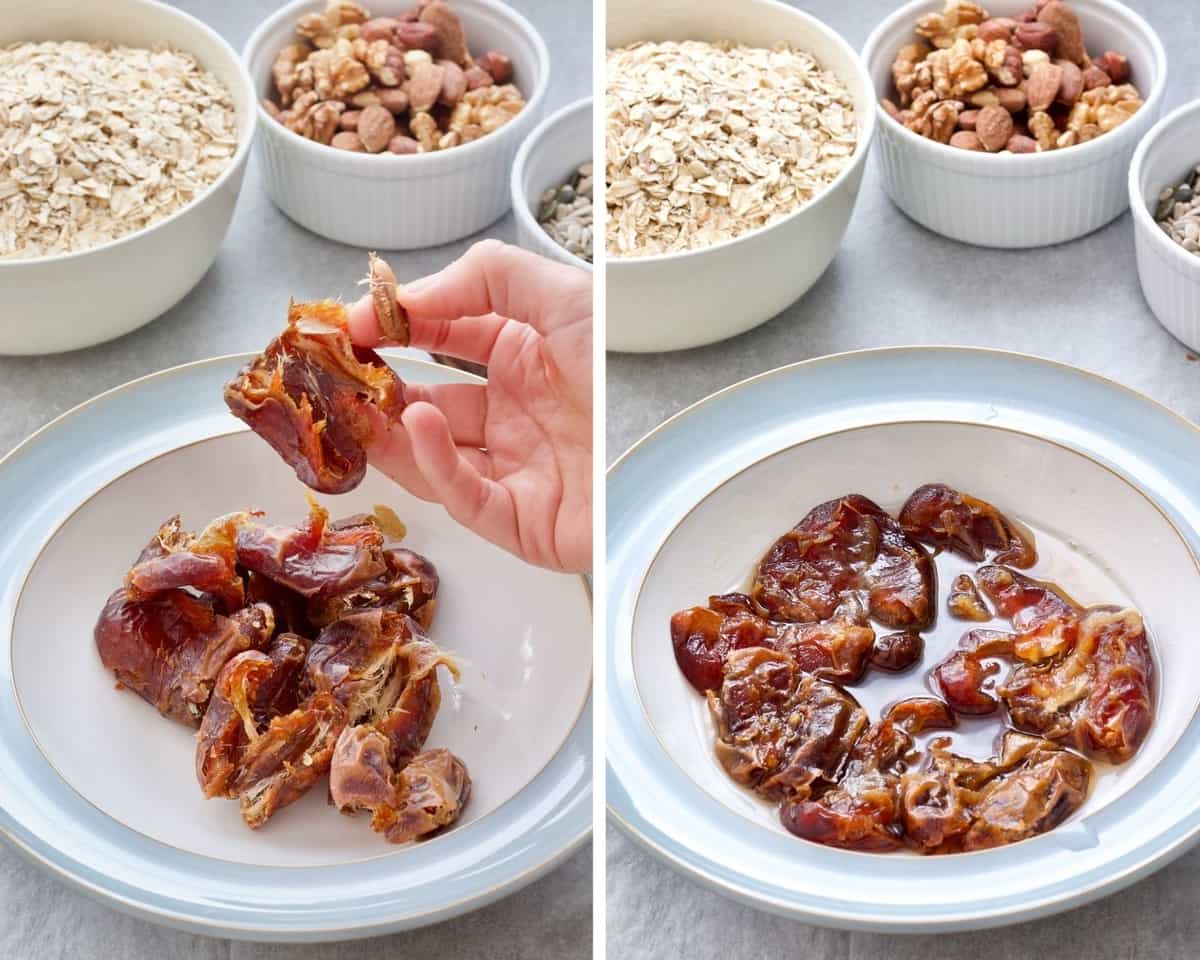
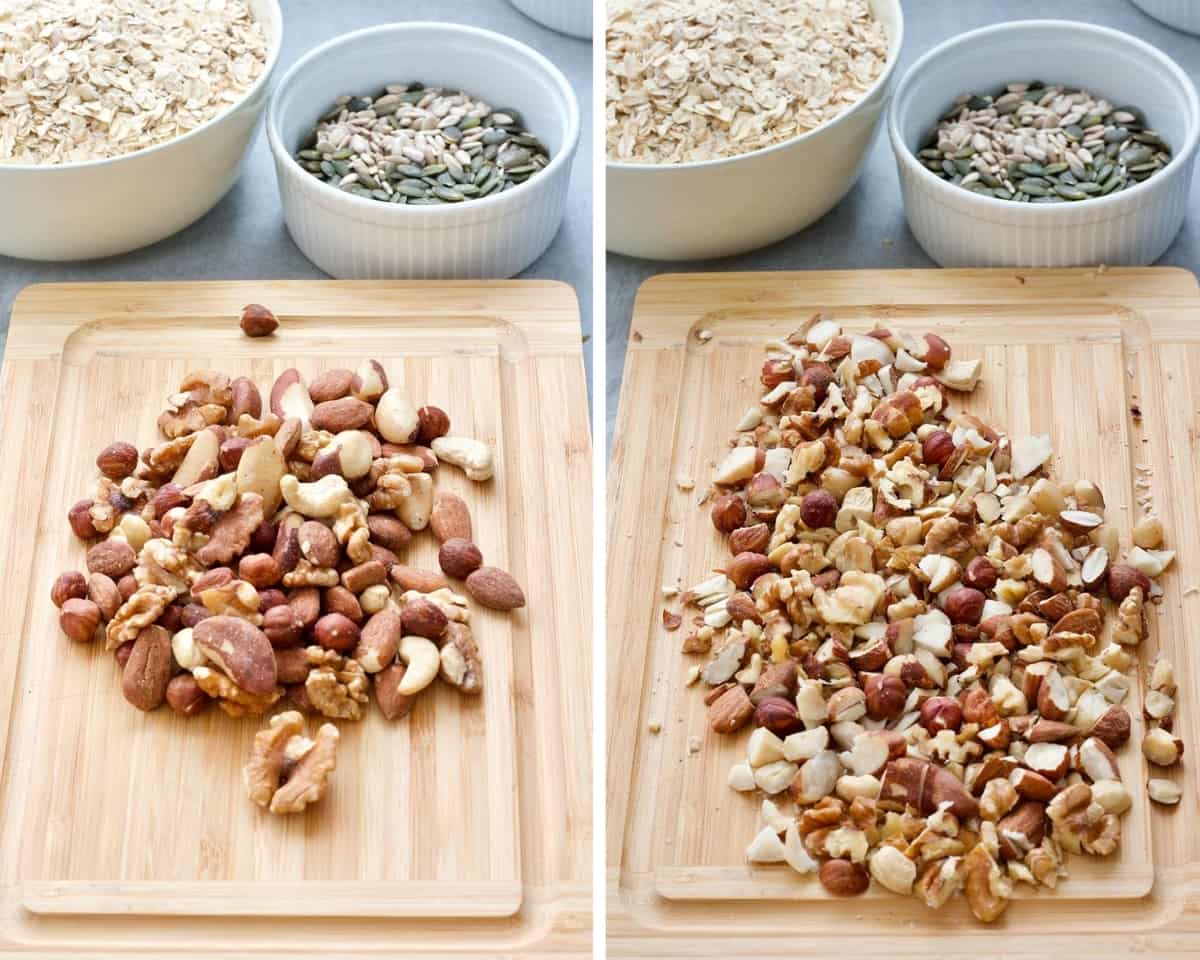
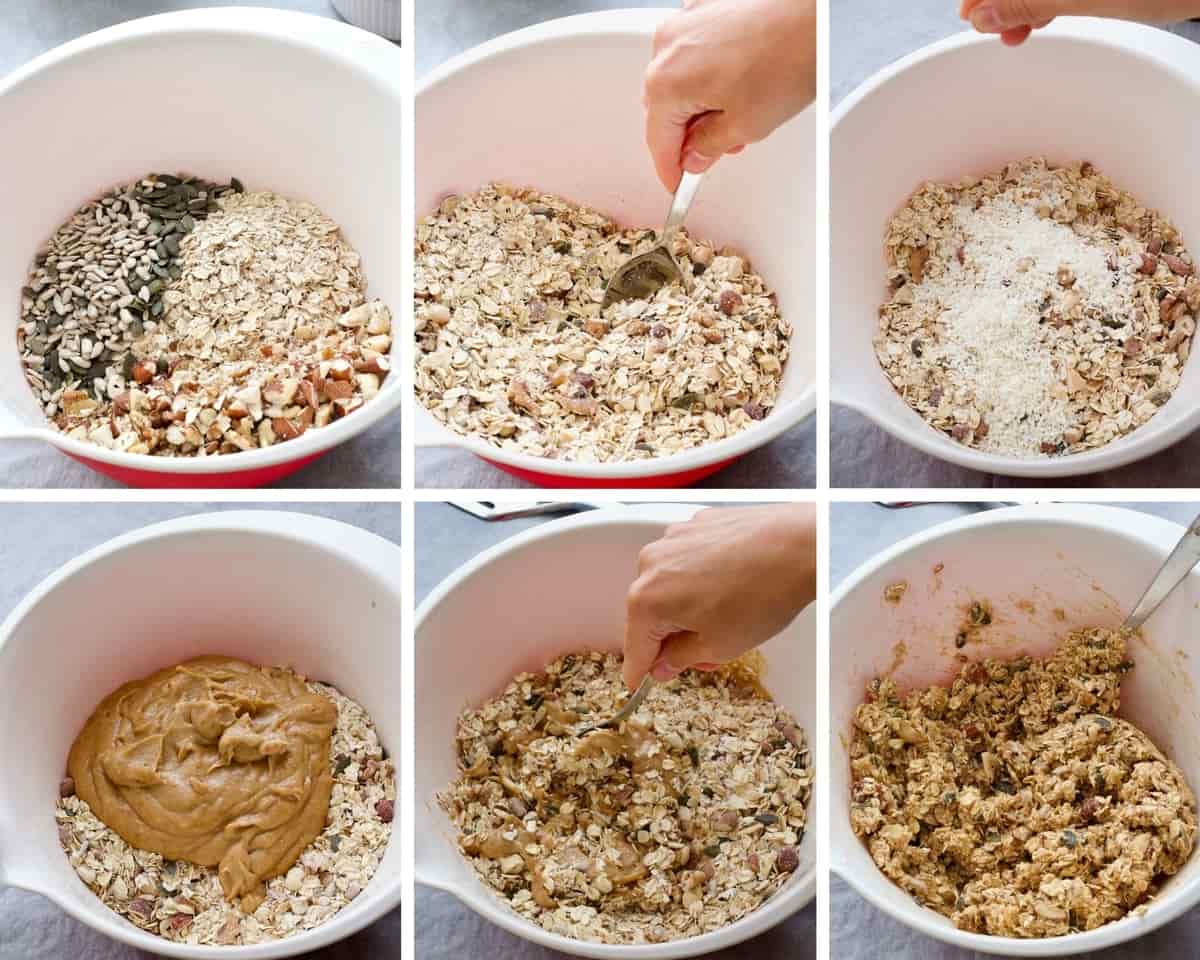
- In the meantime chop mixed nuts to your liking making them as fine or leaving as chunky as you want.
- Using a food processor, high-speed blender or even stick blender blend together soaked dates (including soaking water) and tahini until you get a smooth paste.

- In a large bowl mix together jumbo oats, sunflower seeds, pumpkin seeds and chopped nuts.
- Next add desiccated coconut and a pinch of salt (if using) and mix them in.
- Pour date and tahini paste over the oat and nut mixture and stir until well combined. You might need to get your hands dirty here as it might be easier than using a spoon.
- Preheat the oven to 150C/300F/Gas Mark 2 and line large baking tray with baking paper.
- Transfer granola onto prepared baking tray and distribute it evenly.
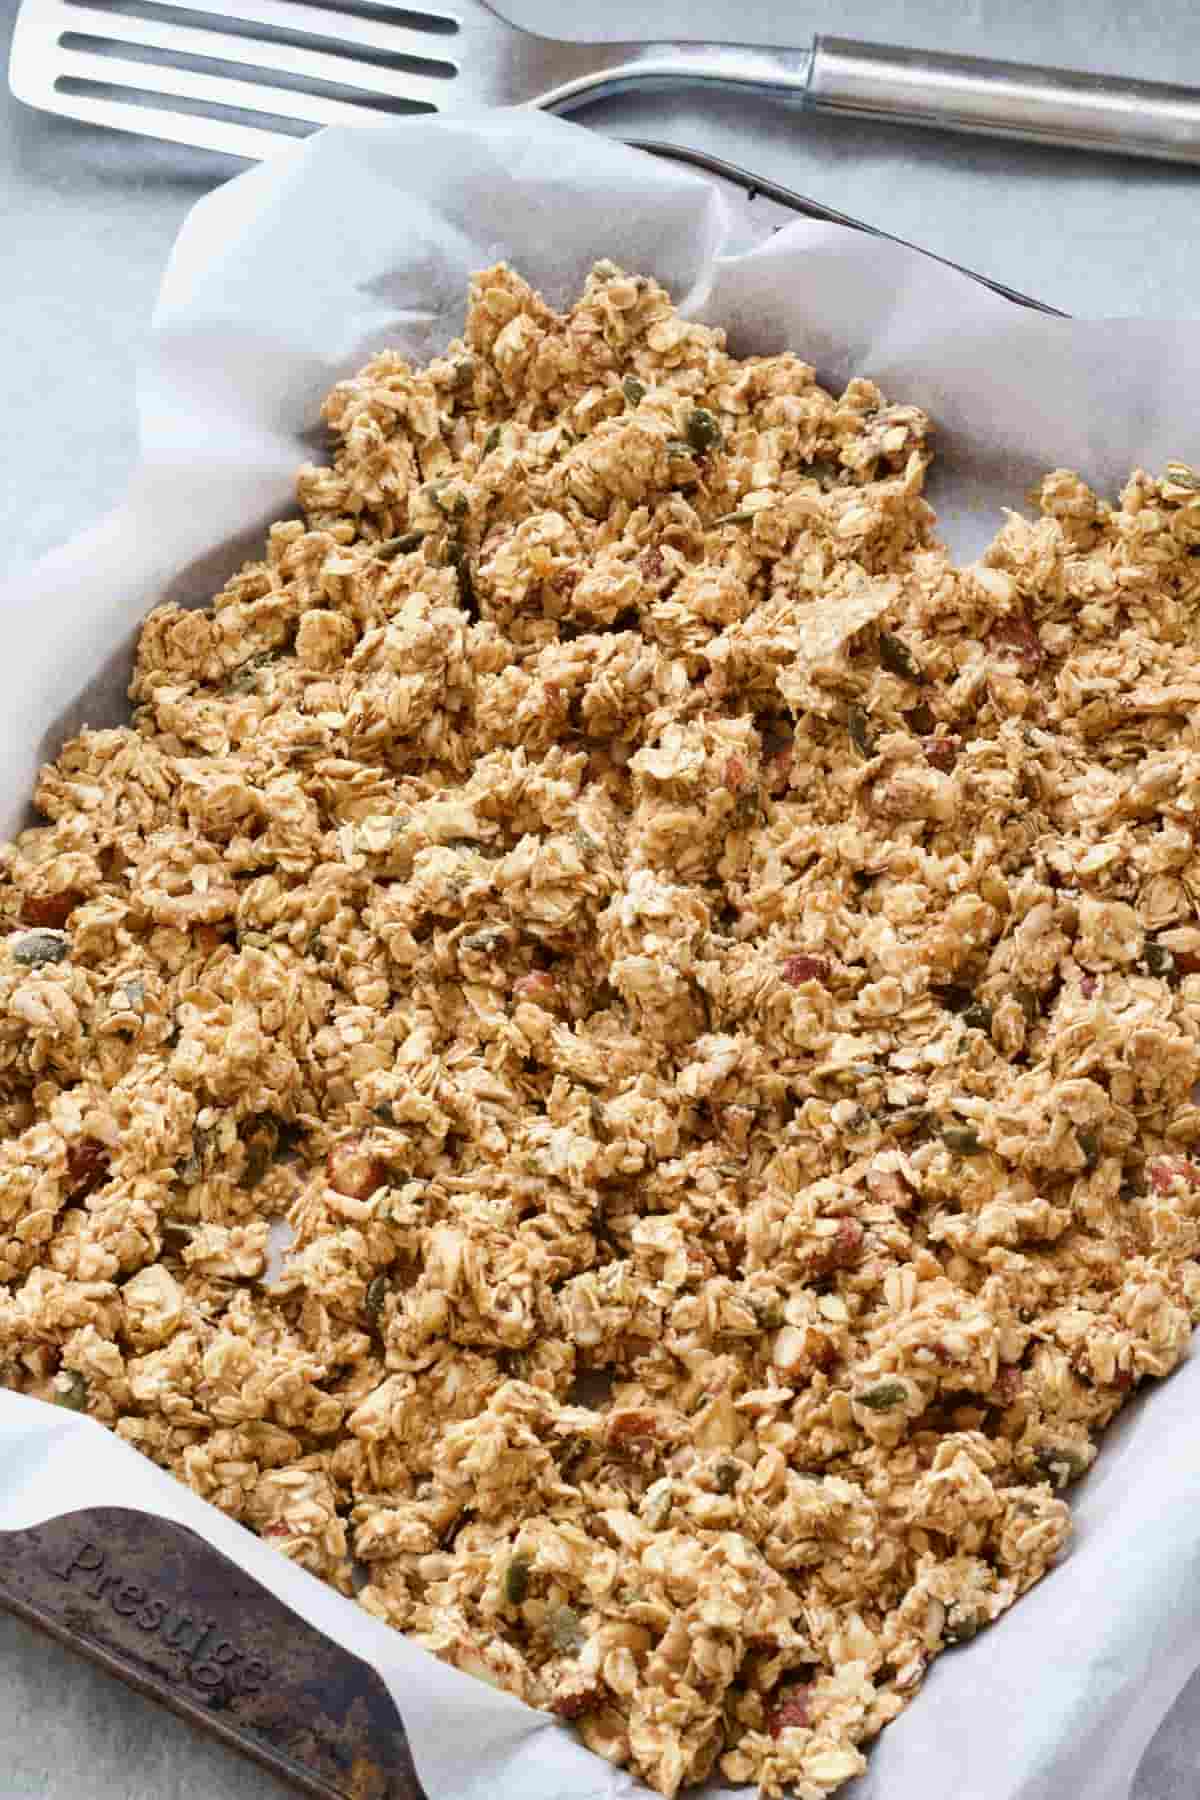
- Bake your granola in preheated oven for 30 minutes taking it out every 10 minutes to give it a mix with a spatula to ensure even bake.
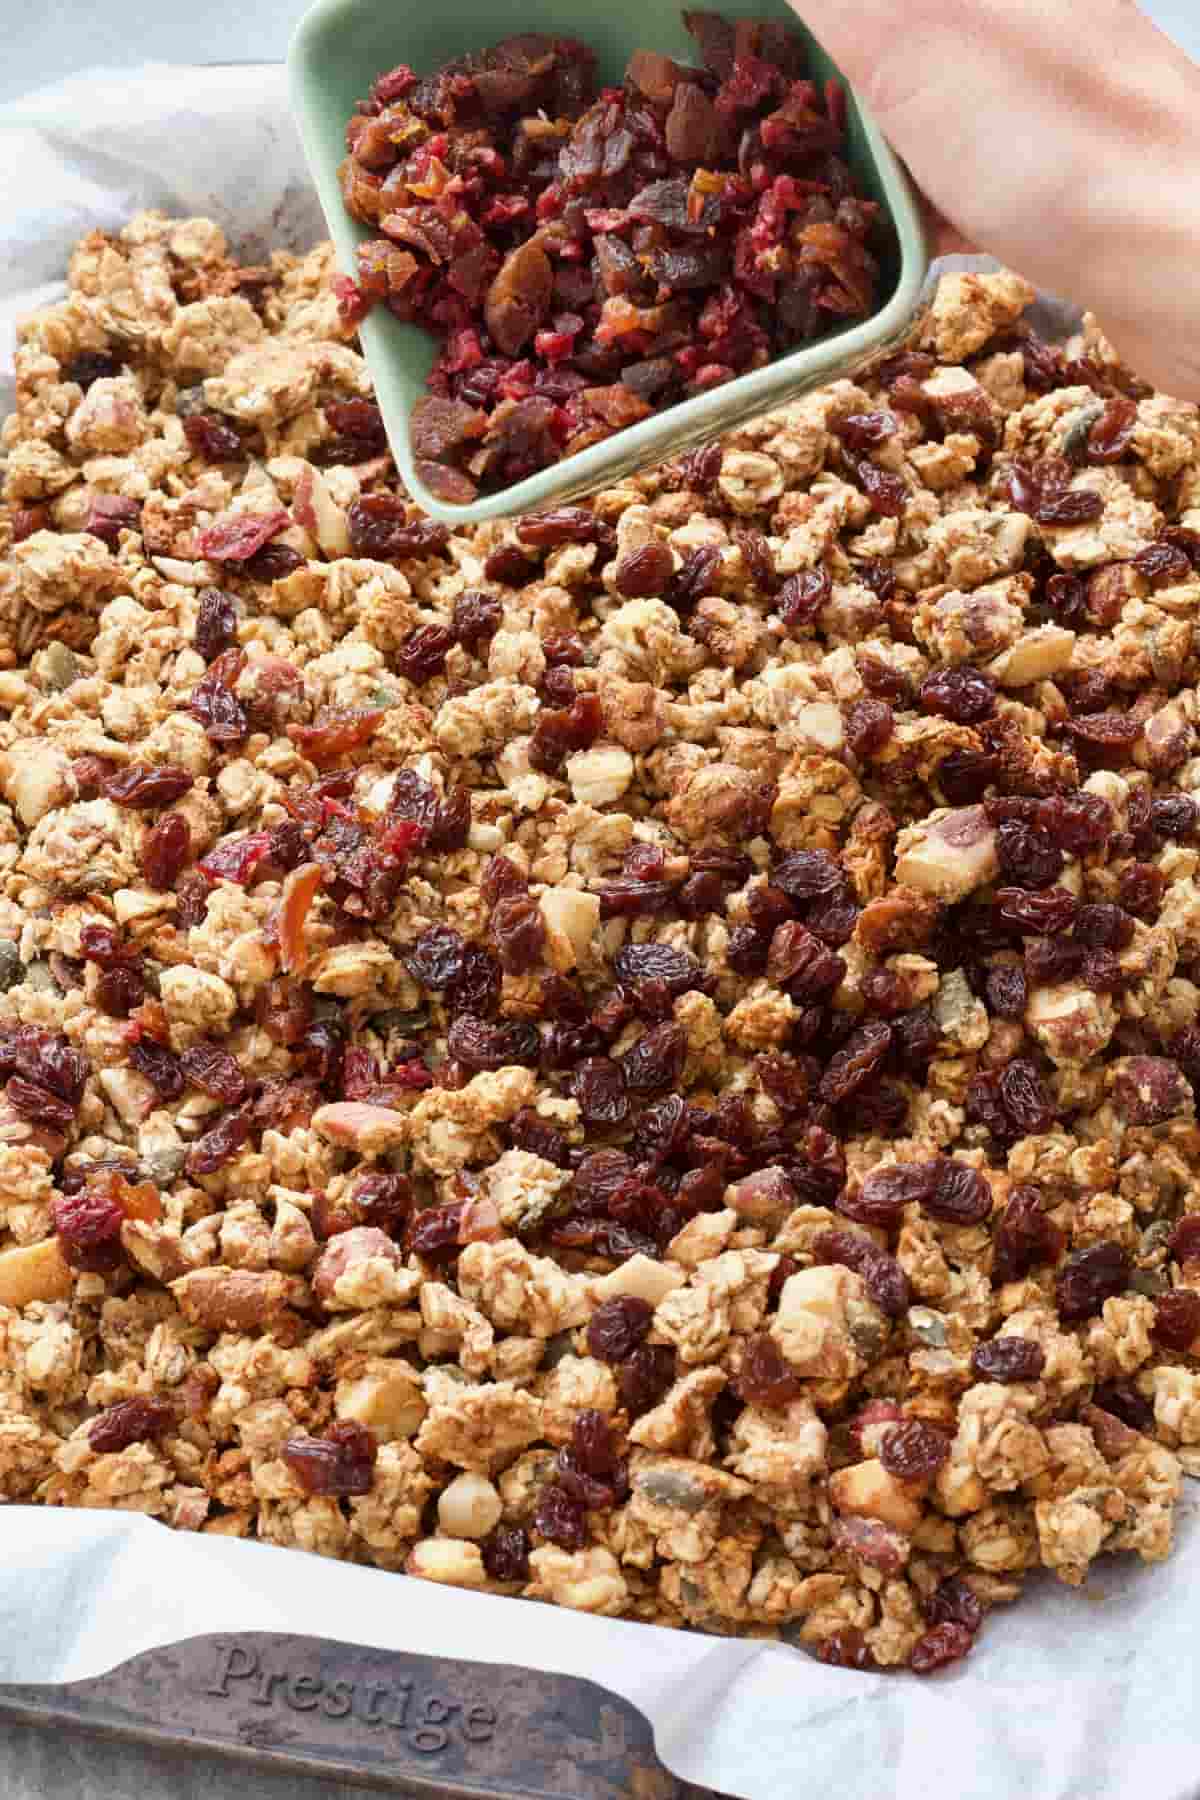
- Once 30 minutes is up take baking tray out of the oven and onto cooling rack and let it sit for 20 minutes before adding dried fruits.
- As you're waiting for granola to cool down, chop dried fruits you're using if necessary.
- Mix dried fruits with slightly cooled granola and leave it on the baking tray to cool completely. Don't be tempted to put it in a jar when still warm as it will go soggy.
- Once cold transfer your homemade granola to glass jar or plastic container and store for up to 1 month.
Have you tried my Healthy Homemade Granola?
Please consider giving it ⭐️⭐️⭐️⭐️⭐️ rating in recipe card below and share your views or tips in the comments.
Some more recipes using oats you might enjoy
Healthy Banana Flapjacks
Creamy Apple and Cinnamon Porridge
Oat Milk Smoothie
Chewy Cranberry Flapjacks (Granola Bars)
No-Bake Chocolate Oatmeal Cookies
📋 Recipe
Healthy Homemade Granola
Equipment
Ingredients
- 300 g jumbo (old-fashioned) oats use certified gluten-free if required
- 150 g mixed nuts roughly chopped
- 35 g pumpkin seeds
- 35 g sunflower seeds
- 20 g desiccated (shredded) coconut
- 75 g raisins organic if possible
- 30 g cranberries organic if possible
- 30 g dried apricots organic if possible
- 200 g Medjool or other dates pitted
- 150 g Tahini paste
- pinch of salt optional
- 60 ml freshly boiled water
Instructions
- Start with pitting Medjool dates and covering them with 60ml (¼ cup) of freshly boiled water. Let them sit in water for 5-10 minutes to soften.
- In the meantime chop mixed nuts to your liking making them as fine or leaving as chunky as you want.
- Using food processor, high-speed blender or even stick blender blend together soaked dates (including soaking water) and tahini until you get a smooth paste.
- In a large bowl mix together jumbo oats, sunflower seeds, pumpkin seeds and chopped nuts.
- Add desiccated coconut and a pinch of salt (if using) and mix them in.
- Pour date and tahini paste over the oat and nut mixture and stir until well combined. You might need to get your hands dirty here as it might be easier than using a spoon.
- Preheat the oven to 150C/300F/Gas Mark 2 and line large baking tray with baking paper.
- Transfer the granola onto prepared baking tray and distribute it evenly.
- Bake your granola in preheated oven for 30 minutes taking it out every 10 minutes to give it a mix with a spatula to ensure even bake.
- Once 30 minutes is up take the baking tray out of the oven and onto cooling rack and let the granola cool for 20 minutes before adding dried fruits.
- As you’re waiting for the granola to cool down, chop dried fruits you're using if needed. I keep raisins whole but chop apricots and cranberries.
- Mix dried fruits with slightly cooled granola and leave it on the baking tray to cool completely. Don’t be tempted to put it in a jar when still warm as it will go soggy.
- Once cold, transfer granola to glass jar or plastic container and store for up to 1 month.
Notes
- Nutritional information is approximate, per serving and should be treated as a guideline only.
- Store homemade granola in the airtight container at room temperature for up to 1 month.
Nutrition
Recipe adapted from Pick Up Limes.

Sheetal says
Best granola I’ve made! The dates mixed with tahini as the binder is genius and adds a lovely delicate sweetness to this recipe.
This granola is the only recipe I’ll be making moving forward so thank you for sharing 😊
joskitchenlarder says
Thank you so much Sheetal for such a lovely feedback! 😊 I'm so pleased you love the recipe.
Deborah Turner says
Absolutely delicious and really easy to make, the fiddliest part was chopping the nuts. My son doesn't like dried fruit so I portioned some off whist cooling and then bagged it without adding fruit. I will definitely be making this again
joskitchenlarder says
So great to hear you like it and brilliant tip re those who are not fond of dried fruit too. Many thanks for taking the time to comment, really appreciate it! 😊
Paula says
Hi Jo- this looks lovely! I just wanted to ask if it would be possible to use peanut butter instead of the tahini? Thank you! Paula
joskitchenlarder says
Hi Paula 🙂 I've never tried it with peanut butter but don't see why it would be a problem. The flavour of the mixture will be different but as long as you are a fan of peanut butter you should be ok 🙂 One thing I would advise is to use natural peanut butter as it's got similar consistency to tahini (quite runny) plus doesn't contain any nasties. Hope you enjoy it! 🙂