


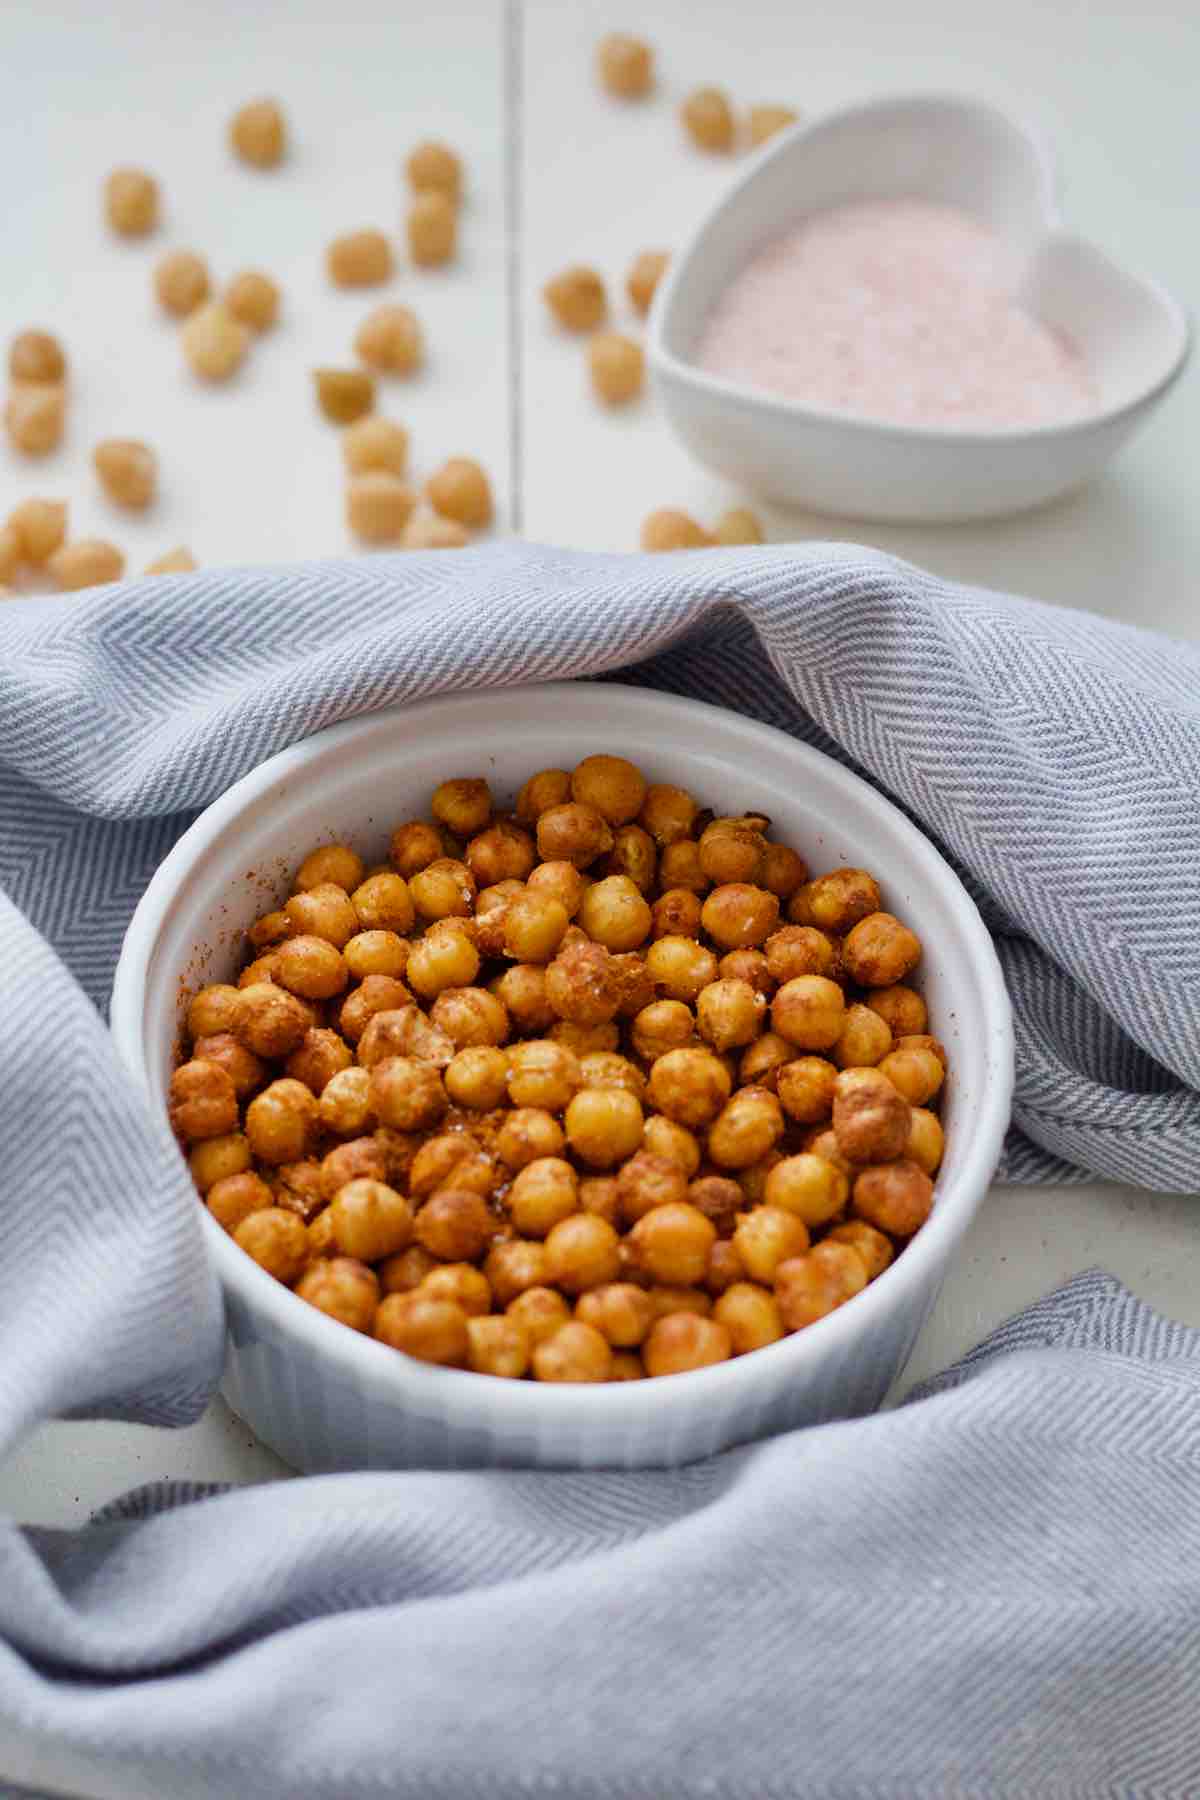
These ultra crispy air fryer chickpeas flavoured with smoked paprika, cumin and garlic are perfect for healthy snacking and make fantastic topping for soups and salads. Vegan and gluten-free, these are the crunchiest roasted chickpeas ever!
Air fryer has simply been made for quick and tasty wholesome snacks like these air fryer chickpeas.
For more air fryer deliciousness check out my two lovely side dishes:
Air Fryer Corn Ribs (Riblets) and Air Fryer Asparagus.
Jump to:
✔️ Why you'll love this recipe
- Quick and effortless.
- Energy saving (no need to pre-heat the oven).
- Better result than when using an oven.
- Healthy, wholesome snack.
- Delicious, crunchy topping for soups and salads.
- Easy to adapt using different herbs and spices.
- Vegan and gluten-free.
📝 Ingredients
Here's what you will need to make my Air Fryer Chickpeas:
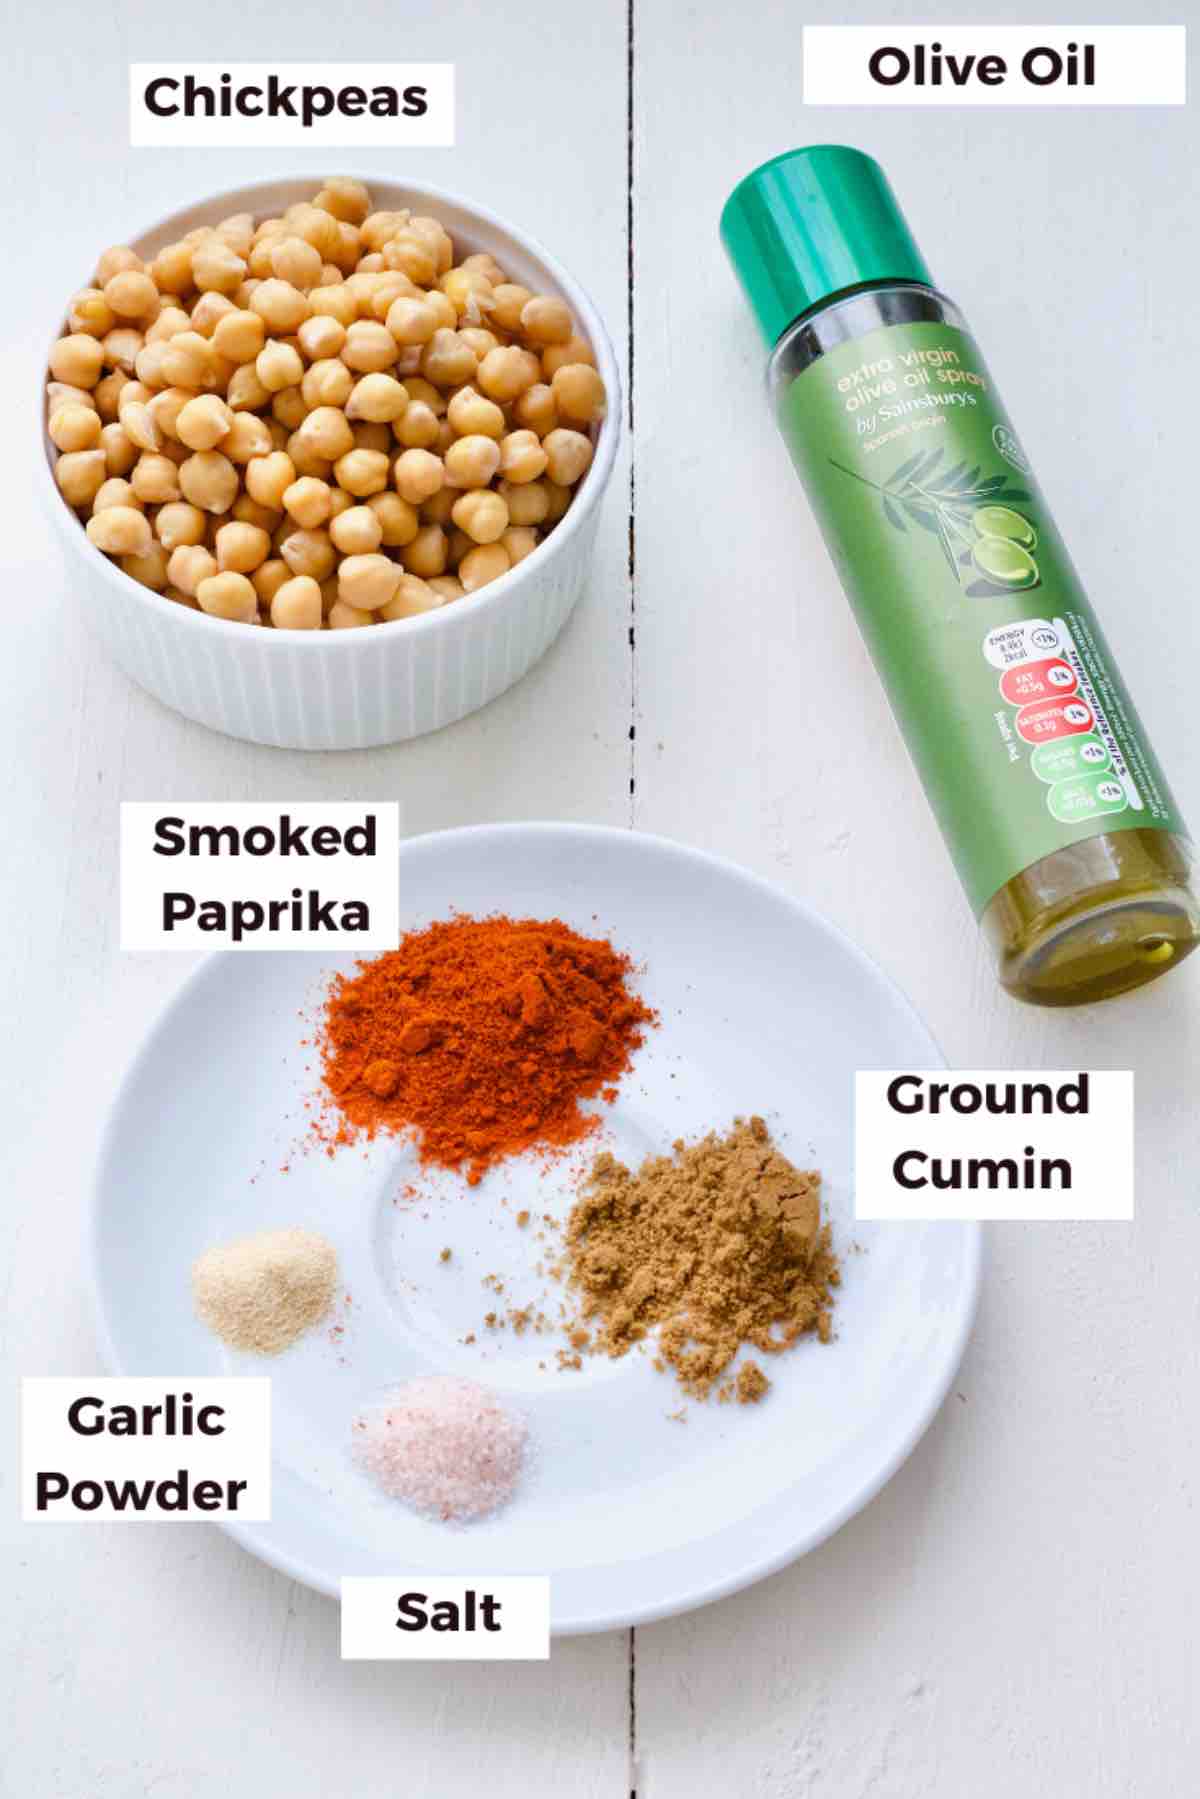
Chickpeas (Garbanzo Beans) - Use canned or freshly cooked chickpeas.
I usually cook my own chickpeas and keep them in the fridge for as and when I need them. As I cook them in advance they're usually nice and dry already.
If using canned chickpeas, make sure to drain and rinse them well before you dry them in a clean kitchen towel or even briefly in your air fryer.
This part is REALLY important as the drier they are the crispier they will get!
Olive Oil - It will help chickpeas get nice and crispy.
I like to use olive oil in a spray bottle but if I don't have any to hand I simply use a tablespoon of olive oil or cold-pressed rapeseed oil to cover the chickpeas.
Seasoning - Flavour, flavour, flavour!
My go to is smoked paprika, ground cumin, garlic powder and of course salt but feel free to use and experiment with your favourite herbs and spices.
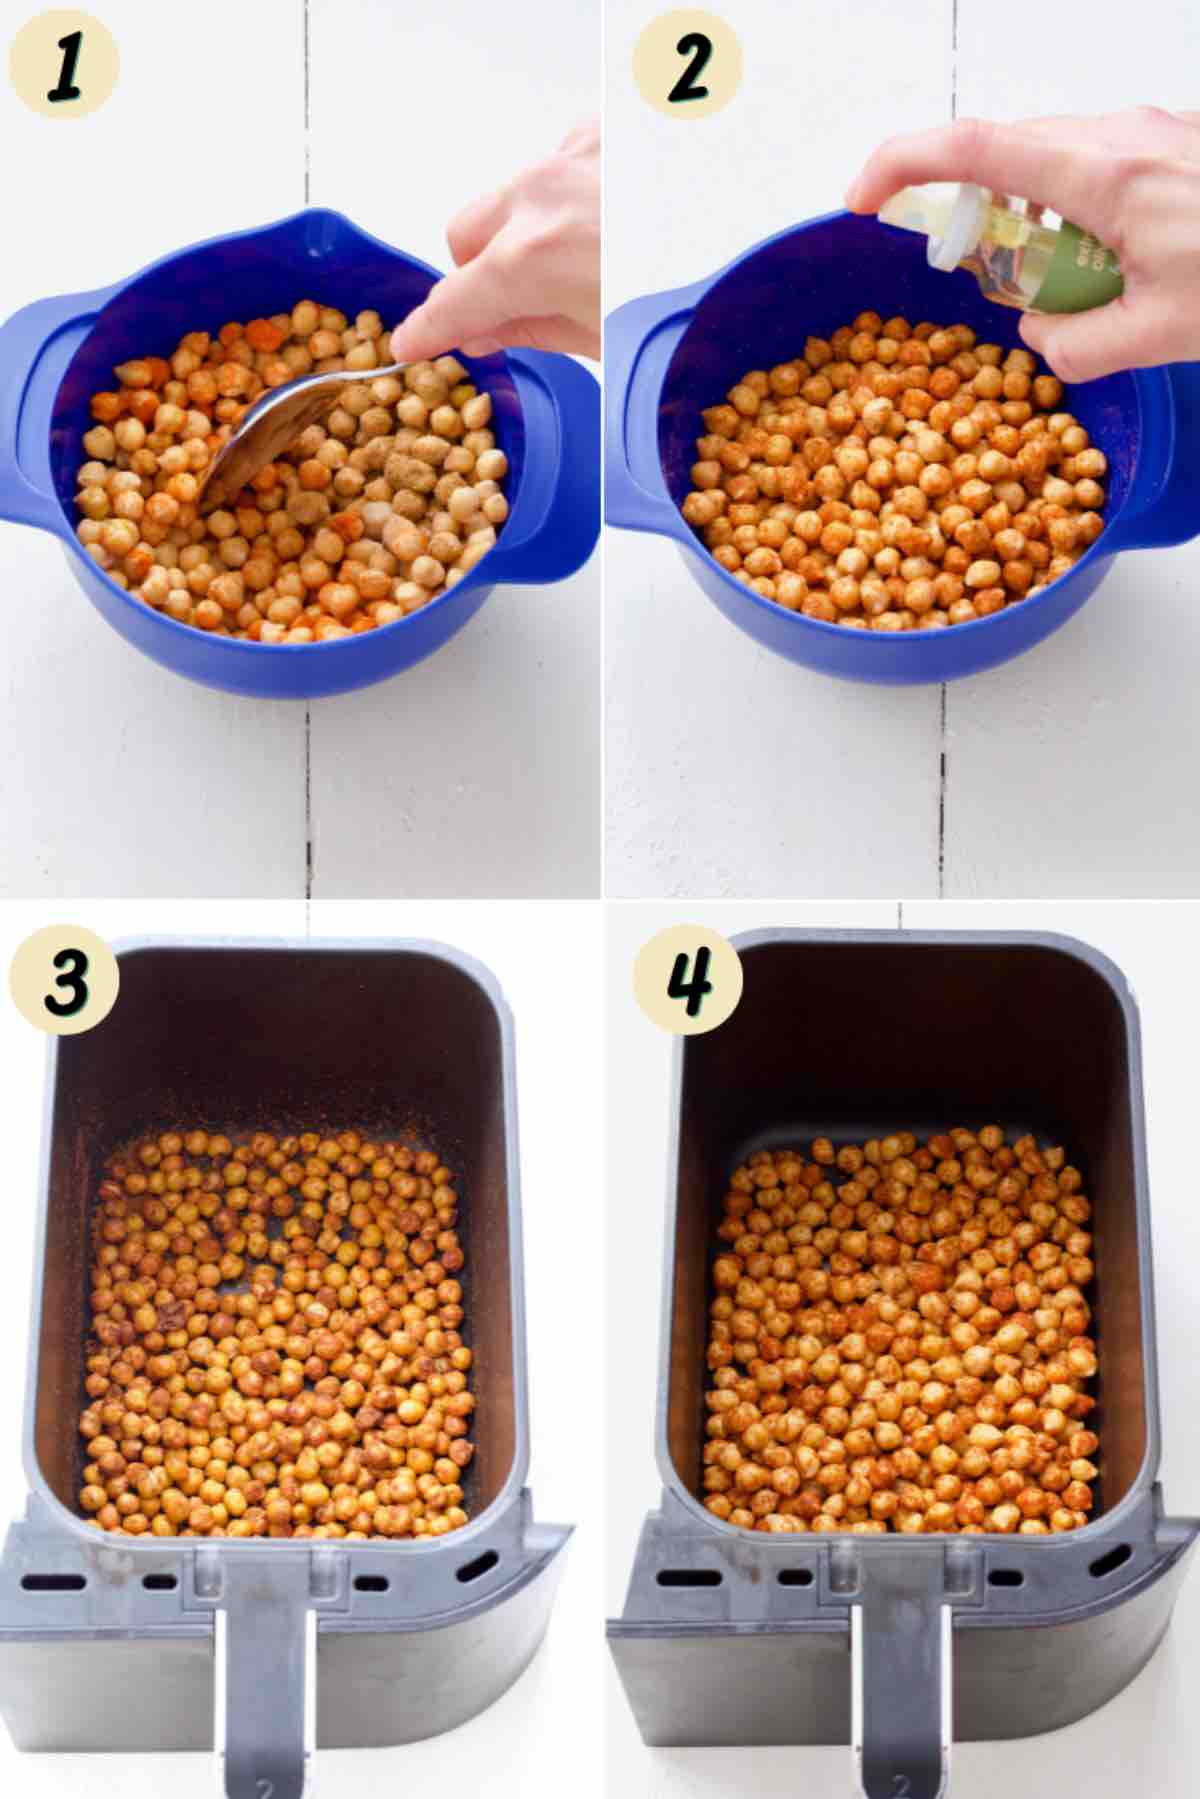
🔪 Instructions
Ingredient quantities & detailed instructions to be found in recipe card at the bottom of the post.
In a small bowl mix chickpeas with the seasoning.
Add oil and mix some more.
Put seasoned chickpeas in your air fryer drawer/ basket and set it to 200C/400F for 20 minutes.
They don't need to be in a single layer but shouldn't be overcrowded either. If you use 1 (400g/14oz) tin of chickpeas (240g/8.4oz drained weight) you should be ok.
Give chickpeas a little shake/toss every 5 minutes throughout the air frying.
Once done, feel free to adjust seasoning with touch more spices and salt if you wish.
Enjoy!
🥡 Storing
Air fryer chickpeas are absolutely the best when freshly made but can also be stored in the airtight container for later use. There's no need to refrigerate them.
They should last for up to a week although you should expect them to get less crispy with time.
To revive them, simply pop them back in the air fryer for 2-3 minutes. They'll be nice and crispy again.
💭 Pro tips
Try drying the chickpeas as much as you can. This will help them get crispier. You can air dry them for a while, use kitchen towel or even pop them in your air fryer for a few minutes (on their own, no oil or spices) to draw most of the moisture out.
Don't skip oil. Not only does it help seasoning to stick to chickpeas but also helps with crispness.
Hold back on salt. I like to add some of the salt in with herbs and spices and then sprinkle some more over the chickpeas once ready.
Experiment with flavours. Use your favourite herbs and spices to season the chickpeas, make them your own.
Use you own judgement. I make my crispy chickpeas in my Ninja Foodi Dual Zone Air Fryer and 20 minutes is the perfect time for maximum crispness.
Cooking time might differ slightly depending on your air fryer and crispness preference so check on your chickpeas as you go (or when you are giving them a shake) and adjust timing as per your preference.


🍴Serving suggestions
These chickpeas make super sensational snack! They'll be gone before you know it!
I also love them as a crunchy topping for my soups for that extra texture. Why not try them with one of these:
Butternut Squash and Red Lentil Soup with Sage
Classic Carrot and Coriander Soup
Creamy Courgette Soup with Peas and Mint
Butternut Squash and Chestnut Soup
Roasted Celeriac and Sweet Potato Soup
They will also make lovely addition to salads, grain bowls, anywhere you need that bit of crunch and added texture.

❓ FAQs
If you don't have an air fryer, oven will work as well. I would roast the chickpeas in the oven preheated to 200C/400F (fan) for 20-30 minutes until you reach desired crispness.
Make sure to keep an eye on them whilst in the oven as ovens do differ and one thing you don't want is burnt chickpeas instead of roasted ones!
There is no need to store them in the fridge. Make sure they've cooled completely and store them in the airtight container on your kitchen counter.
Yes they are, it's just a different name for them de pending where you are in the world.
Have you tried my Air Fryer Chickpeas?
Please consider giving it ⭐️⭐️⭐️⭐️⭐️ rating in recipe card below and share your views or tips in the comments.

📋 Recipe

Air Fryer Chickpeas
Equipment
Ingredients
- 400 g tin of Chickpeas (Garbanzo Beans) drained, rinsed and dried; or use 240g cooked chickpeas
- ¾ teaspoon smoked paprika more can be added to taste after air frying
- ¾ teaspoon ground cumin more can be added to taste after air frying
- ¼ teaspoon garlic granules more can be added to taste after air frying
- ¼ teaspoon good quality salt more can be added to taste after air frying
- 1 tablespoon cold pressed rapeseed oil or olive oil
Instructions
- In a small bowl mix chickpeas with the seasoning. Add oil and mix some more.
- Put seasoned chickpeas in your air fryer drawer/ basket and set it to 200C/400F for 20 minutes. They don't need to be in a single layer but shouldn't be overcrowded either. If you use 1 (400g/14oz) tin of chickpeas (240g/8.4oz drained weight) you should be ok.
- Give chickpeas a little shake/toss every 5 minutes throughout the air frying.
- Once done, feel free to adjust seasoning with touch more spices and salt if you wish.
- Serve and enjoy!
Notes
- Nutritional information is approximate, per serving based on 4 servings and should be treated as a rough guideline only.
- Once cooled, store in the airtight container for up to 7 days. They will start losing their crispness the longer they're stored but can be revived by air frying them for 2-3 minutes until crispy again.


Sue says
Love these!! Super easy to make. I made mine with Garlic and Italian Herbs topped my homemade Roasted Tomato Soup!
joskitchenlarder says
That sounds lovely Sue! Really glad you like these moreish little rascals 🙂.