
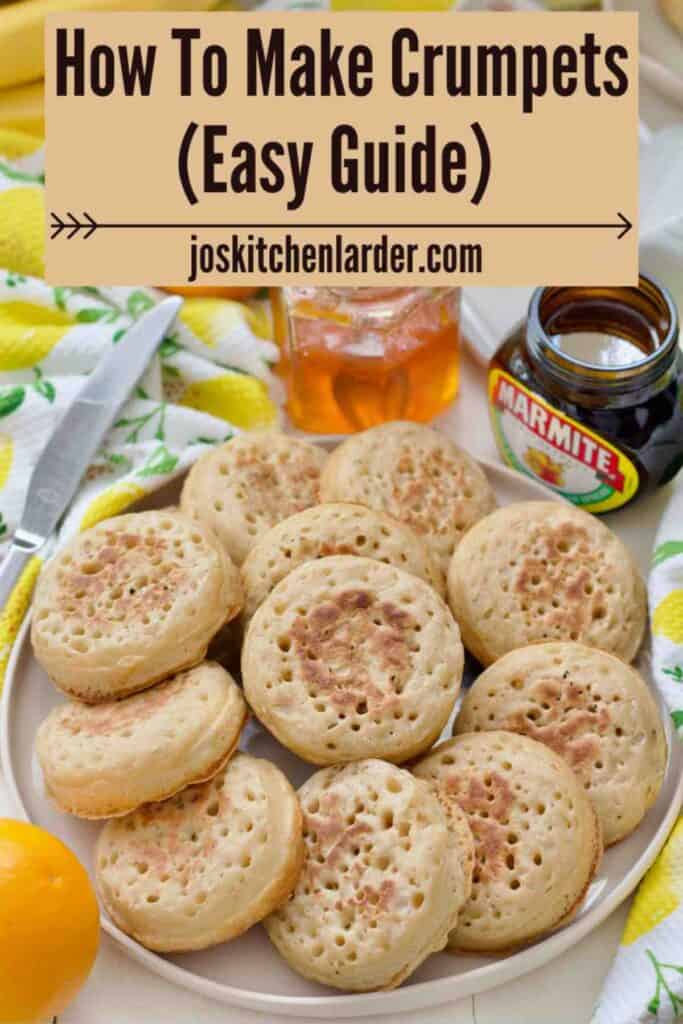
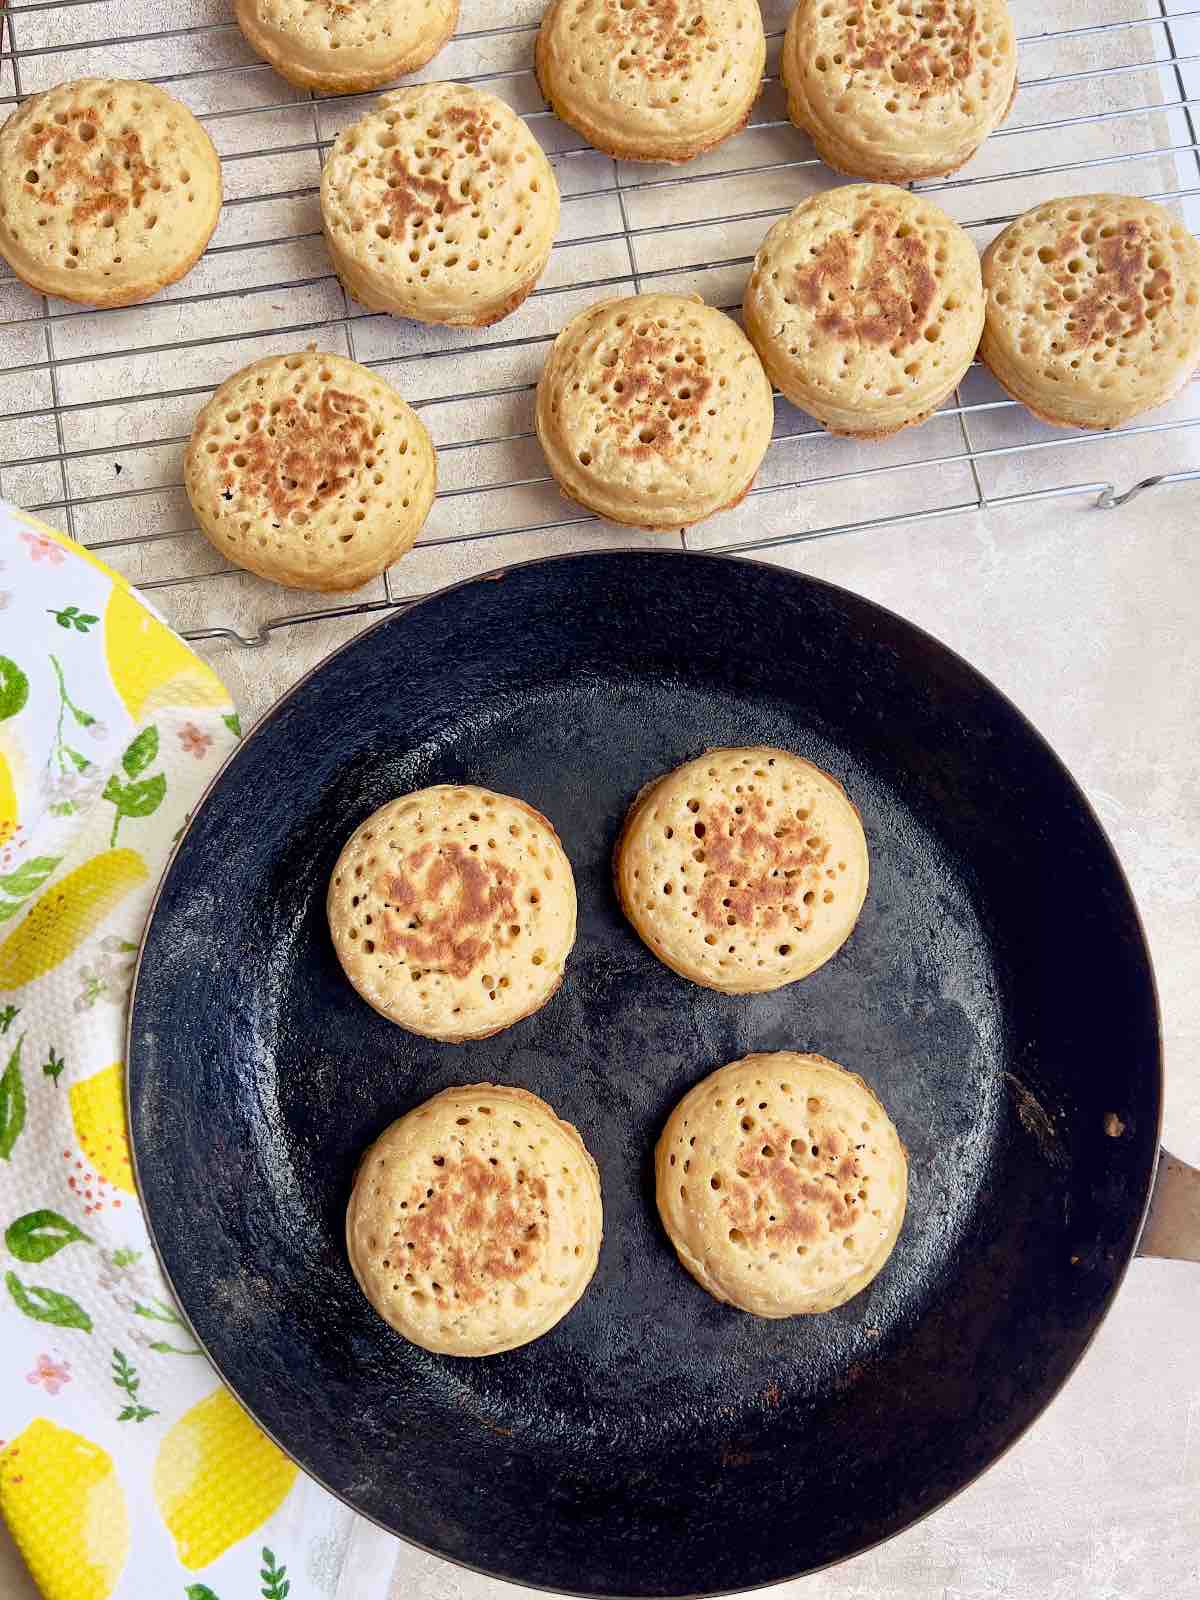
In this detailed guide I will teach you how to make crumpets in the comfort of your own kitchen and it's easier than you think. Fluffy, chewy, spongey and with plenty of holes to hold all that butter, they are perfect!
This crumpets recipe is a labour of love but it's been worth it.
They've been a firm breakfast favourite in our house since...I don't even remember when. We love them as much as my cinnamon and raisin bagels if not a little bit more. But how can you not love these super chewy, soft, spongey cross between a pancake and an English muffin - I think that's the best way to describe them anyway.
Of course I'm going to tell you that these homemade crumpets are way superior when compared with their shop bought counterparts.
Also, if you buy them on regular basis, just imagine the amount of plastic packaging that you save from the landfill. Not mentioning the fact you know exactly what has gone into them and they're indeed very minimal in terms of ingredients.
This recipe makes anything between 12 and 15 crumpets which is quite a lot although don't expect them to last long. And that brings me to the cost of making them and they are, indeed, cheap as chips (cheaper in fact) which makes them even more appealing.
With all that in mind, let's get to it and make some crumpets.
Jump to:
✔️ Why you'll love this recipe
- Delicious, easy and cheap to make breakfast classic.
- They keep and freeze really well so perfect for batch cooking and enjoying throughout the week.
- Minimal ingredients and zero unnecessary plastic packaging.
- Perfect breakfast or a snack that beats your standard toast.
- Vegan friendly.
🛒 Ingredients to make Homemade Crumpets
Here's what you will need to make my Easy Crumpets Recipe:
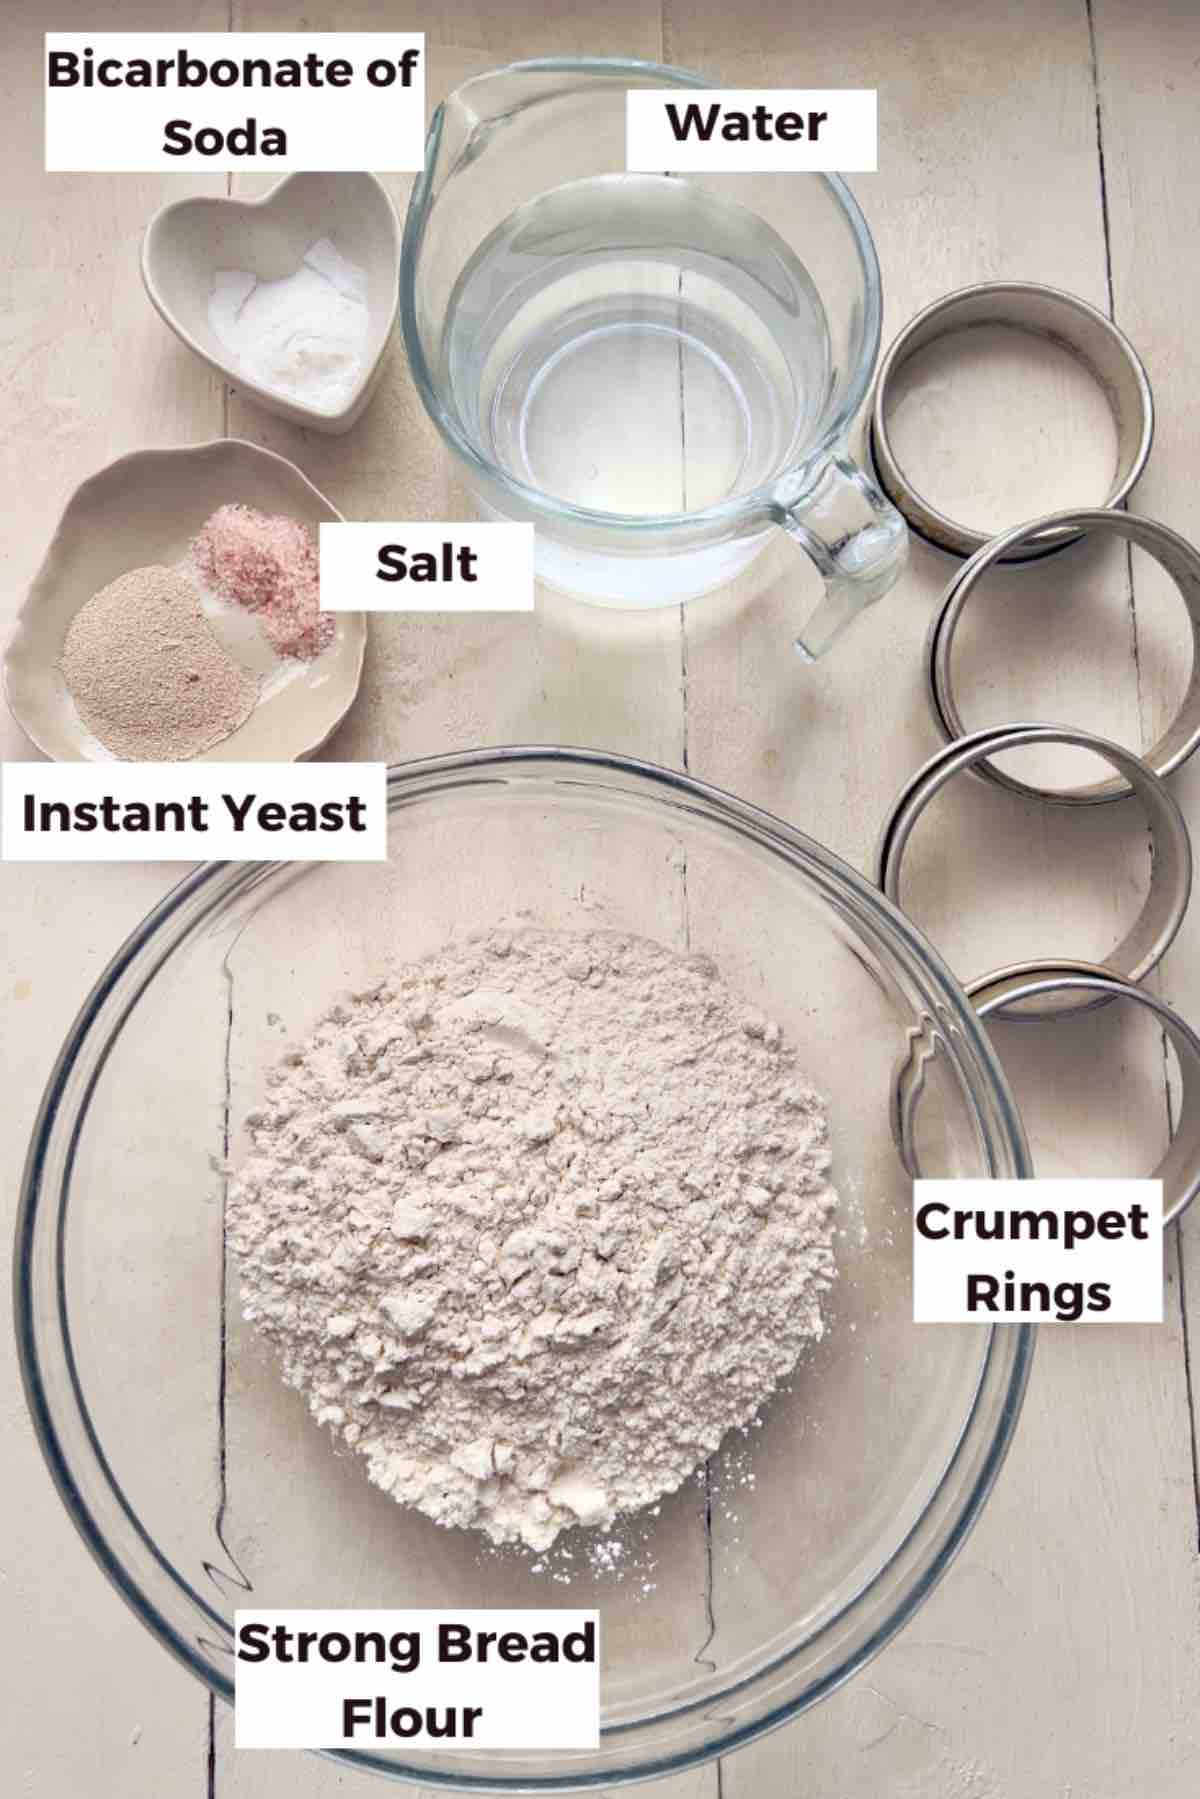
Strong Bread Flour - I tend to use strong bread flour as it's the flour I always have to hand (due to almost industrial amount of bread I' bake on regular basis). You can substitute it with plain (all-purpose) flour no problem.
I've made these numerous times using either type of flour and sometimes mixing them both together as well (50% plain and 50% strong bread flour) so use whichever one you've got.
Yeast - I use and recommend quick/easy/instant yeast that you mix into the flour.
Salt - Use fine salt of choice. I use pink Himalayan salt. Feel free to adjust the amount of salt if you need to. For us it's spot on.
Water - Use water that is warm to touch which will help getting yeast going. If you've got a thermometer, temperature around 37°C/100°F is what you're after.
Bicarbonate of Soda - Added once batter has had time to rest. It helps with bubble creation and no it can't be substituted with baking powder.

🍽 Equipment
There is one piece of kit that is absolutely essential for making crumpets - crumpet rings.
I've had my Lakeland crumpet rings since lockdown and rate them very highly. They're real crumpet workhorses in my kitchen and thanks to them (and to the fact that I grease them thoroughly every single time) my crumpets never stick .
As for the pan you make your crumpets on, I would highly recommend good cast iron or carbon steel pan. Not only are they healthier and don't contain forever chemicals but also they're great at maintaining steady temperature.
I love my 28cm Salter Carbon Steel Pan for Life which unfortunately seems to have been discontinued now. However, this French DeBuyer one or German Merten & Storck one are both great (if not better) alternatives.
As for cast iron, I've got Lodge cast iron skillet which is also amazing.
***Quick Tip*** Both carbon steel and cast iron require some getting used to as well as regular maintenance. But once you've nailed it, they're your best friends for life.
You can, of course, use any non-stick pan you already have, there is no need to go and purchase any of these.
🍳 How to make crumpets
Ingredient quantities & detailed instructions to be found in recipe card at the bottom of the post.
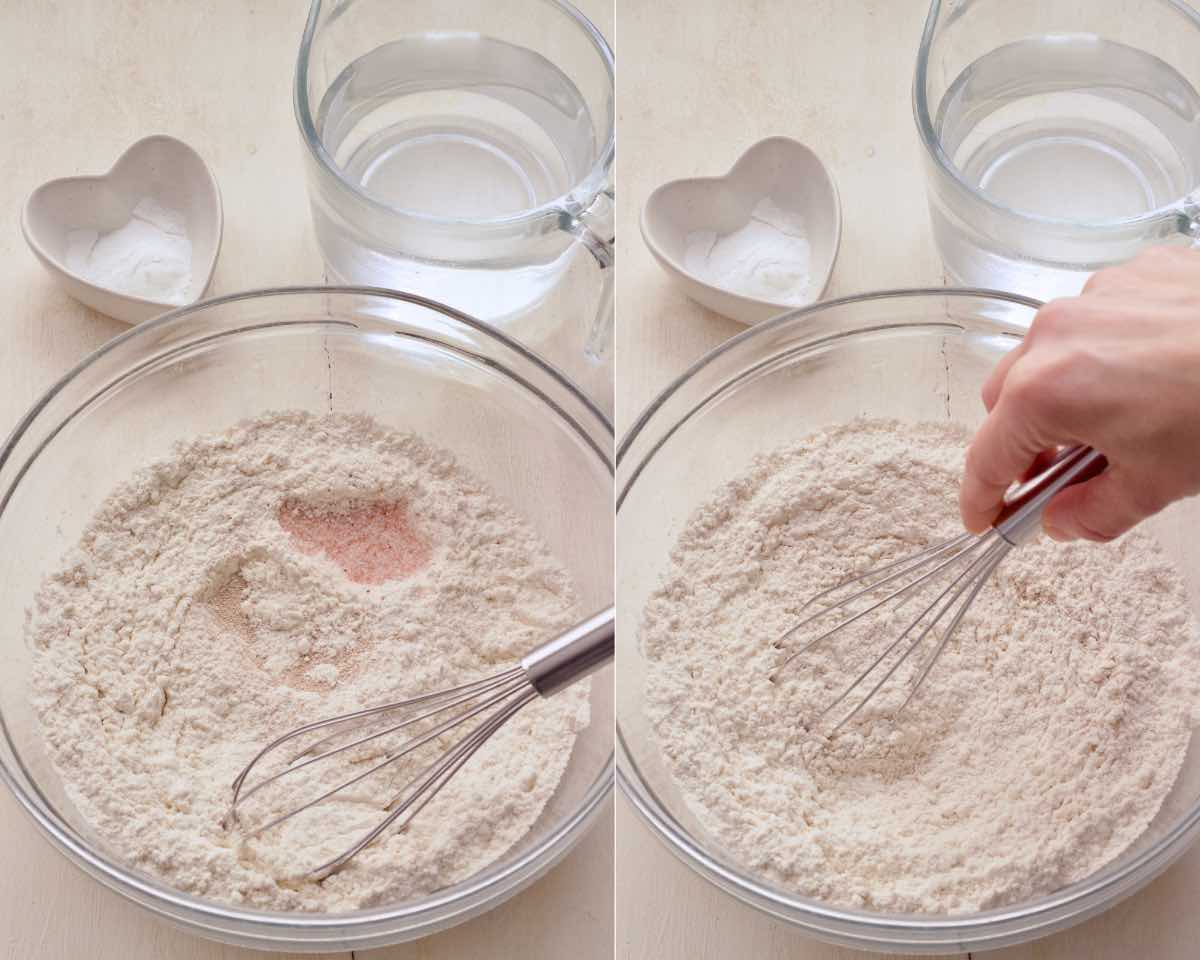
Step 1: In a large bowl mix together flour, yeast and salt.
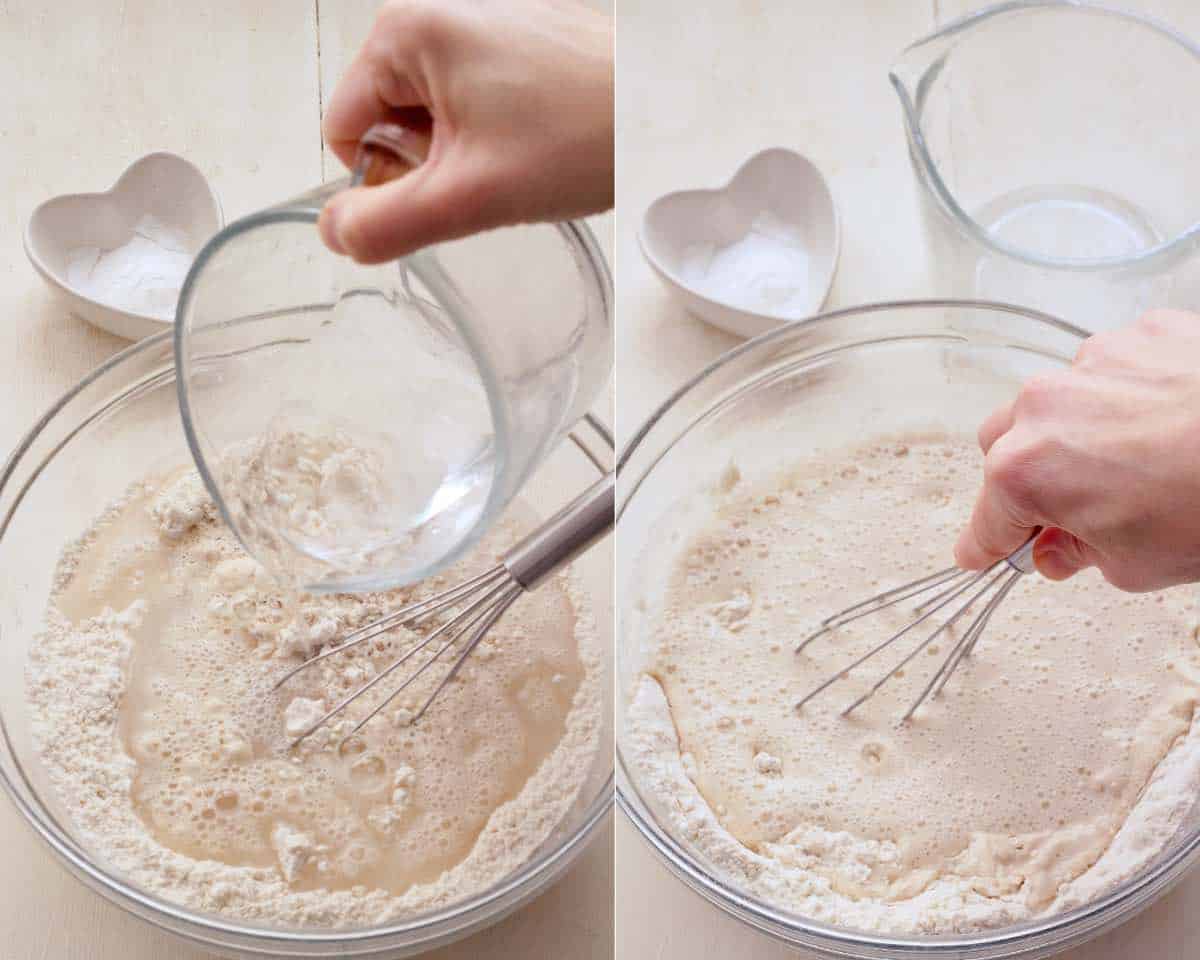
Step 2: Add warm water and whisk it into the flour vigorously until you get uniform batter. Continue whisking a little longer to incorporate more air into the mixture.
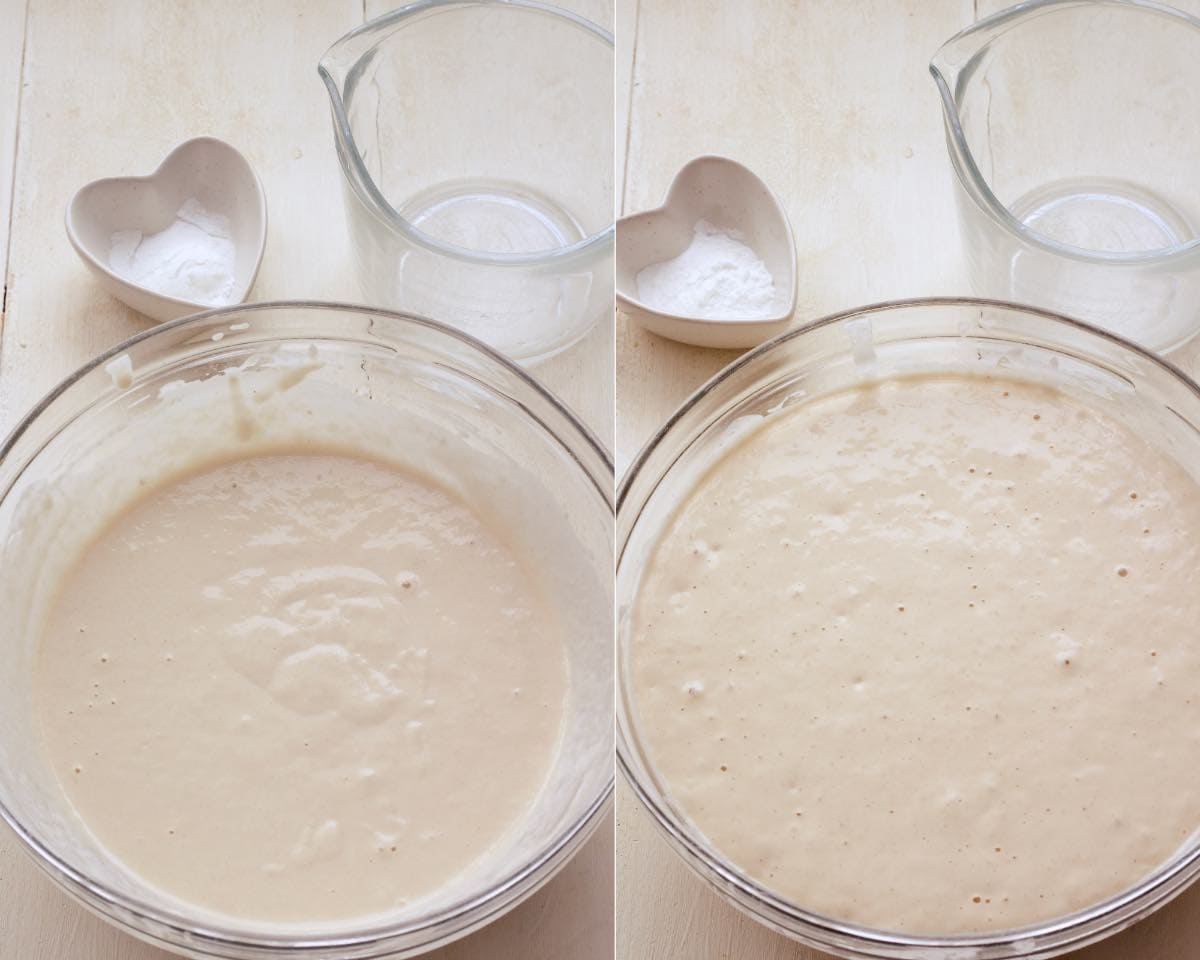
Step 3: Cover the bowl and put it somewhere warm for 30min -1 hour or so to become bubbly and increase in size (not necessarily double like in the photo).
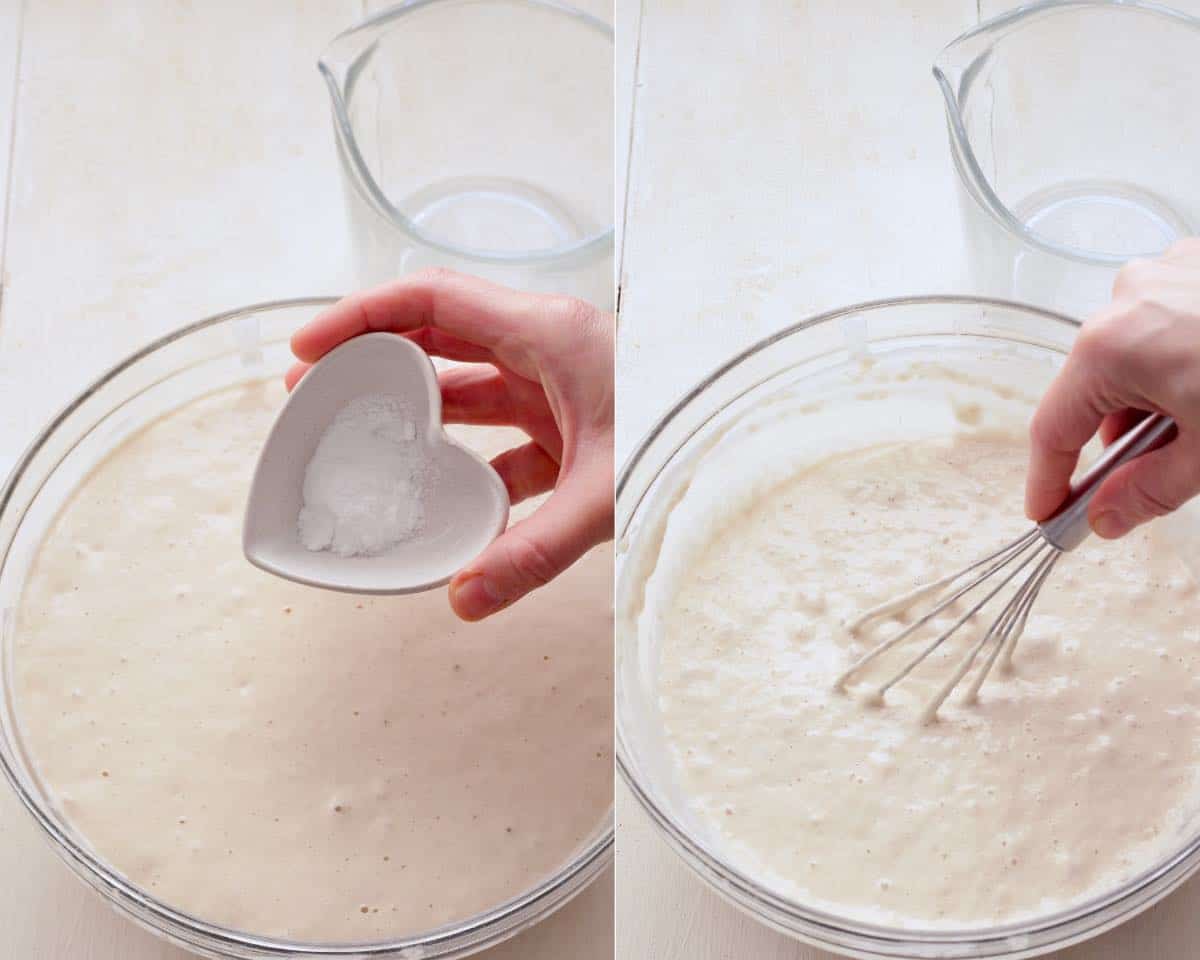
Step 4: Once batter had a time to rest, sprinkle over bicarbonate of soda and whisk it into the batter really well.
***Quick Tip*** It is quite a gloopy batter and it might feel a bit stiff as you're whisking but do persist as you want your baking soda mixed in well.
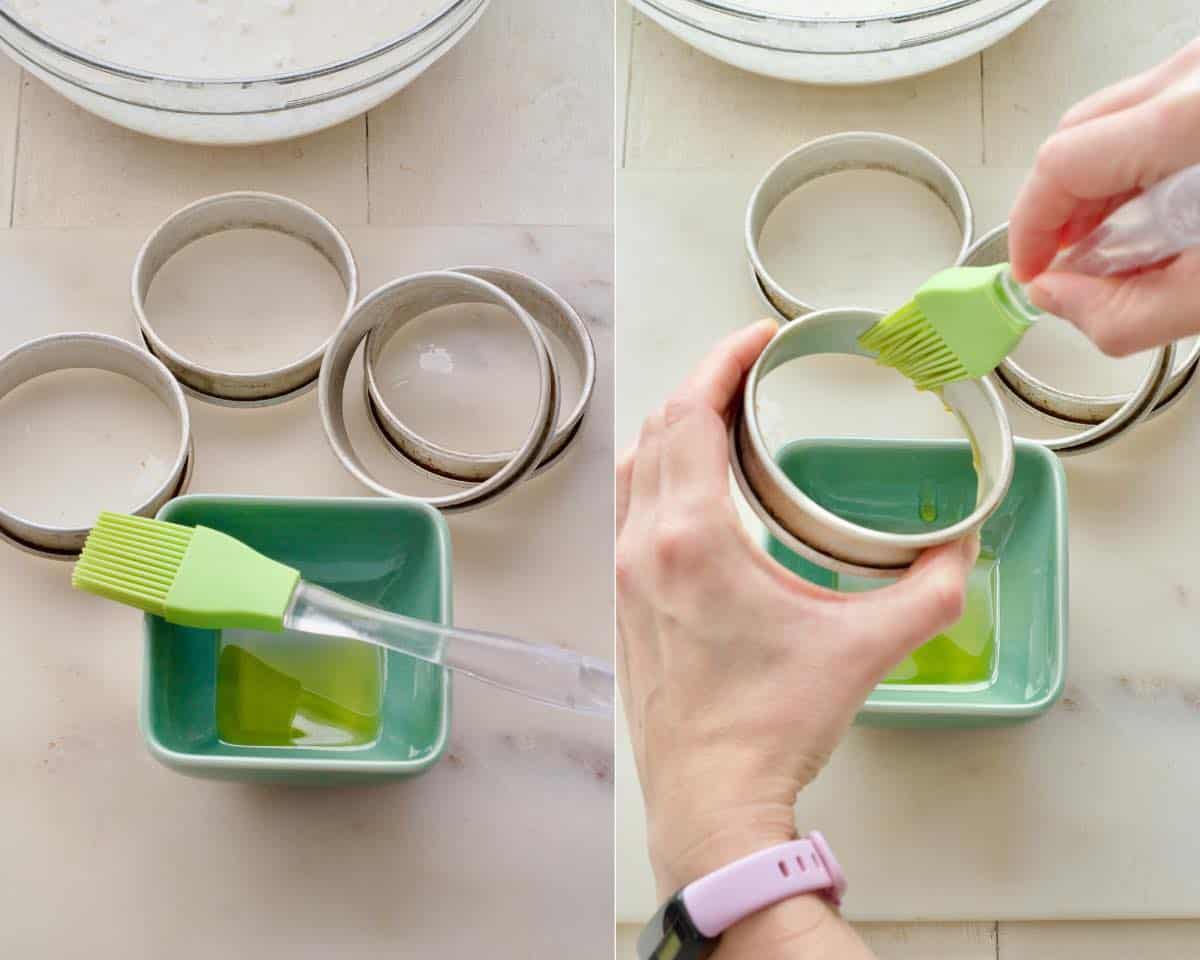
Step 5: Prepare your crumpet rings by greasing them generously with some oil or butter if you prefer.
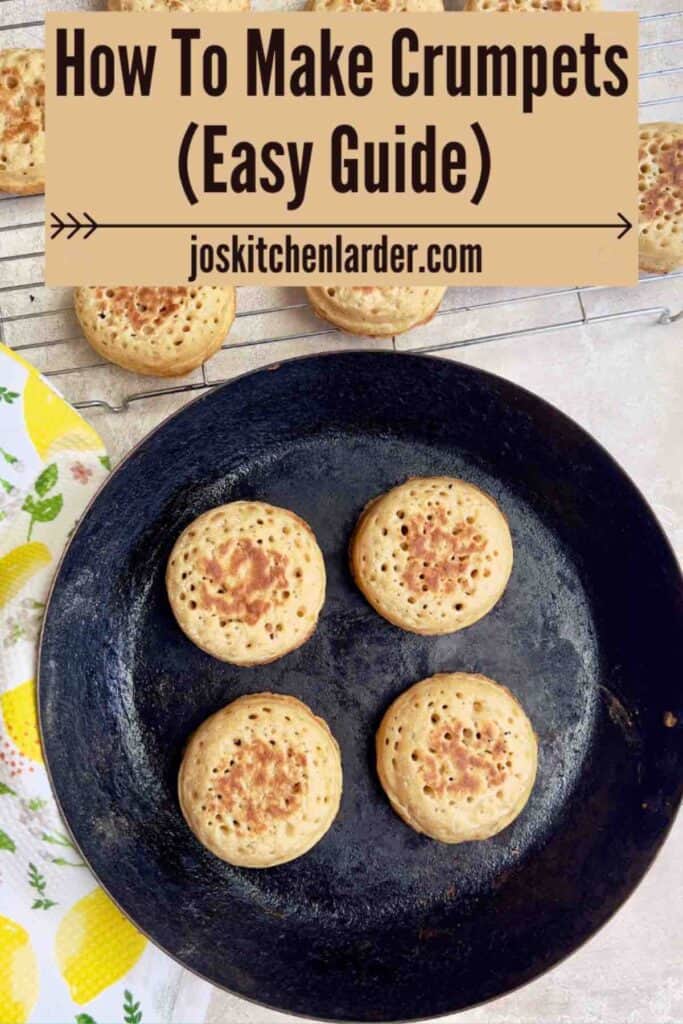
Step 6: Place your non-stick pan (preferably cast iron or carbon steel) on a medium-low heat, grease it lightly with some oil and let it come to temperature for about 5 minutes.
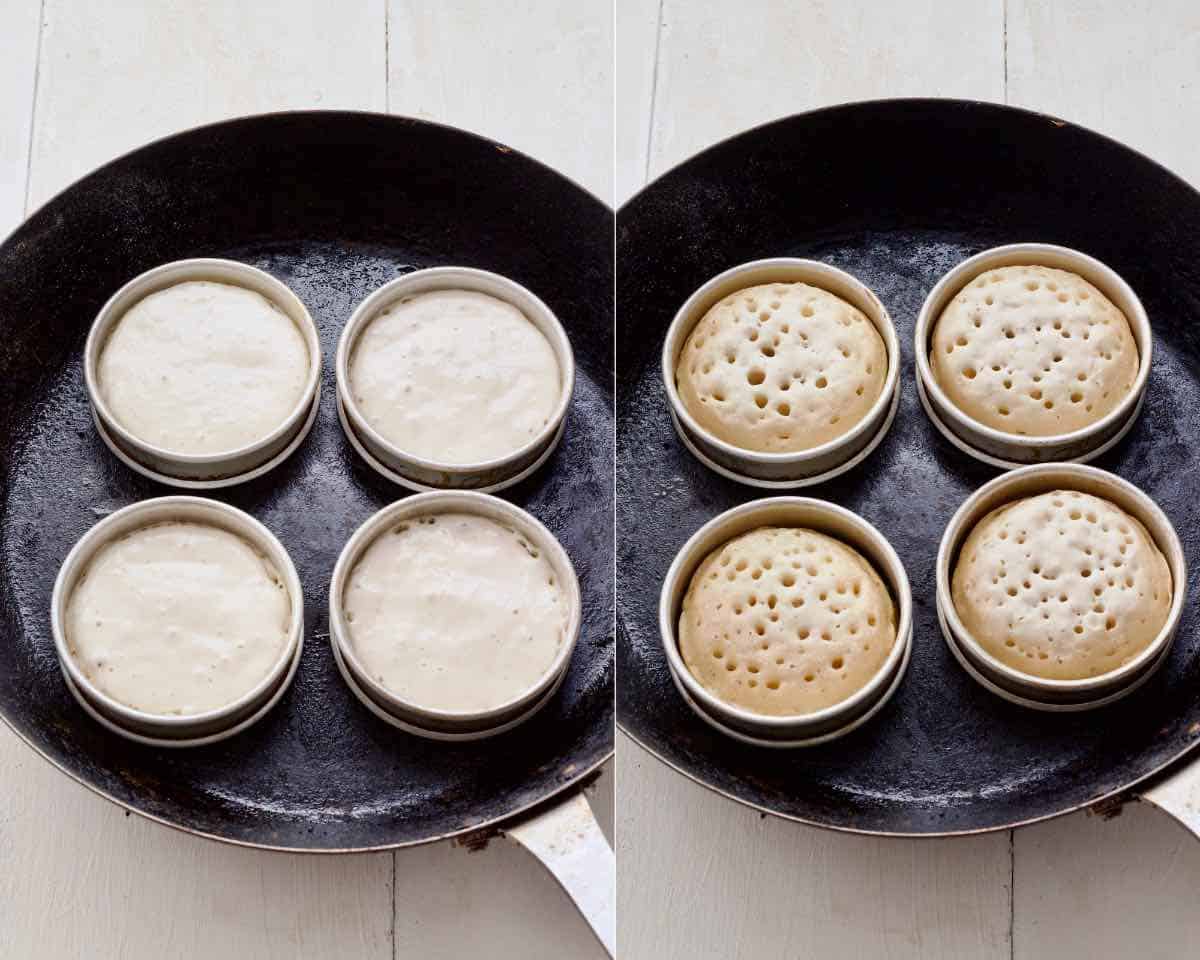
Place rings in a pan and fill them approximately half way up with crumpet batter.
Cooking time is approximately 8-12 minutes.
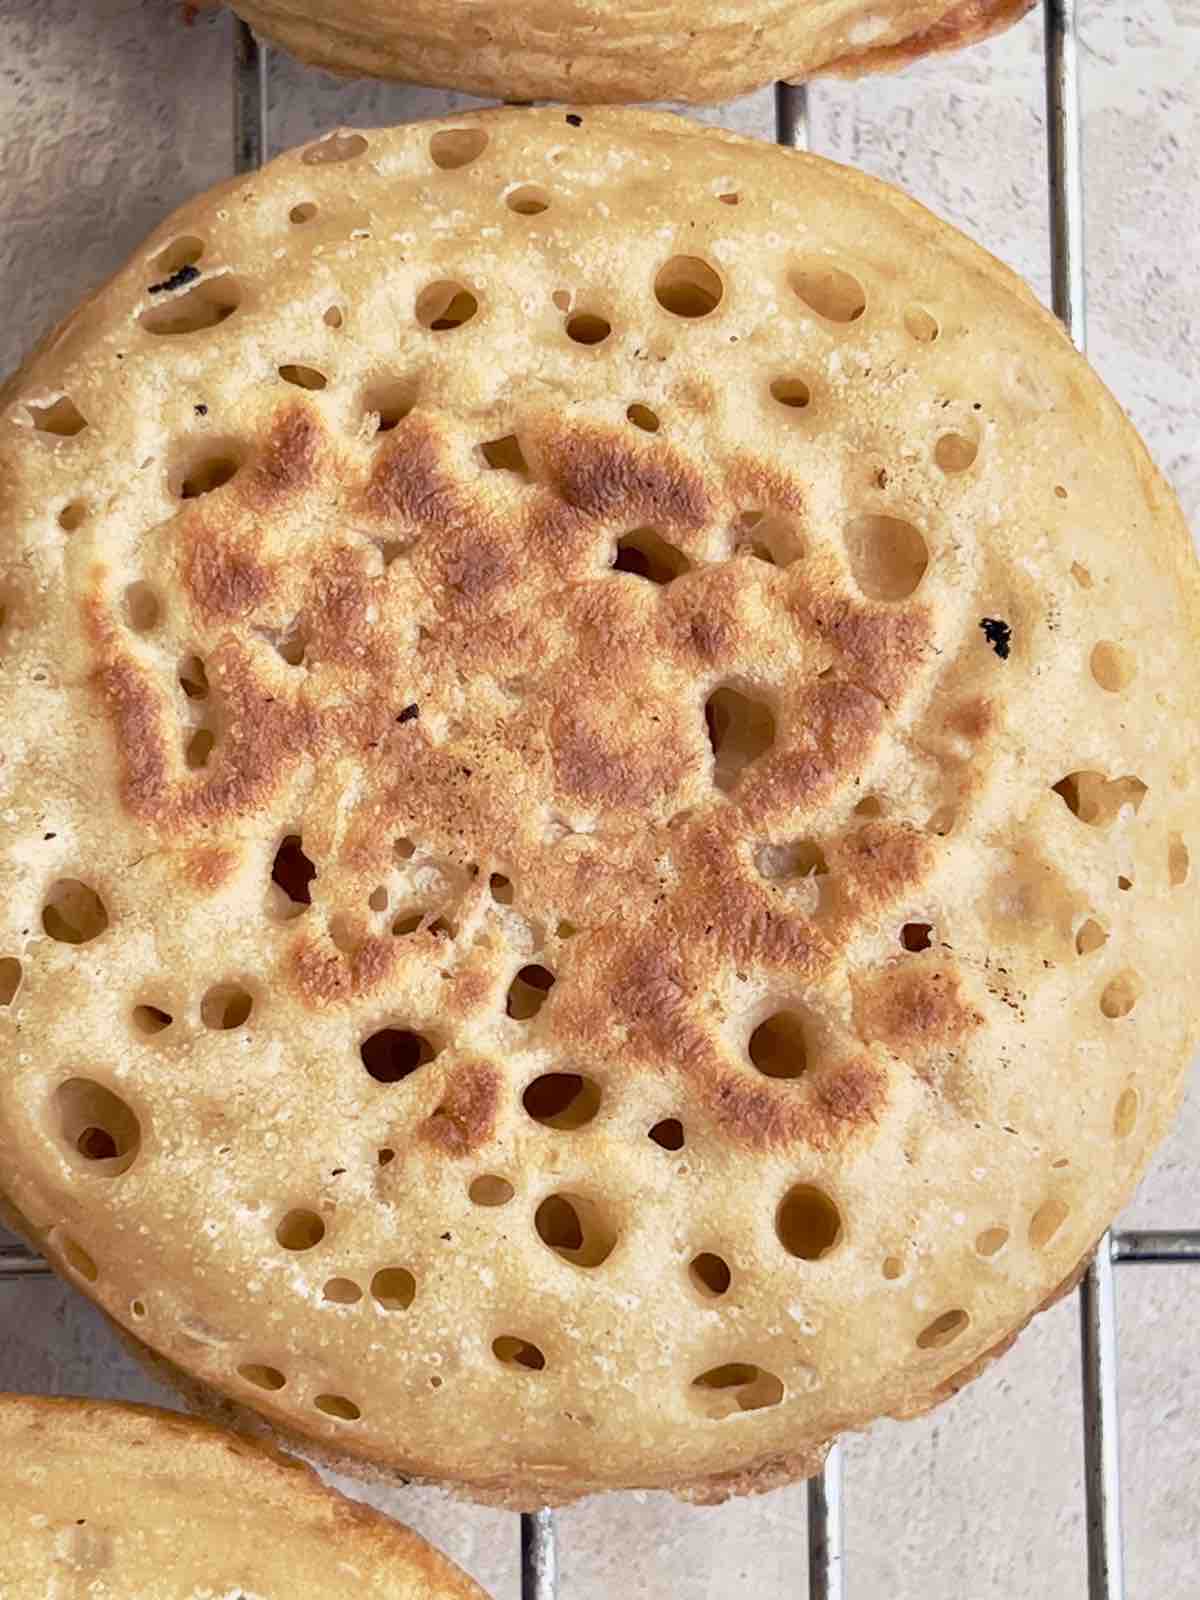
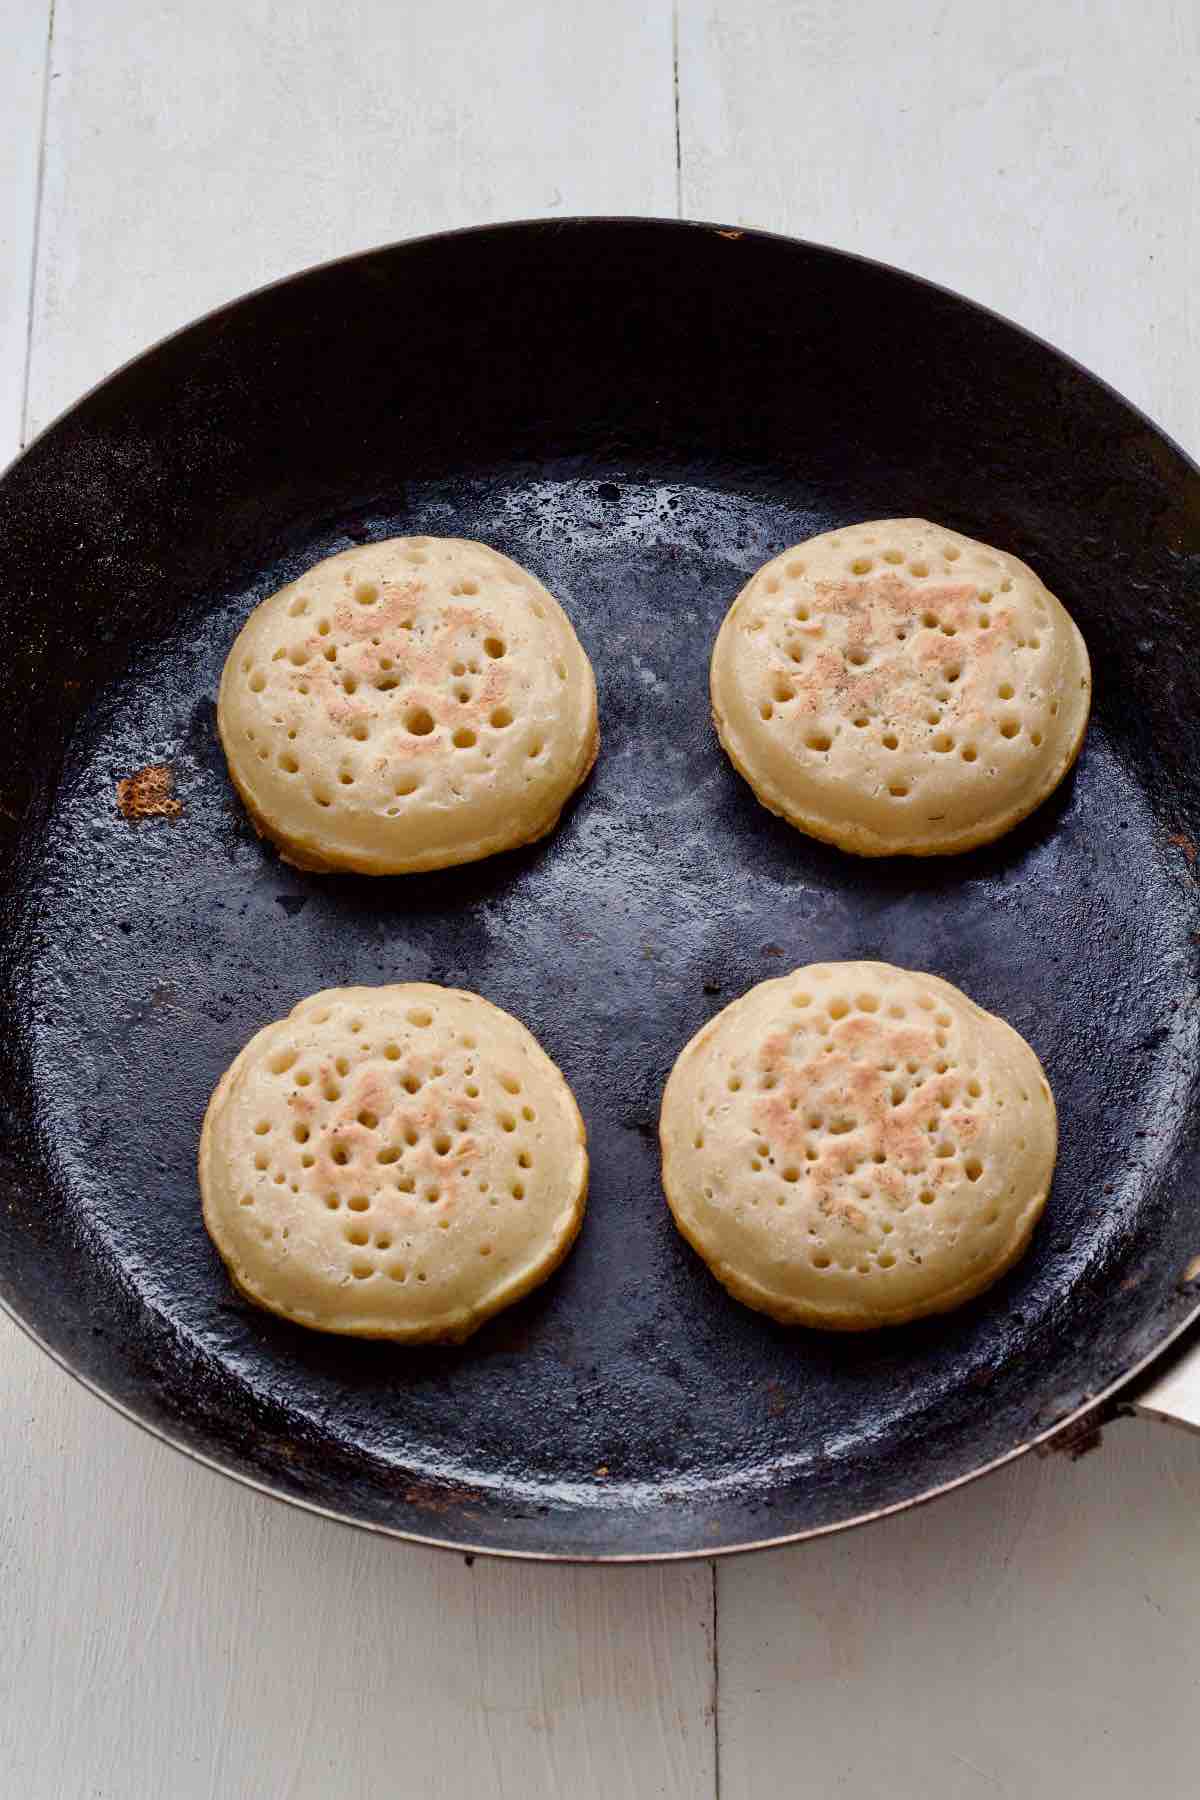
As they cook, bubbles will appear on the surface of each crumpet. Eventually, most of the them will pop uncovering signature little holes crumpets are known and loved for.
Crumpets are ready to flip when the top surface looks almost dry like on the photo.
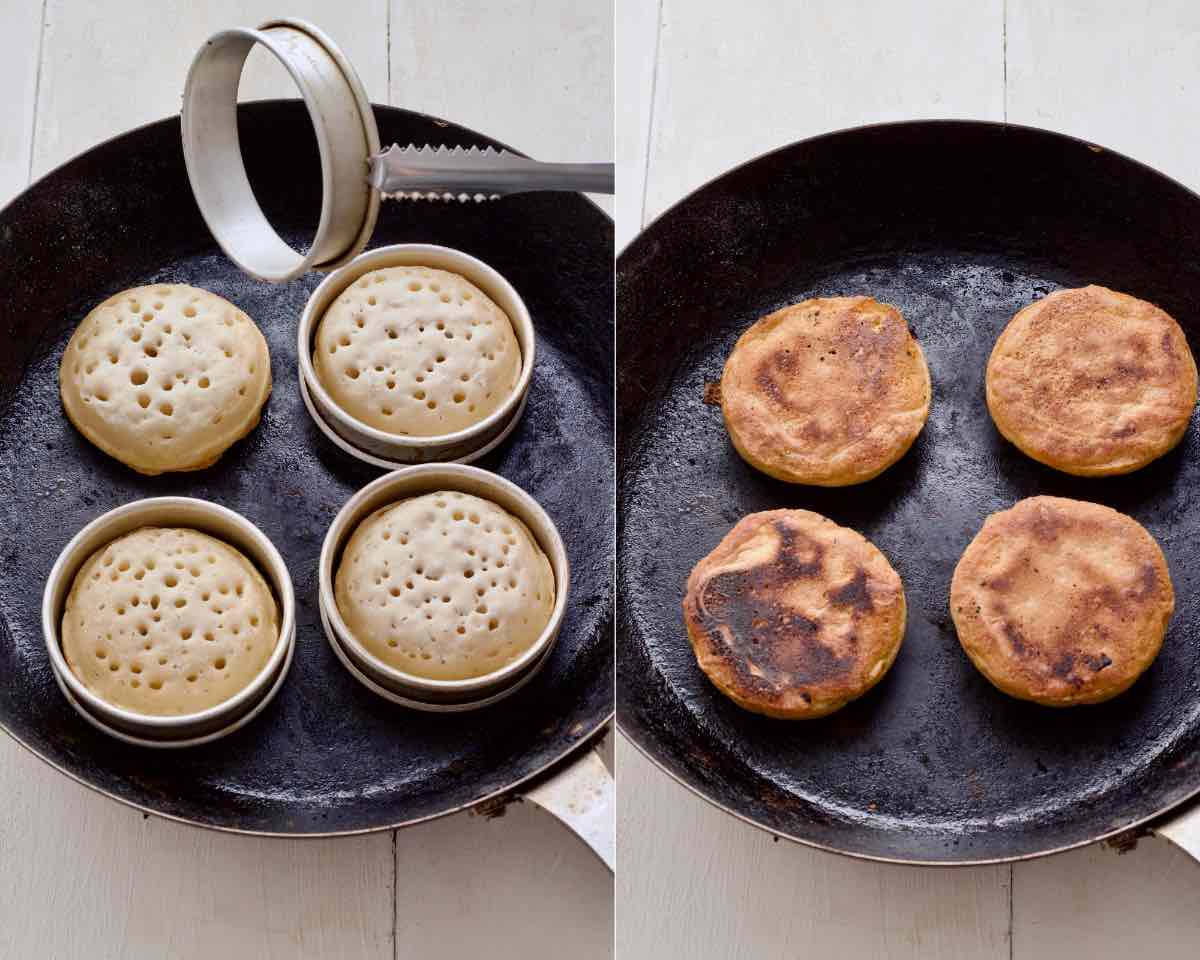
Step 7: Carefully take off the rings. They will be super hot so do take care.
***Quick Tip*** I use ice serving tongs to lift the rings off as they are small and grippy but any kitchen tongs will do.
Flip the crumpets over to gently brown the tops. All they need is up to a minute max just for a little colour.
Step 7: Flip cooked crumpets back over to check they're done and take them out onto cooling rack to cool.
Repeat the process with remaining batter.
🥡 Storing and freezing Crumpets
Store: Freshly made crumpets, once cooled, can be stored in reusable silicone bag or airtight container on the counter for a couple of days
Personally, I prefer to store them in the fridge where they last easily for up to a week. If you'd like to keep them for longer than that, freezing is the way to go.
Freeze: Crumpets freeze really, really well. Pop them into freezer friendly bags and into the freezer for up to 3 months.
Defrost: The great thing about crumpets is that you can toast them straight from the freezer, no defrosting required.
🍴 Serving Crumpets
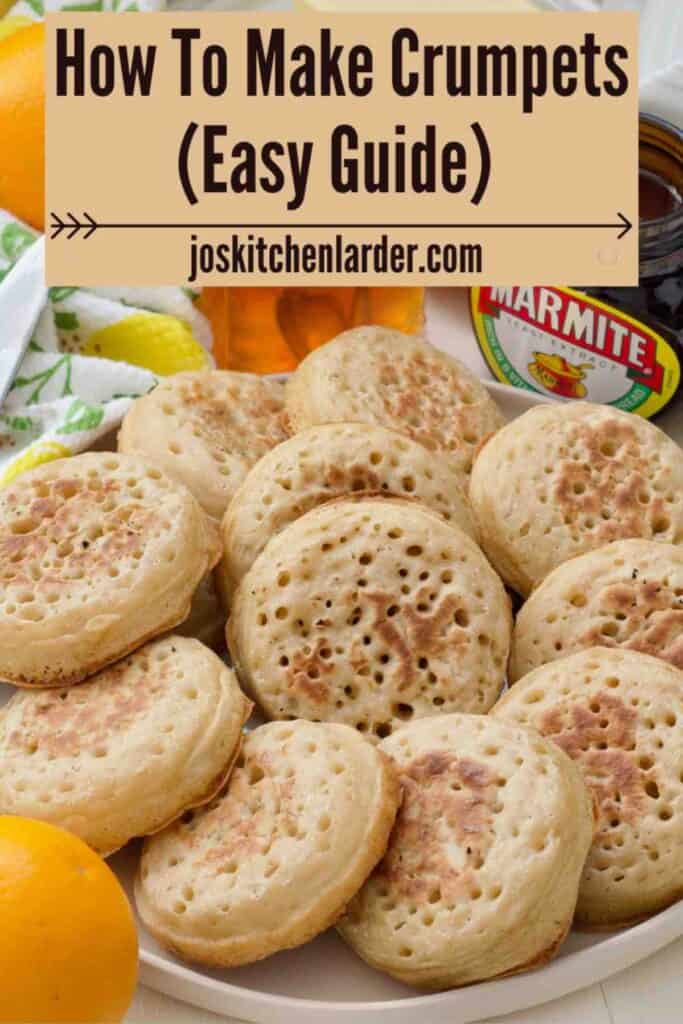
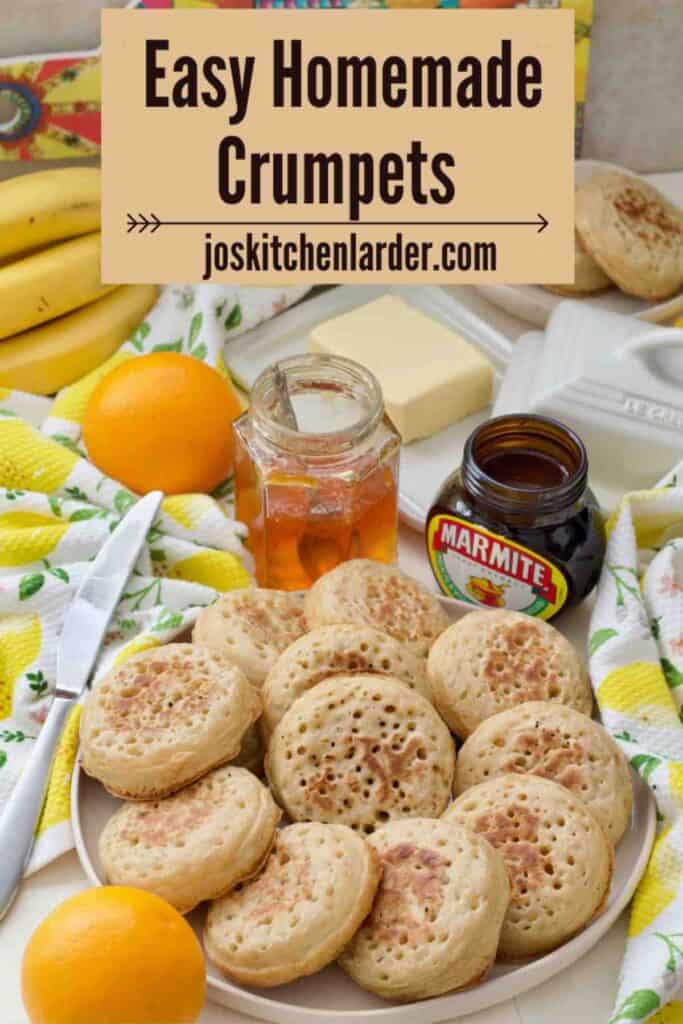
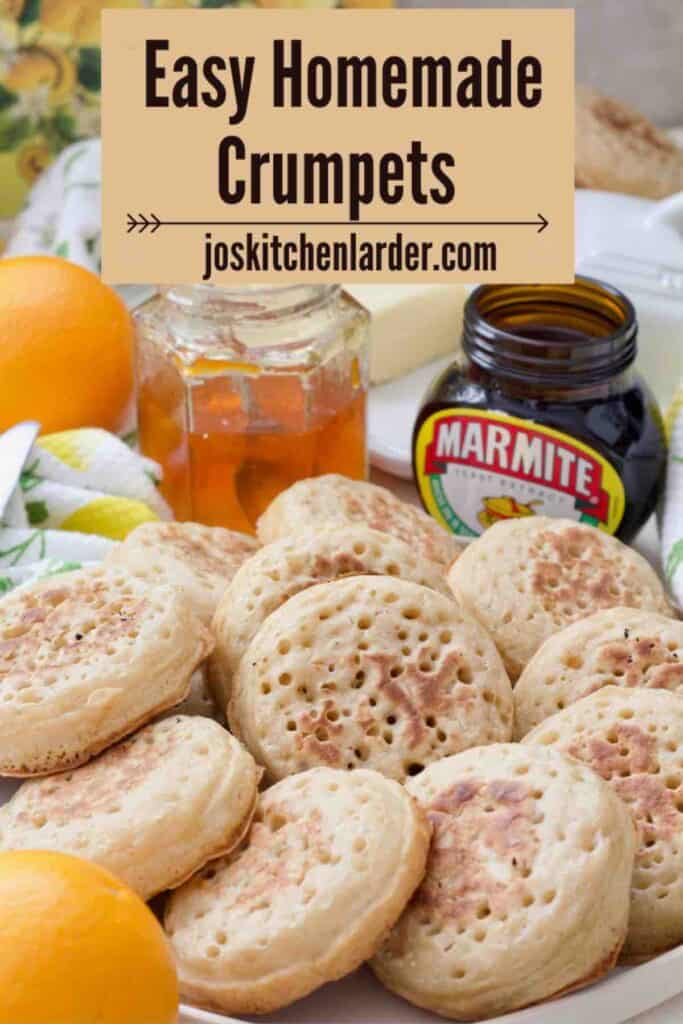
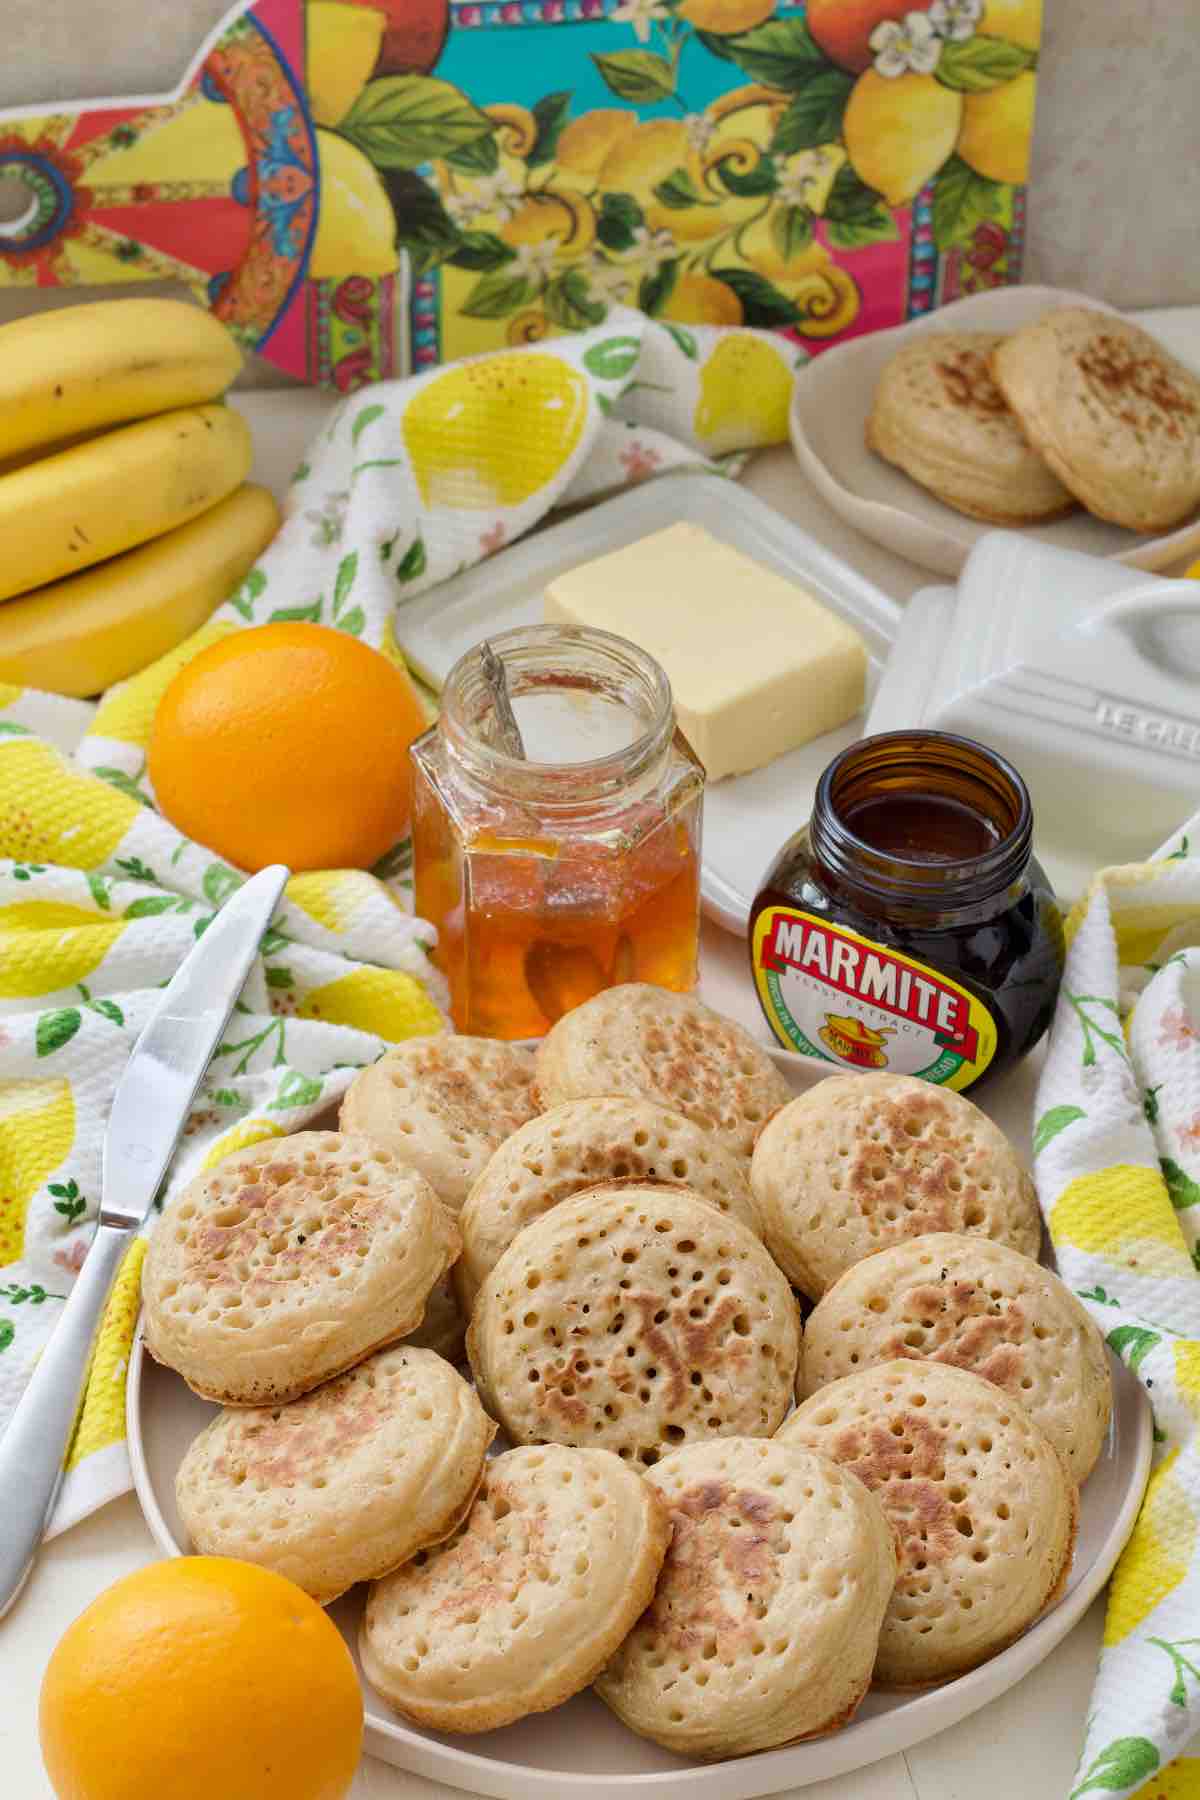
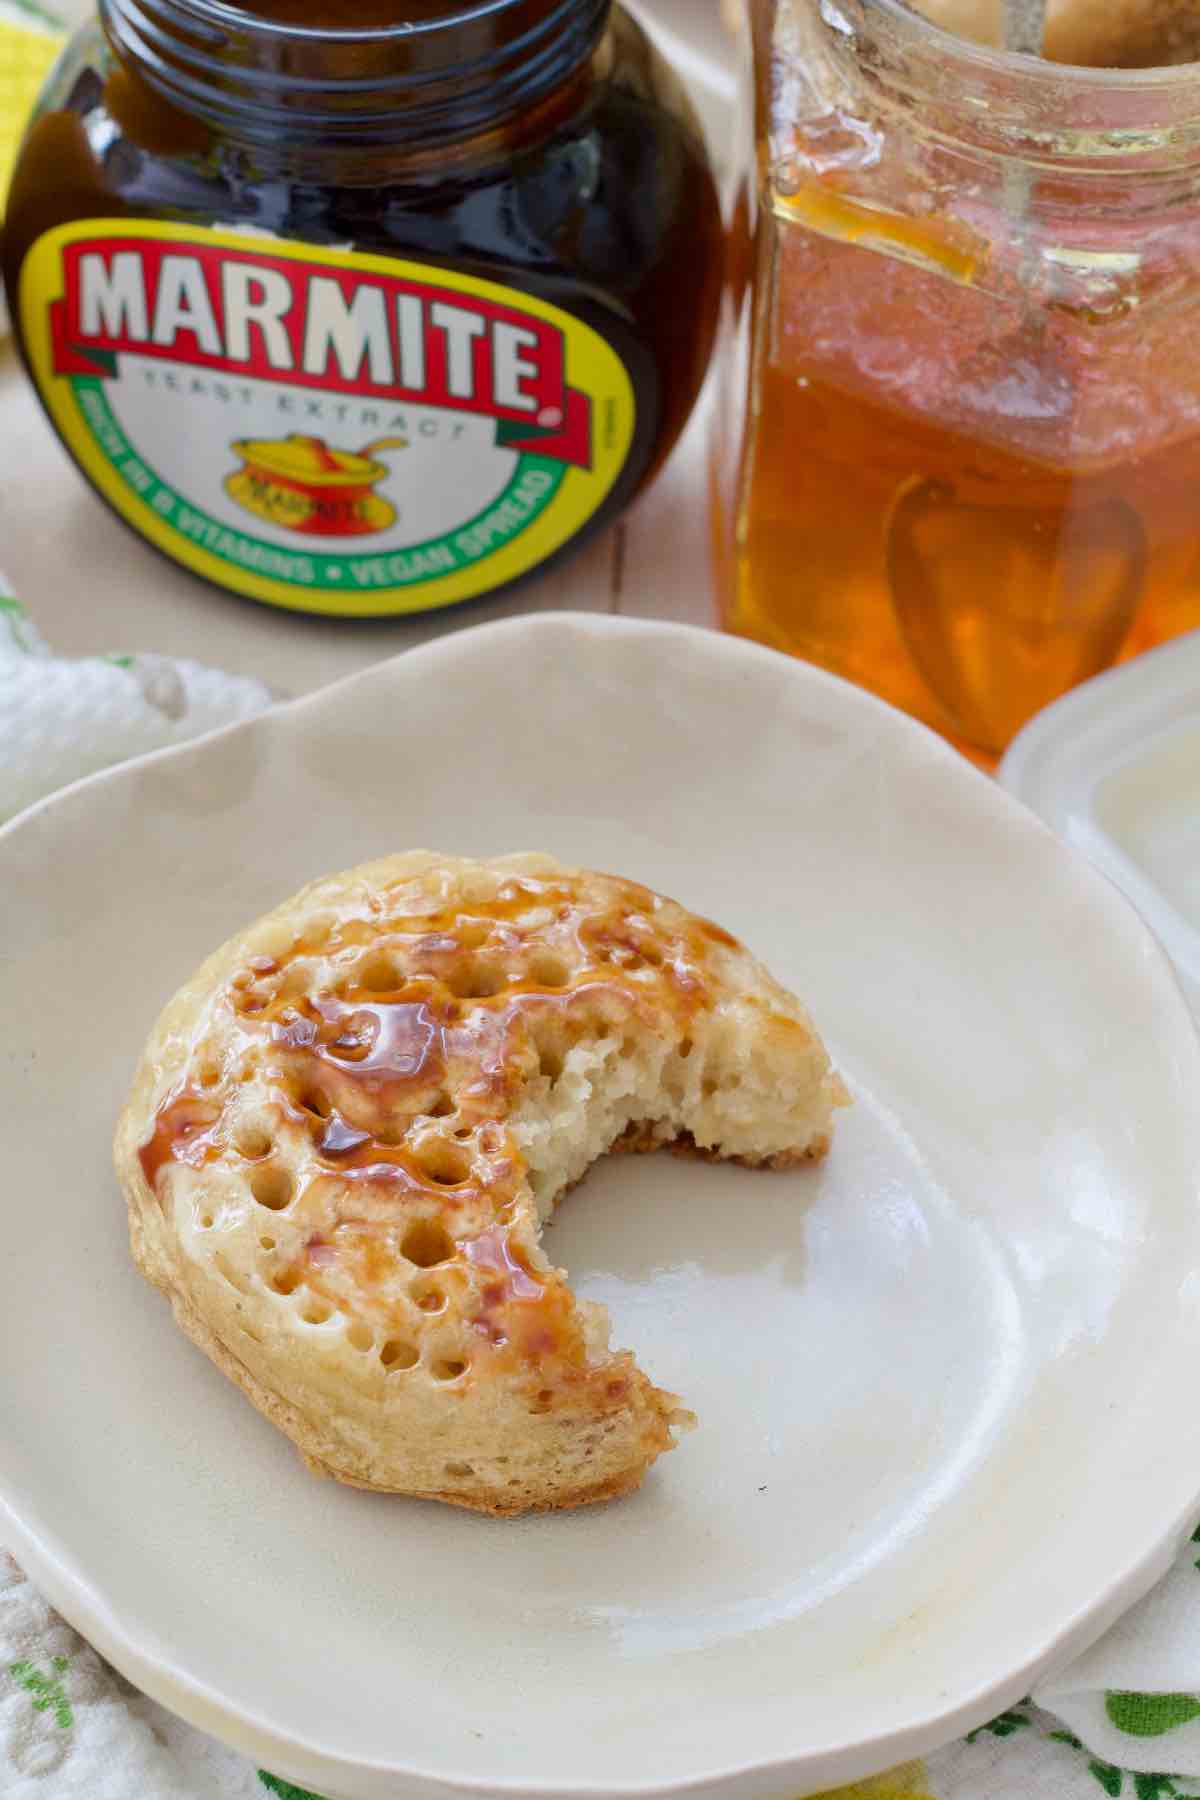
Crumpets are best served toasted either in a toaster or under a grill.
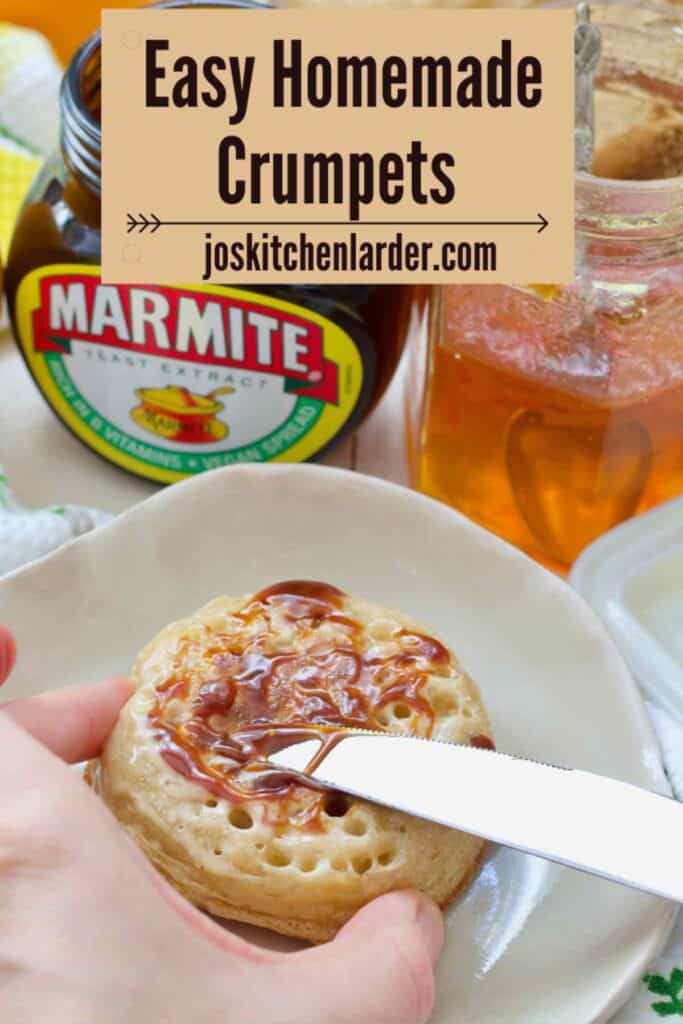
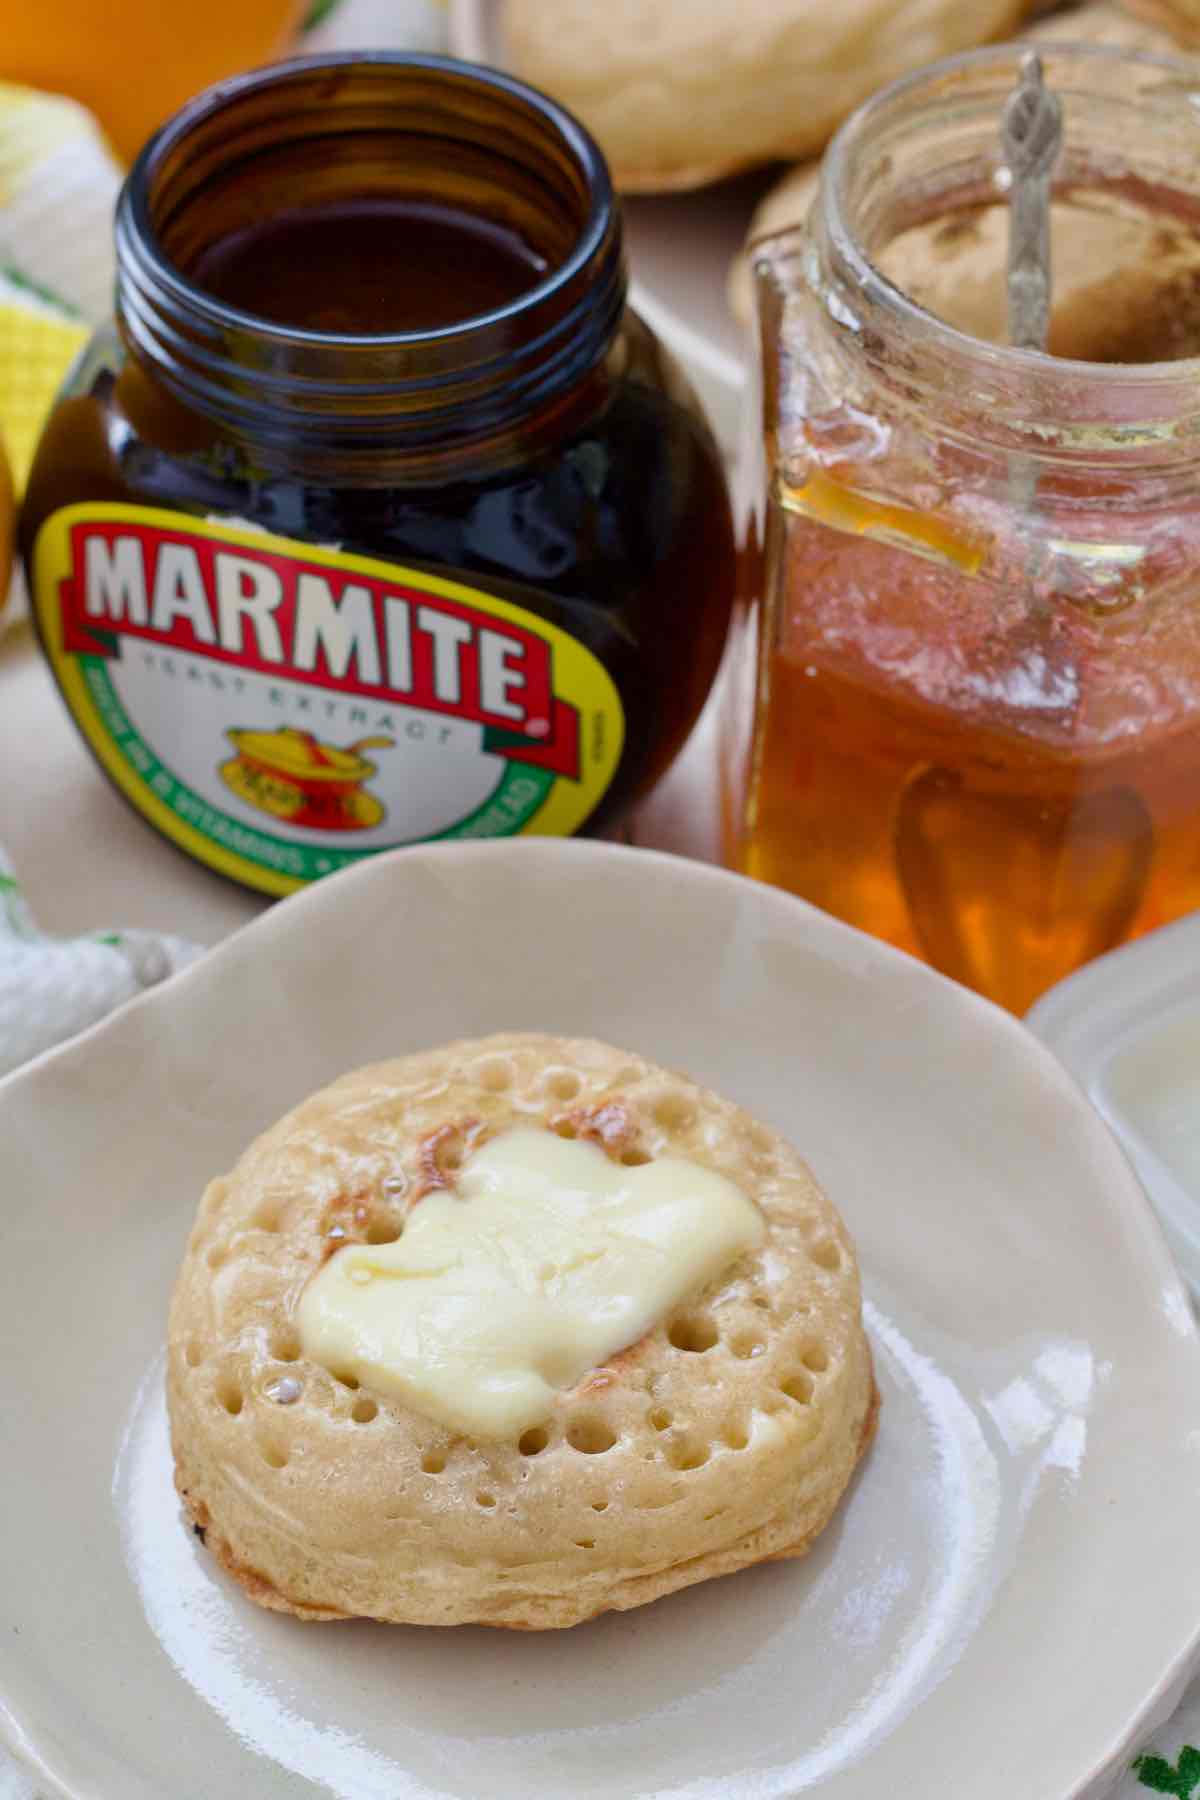
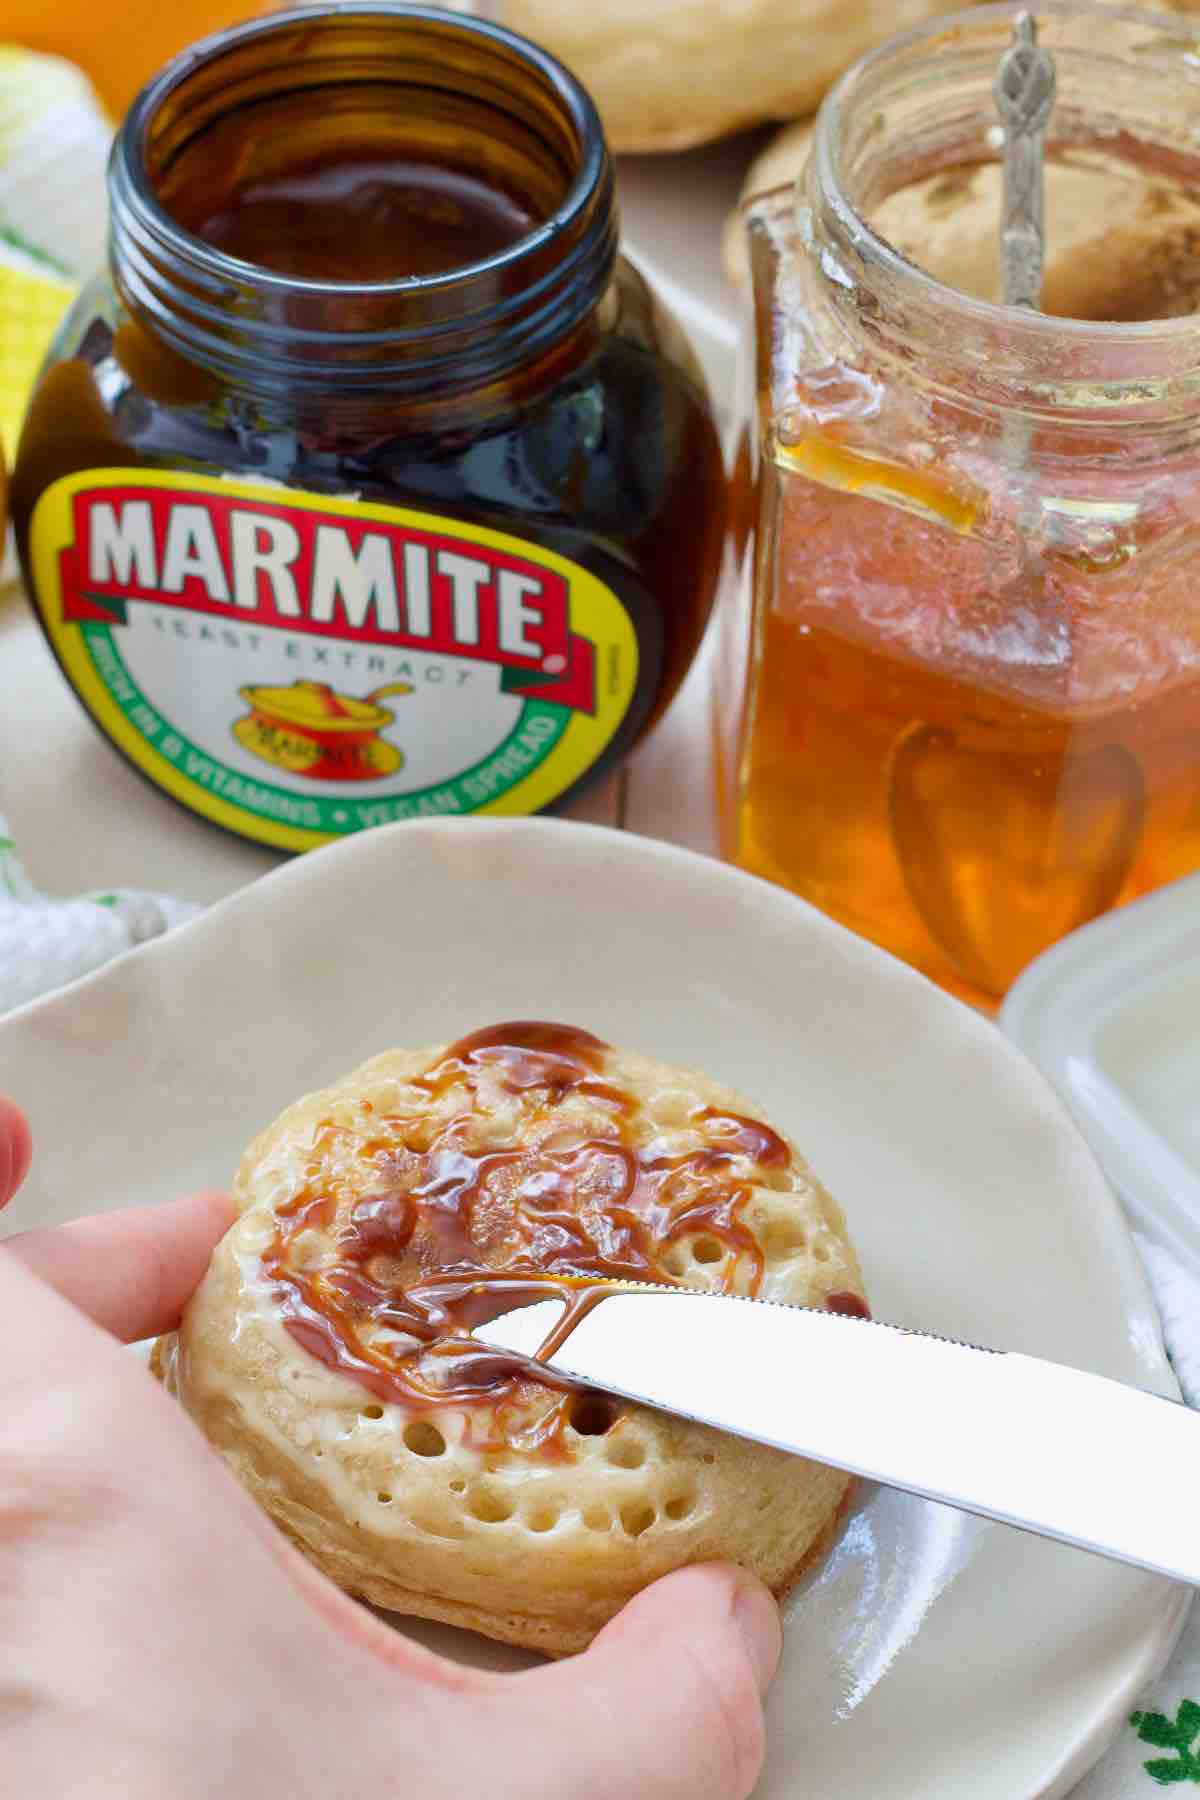
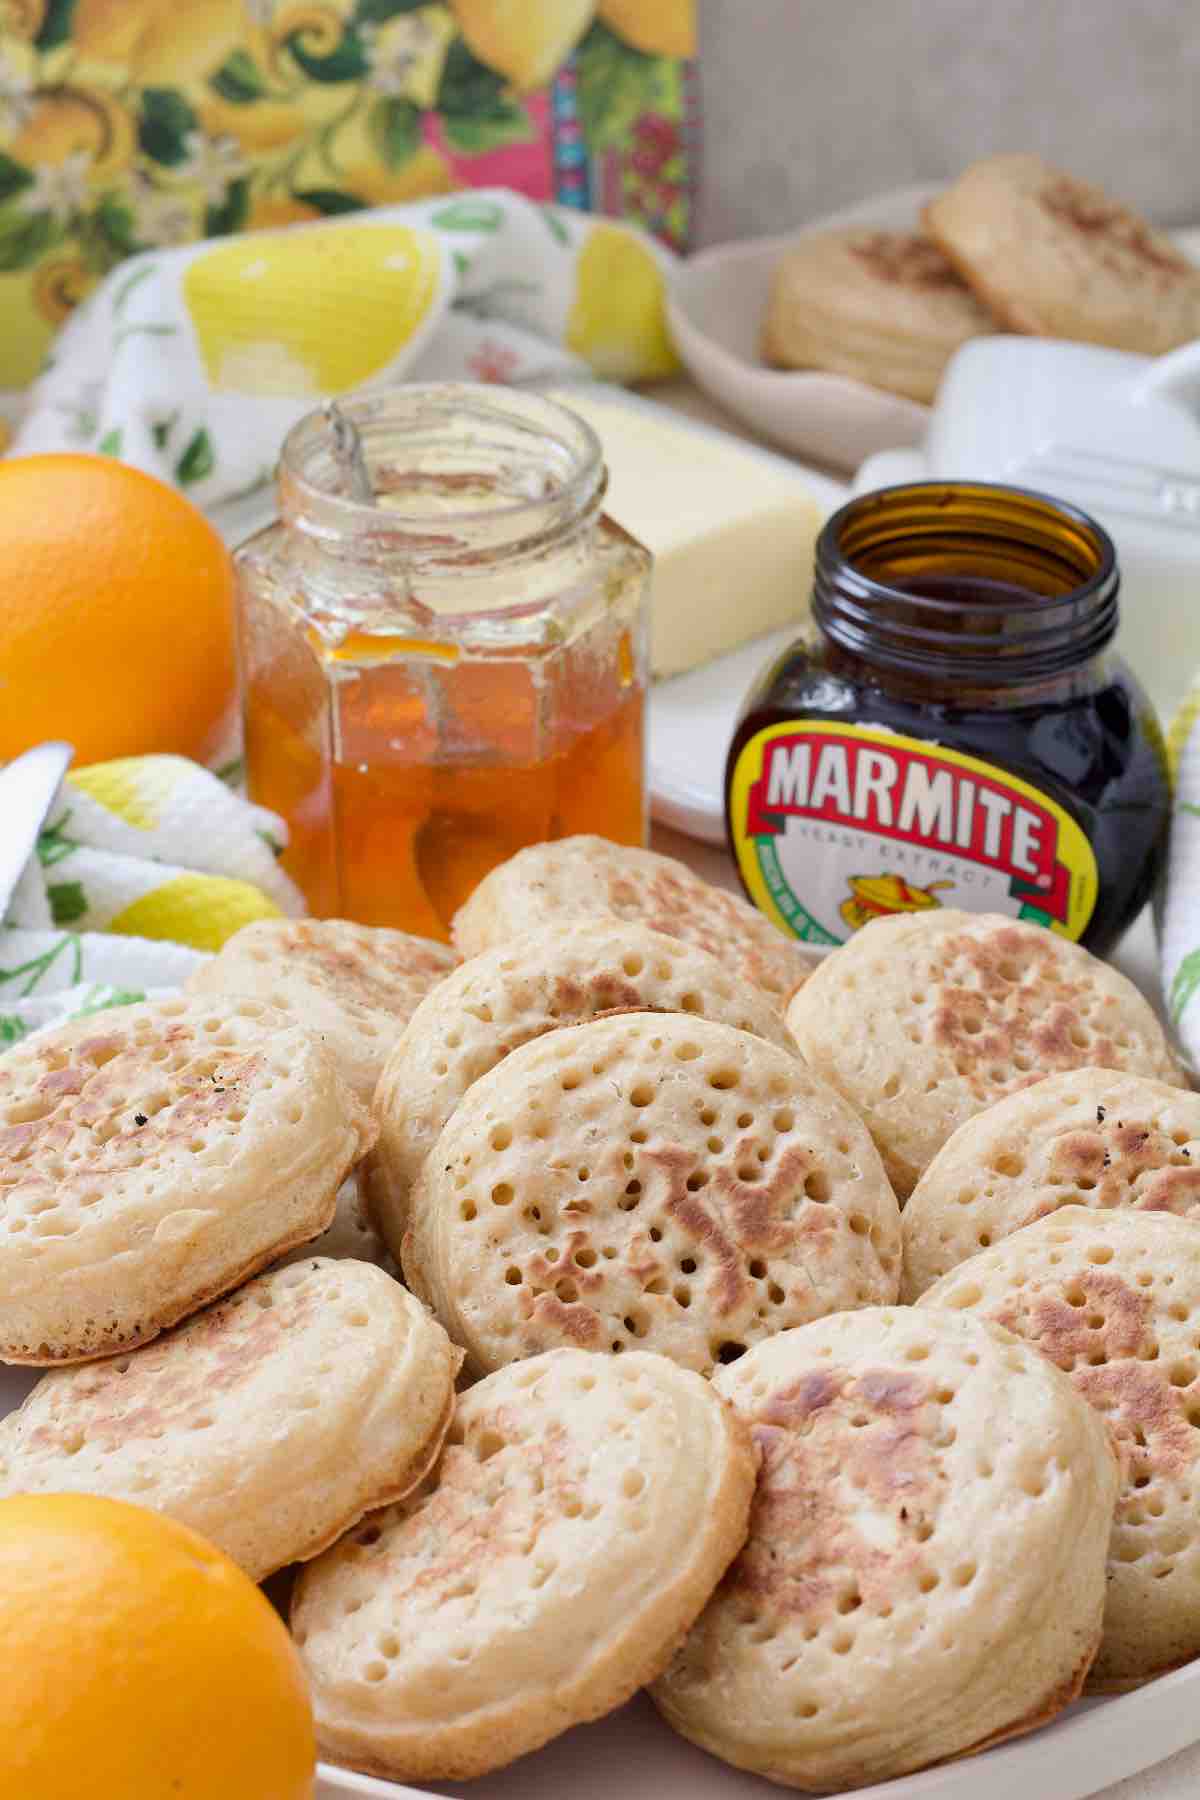
For best crumpet experience (in my humble opinion) substantial amount of butter is required to make use of tiny holes which will hold said butter beautifully and dutifully until you're ready to dive in.
Marmite is synonymous with crumpets in our house but your favourite jam (plum or blackberry perhaps), marmalade or honey will work as well.
I think that pretty much covers it, nothing else is really needed. Keep it simple!
💭 Pro Tips
Crumpet batter doesn't need to double in size after proving. You want to leave it to rest for 30min-1hr and as long as you see some surface bubbles and some increase in volume indicating that there is an activity and yeast are doing their job, it's all good.
Pan temperature control is super important for crumpet success. Be patient and let the pan you're using come to temperature before cooking. I find medium-low heat the most consistent. It's really easy to burn bottoms of your crumpets before they're cooked through so don't be tempted to turn the heat up to speed the process. Good crumpets take time. The more you make them the better you'll get at gauging it.
Grease your rings every single time and not just at the beginning. You might think it will be fine but trust me, crumpets will get stuck.
Don't overfill rings with batter. I find filling them up half way to be a sweet spot. They will rise in a pan and fill the rings fully, if you fill them up too much, batter might spill over.
Don't flip the crumpets too soon. You want for the tops to be almost dry before you flip.
Make loads and freeze. If you enjoy a crumpet or two on regular basis it's a sound advice. I often make double batch at a time, pop them in a freezer and feel smug every time I pop one in a toaster (straight from the freezer).
Don't skimp on butter when serving.
Have you tried my Easy Homemade Crumpets?
Please consider giving it ⭐️⭐️⭐️⭐️⭐️ rating in recipe card below and share your views or tips in the comments.
❓FAQ
I'm afraid I haven't tried it myself but I think you could struggle if simply substituting regular flour with gluten-free flour blend. Most likely some more adjustments would have to be made to achieve similar results.
It all depends on whom you ask. I think it's perfectly fine to flip them once they're almost dry on top just to finish them off, get a bit of colour on them and rawness out. They are homemade crumpets and not commercially manufactured ones so you can do whatever you want.
📋 Recipe

How to Make Crumpets
Equipment
- Carbon Steel Pan 28cm or any non-stick pan
- Ice Serving Tongs* or use regular kitchen tongs
Ingredients
- 300 g strong bread flour or plain (all-purpose) flour or mixture of both
- 2 teaspoon quick/instant yeast
- 1 teaspoon fine salt see notes
- 1 teaspoon bicarbonate of soda
- 400 ml lukewarm water
- oil or olive oil for greasing the rings and a pan
Instructions
- In a large bowl mix together flour, yeast and salt.300 g strong bread flour, 2 teaspoon quick/instant yeast, 1 teaspoon fine salt
- Add warm water and whisk it into the flour vigorously until you get uniform batter. Continue whisking a little longer to incorporate more air into the mixture.400 ml lukewarm water
- Cover the bowl and put it somewhere warm for 30min - 1hour or so to become bubbly and increase in size (not necessarily double ).
- Once batter had a time to rest, sprinkle over bicarbonate of soda and whisk it into the batter really well.***Quick Tip*** It is quite a gloopy batter and it might feel a bit stiff as you're whisking but do persist as you want your baking soda mixed in well.1 teaspoon bicarbonate of soda
- Prepare your crumpet rings by greasing them generously with some oil or butter if you prefer.oil or olive oil for greasing the rings and a pan
- Place your non-stick pan (preferably cast iron or carbon steel) on a medium-low heat, grease it lightly with some oil and let it come to temperature for about 5 minutes.Place rings in a pan and fill them approximately half way up with crumpet batter. Cooking time is approximately 8-12 minutes.As they cook, bubbles will appear on the surface of each crumpet. Eventually, most of the them will pop uncovering signature little holes crumpets are known and loved for. Crumpets are ready to flip when the top surface looks almost dry.
- Carefully take off the rings. They will be super hot so do take care. ***Quick Tip*** I use ice serving tongs to lift the rings off as they are small and grippy but any kitchen tongs will do.Flip the crumpets over to gently brown the tops. All they need is up to a minute max just for a little colour.
- Flip cooked crumpets back over to check they're done and take them out onto cooling rack to cool. Repeat the process with remaining batter.
Notes
- Nutritional information is per crumpet (based on 15 crumpets) and doesn't include the oil used for greasing the rings and a pan. It should be treated as a rough guideline only.
- This recipe makes anything between 12-15 crumpets depending on the size of your rings and how much you fill them. Cooking time is up to 15 minutes per 4 crumpets, you will have to repeat the process until you've used up all the batter.
- Feel free to adjust the amount of salt. I find 1 teaspoon of fine salt to be just right here.
- Crumpets will keep for up to a week in the fridge or freeze them for up to 3 months. No need to defrost, you can pop them straight into a toaster.
Comments
No Comments