
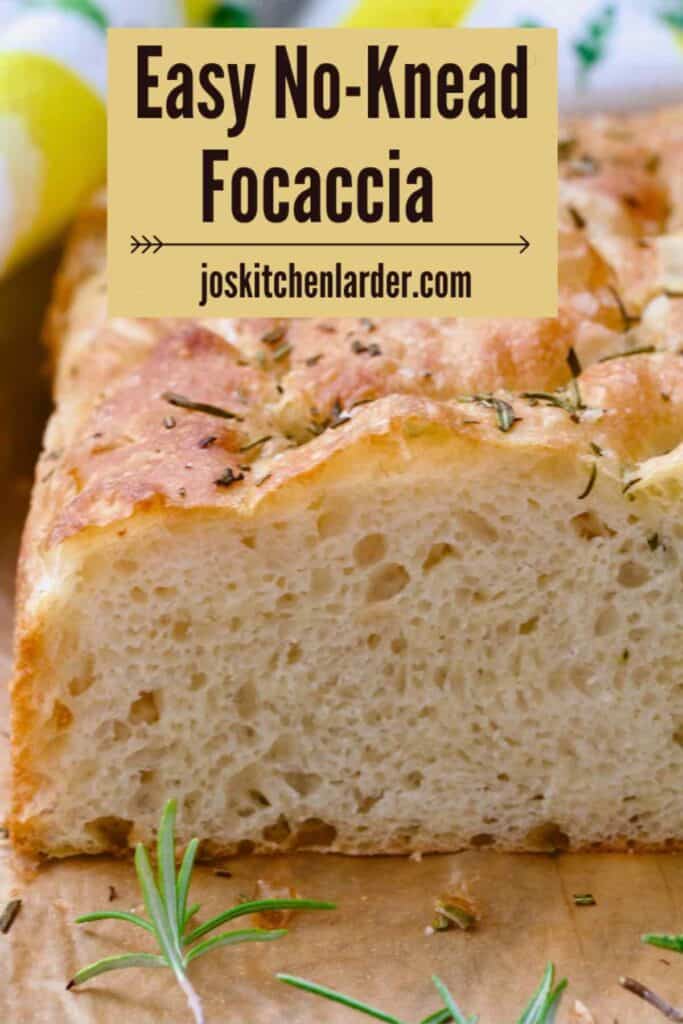
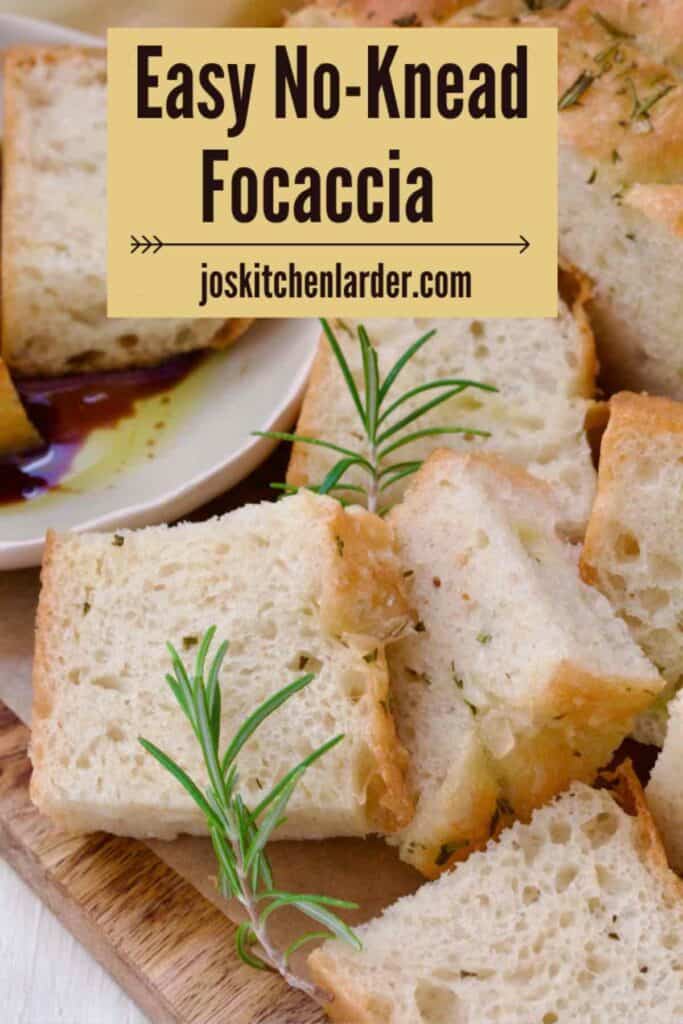
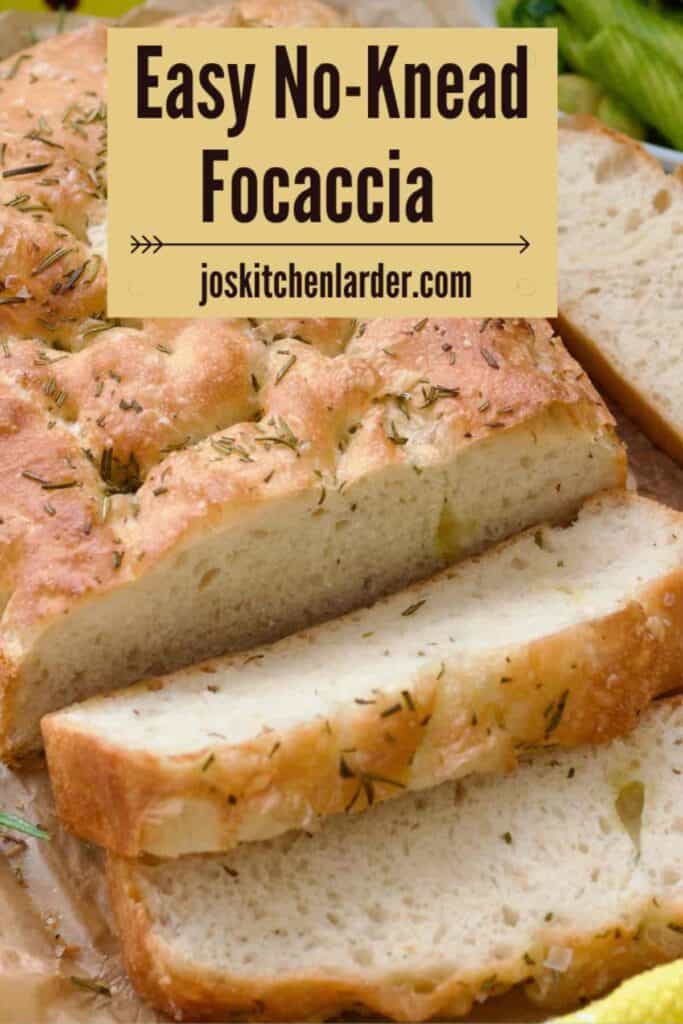
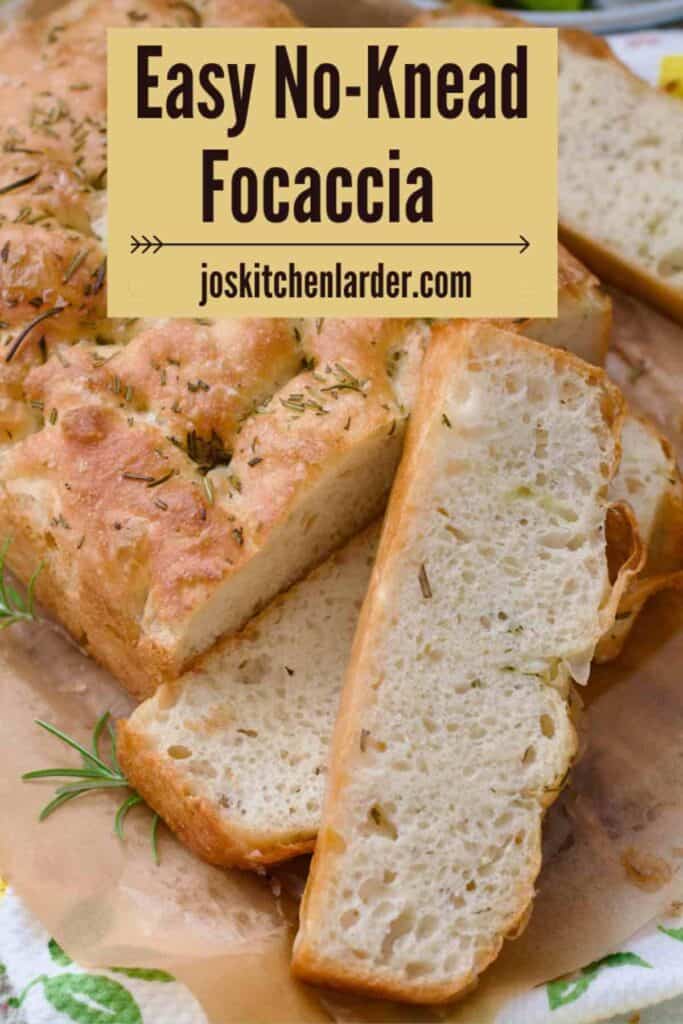
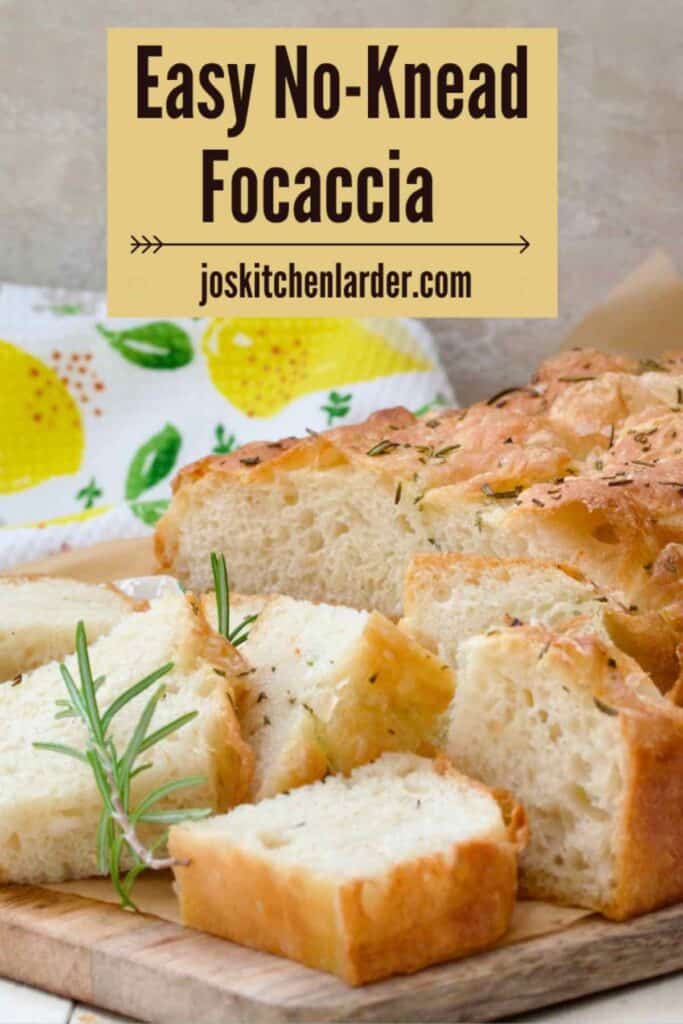
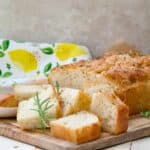
My easy no-knead focaccia recipe is a proper game changer. No lengthy processes, no overnight proving. One bowl, same day, foolproof recipe for the most delicious Italian bread known to man.
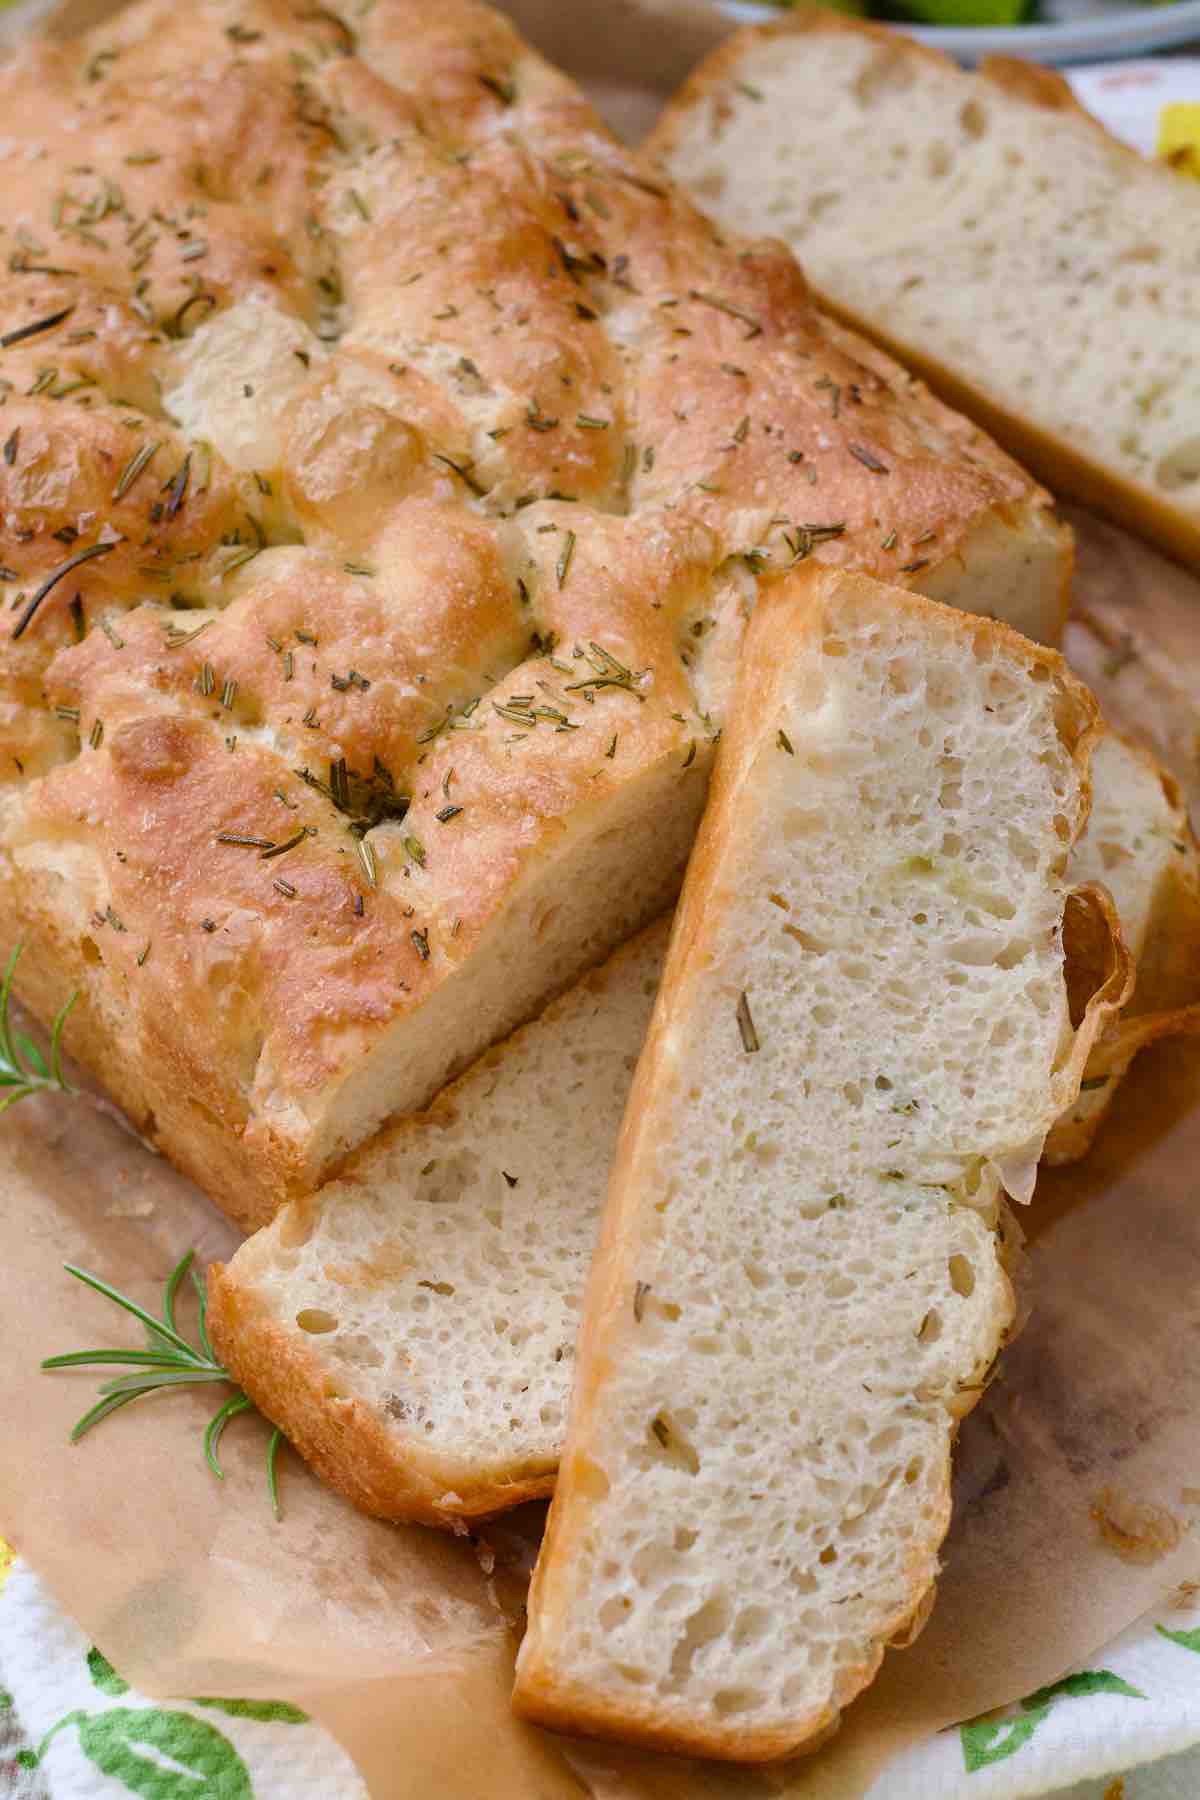
This soft, fluffy, almost pillow-like focaccia has quickly become a bread staple in our house.
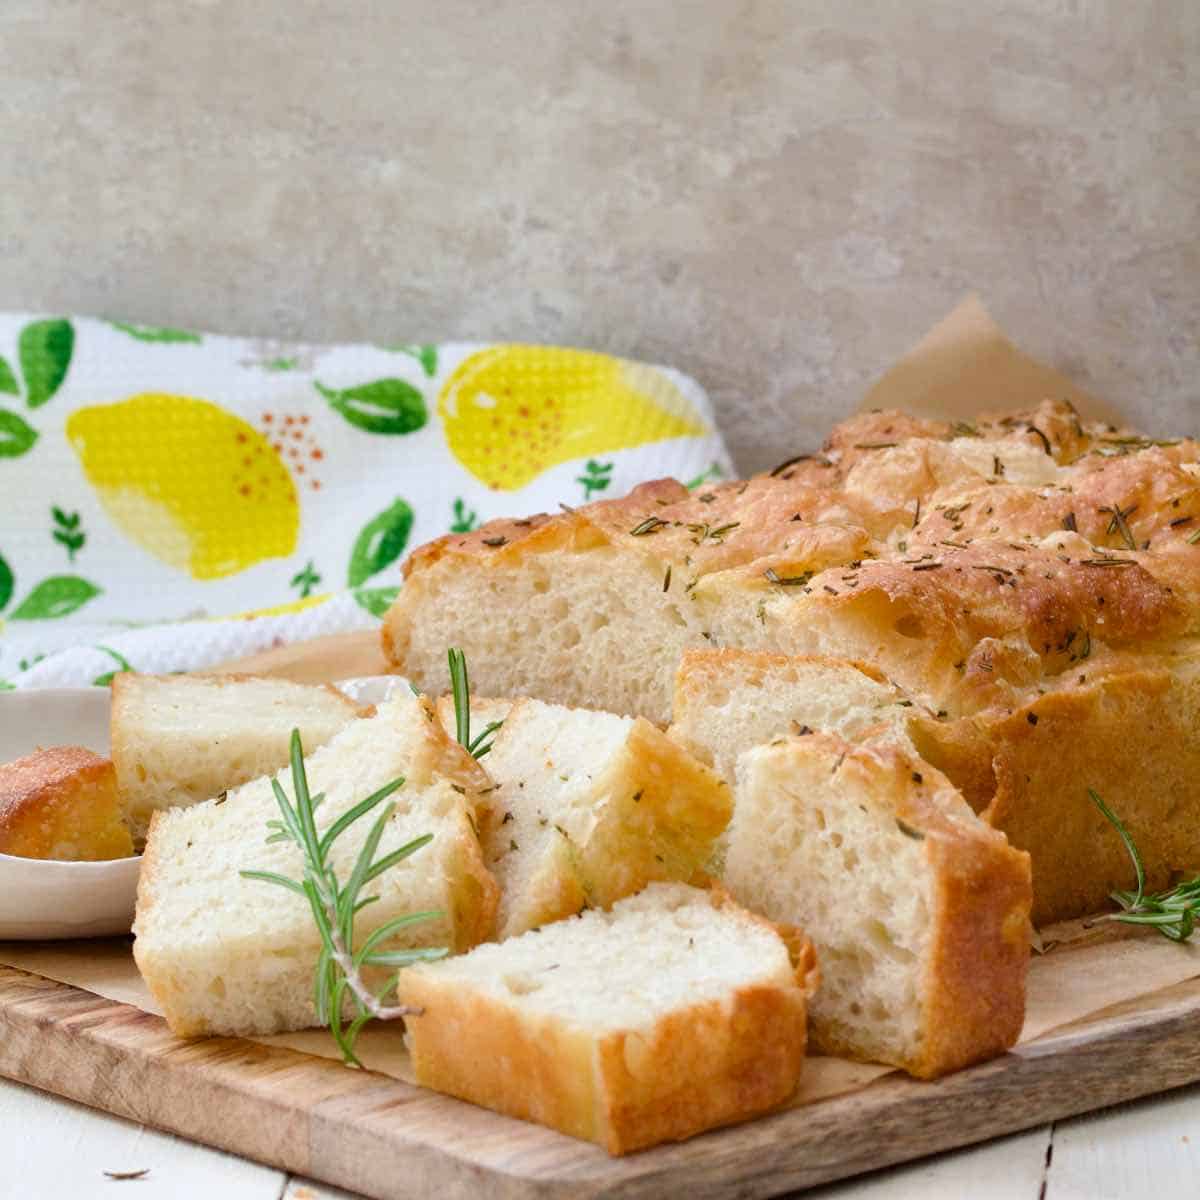
My easy no-knead focaccia is not only a perfect accompaniment to soo many dishes but also a proper star in its own right.
Made with few staple ingredients, it comes together with very little fuss and without a need for mixers or even overnight proving. Despite being very straightforward to make and relatively quick, it's still packed full of flavour and ready to wow!
Jump to:
✔️ Why you'll love this recipe
- Simple bake, even for inexperienced bread baker.
- It doesn't require any special equipment.
- Soft, fluffy, moist and full of flavour.
- Quick and easy to make - start it in the morning and enjoy it for lunch!
- Experimenting with different toppings will keep things interesting, there is no risk of getting bored.
- It keeps fresh for up to 3 days and is freezer friendly too.
- You won't be able to resist it on its own plus it makes the best accompaniment to soups, pastas, salads and more.
- Vegan friendly.
🛒 Ingredients to make Easy No-Knead Focaccia
Here's what you will need to make my Easy No-Knead Focaccia:
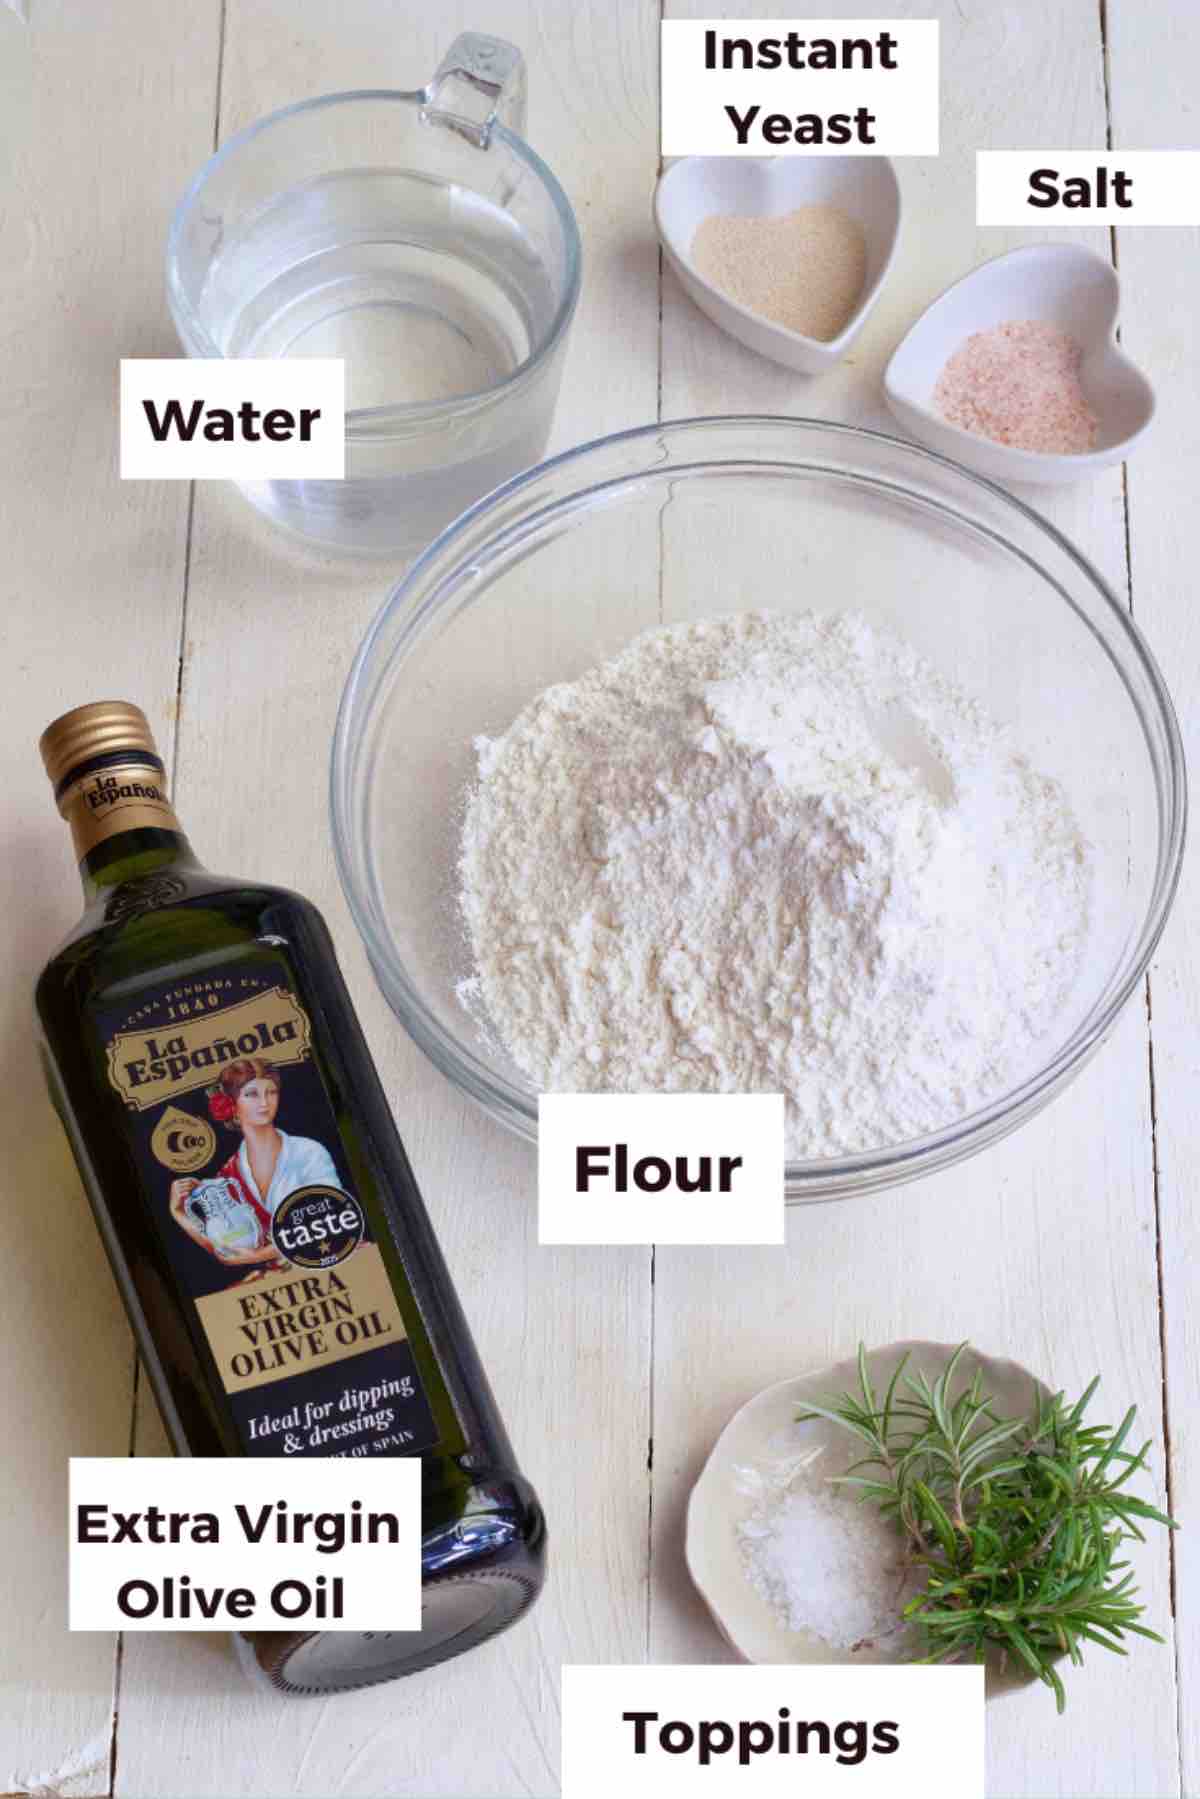
Flour - I use and recommend strong bread flour. It's a robust, high protein flour which is strong enough to give your focaccia nice rise and hold it too. You could use plain (all-purpose) flour at a push if you wanted to but the crumb you get will be a bit different.
If you like a soft bread with a bit of chew stick to strong bread flour and leave plain (all-purpose) one for cakes.
Extra Virgin Olive Oil - Use your favourite type/brand. I would not recommend substituting it with any other oil as your focaccia will simply not be the same.
EVOO (Extra Virgin Olive Oil) provides moisture and most of all FLAVOUR. Don't worry, however, it's not strong and overpowering at all, it's perfect! We use it both in the dough itself and on the dough prior to baking.
Quick/Easy/Instant Yeast - My preferred type of dried yeast which doesn't require activating prior to use, just add it to your flour.
Feel free to use dried active yeast but don't forget that you need to reactivate it in the liquid first (some of the water you're using in the recipe).
Salt - Any fine salt will do. I like fine sea salt of fine pink Himalayan salt.
Lukewarm Water - Like with any of my bread recipes, use lukewarm water. Anything between 37°C to 43°C (100°F to 110°F) will be fine. It's a perfect temperature to get the yeast going without killing it.
***Quick Tip*** Using lukewarm water accelerates the proving/proofing time. You can use cold water instead, your dough will simply take longer to prove.
Toppings - This part is up to you although if you've never made focaccia before I would start with flaky sea salt and fresh rosemary - simplicity at its best.
🍞 How to make Easy No-Knead Focaccia
Ingredient quantities & detailed instructions to be found in recipe card at the bottom of the post.
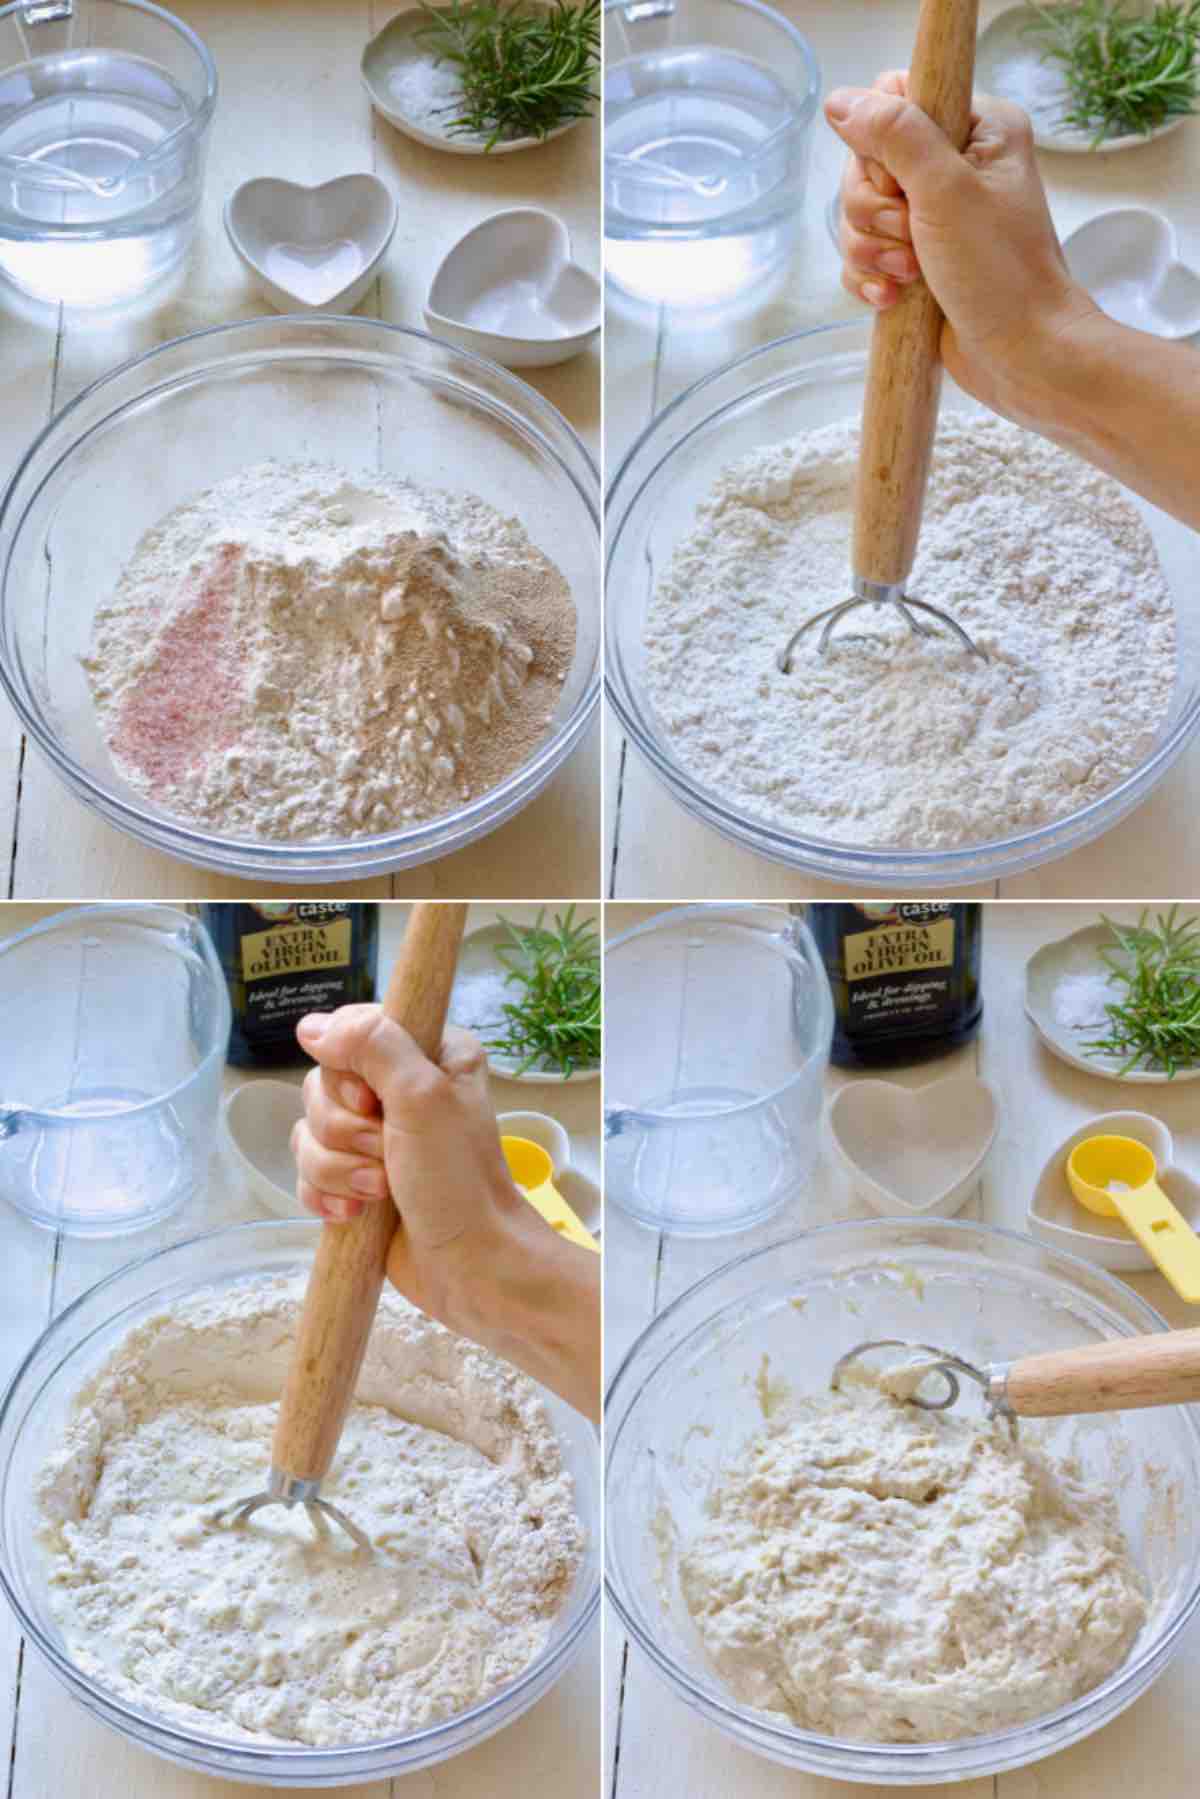
Step 1: Add flour, salt and yeast to a large bowl and give it all a quick mix to incorporate.
Next, add olive oil and water and mix them into the flour using your hand, wooden spoon or a bread dough whisk. You will have shaggy and sticky dough at this point.
Cover the bowl and leave to sit for 15 minutes.
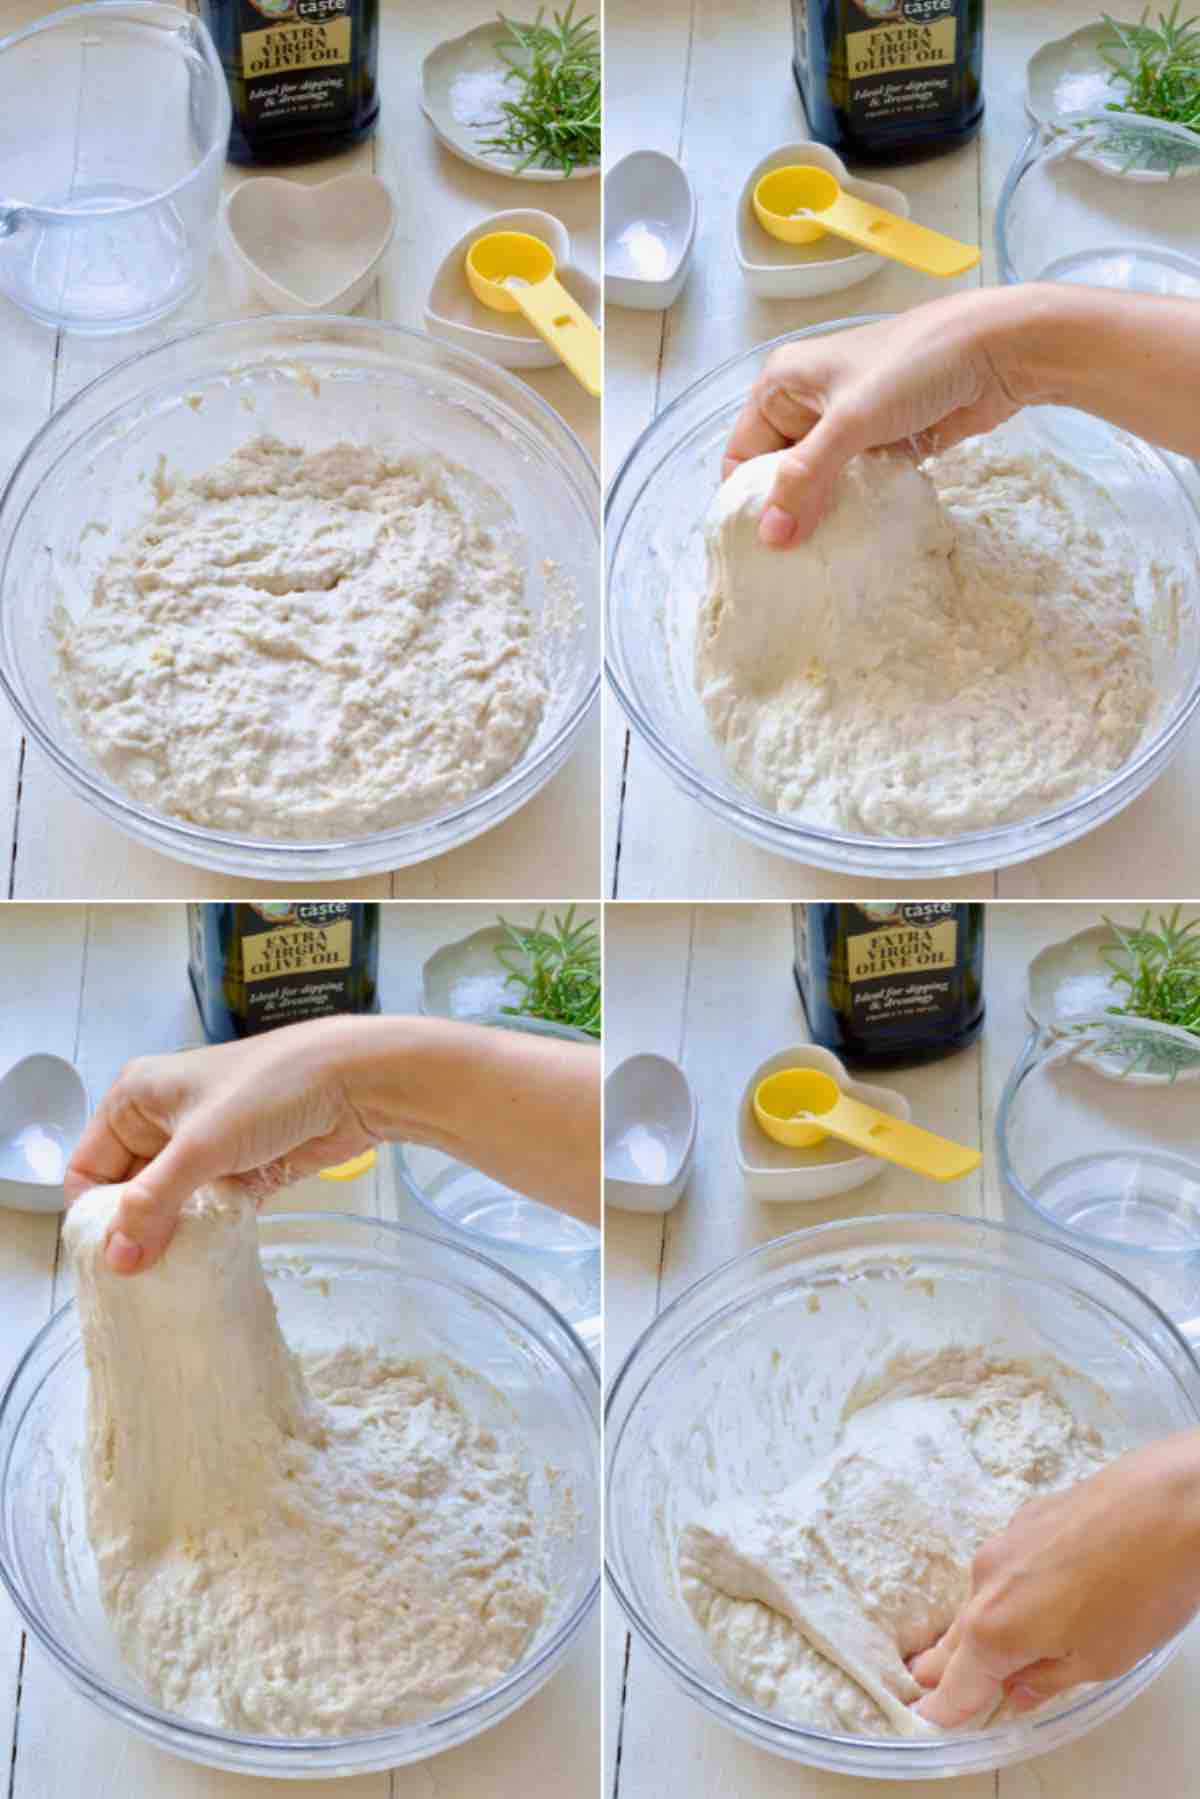
Step 2: Fill a small bowl with some water to dip your hand in (dough will be sticky). After a little break your dough will relax and will be ready for a series of "stretch and folds".
Dip your hand in a bowl of water, gather a piece of dough, stretch it up and fold over towards the opposite side of the bowl.
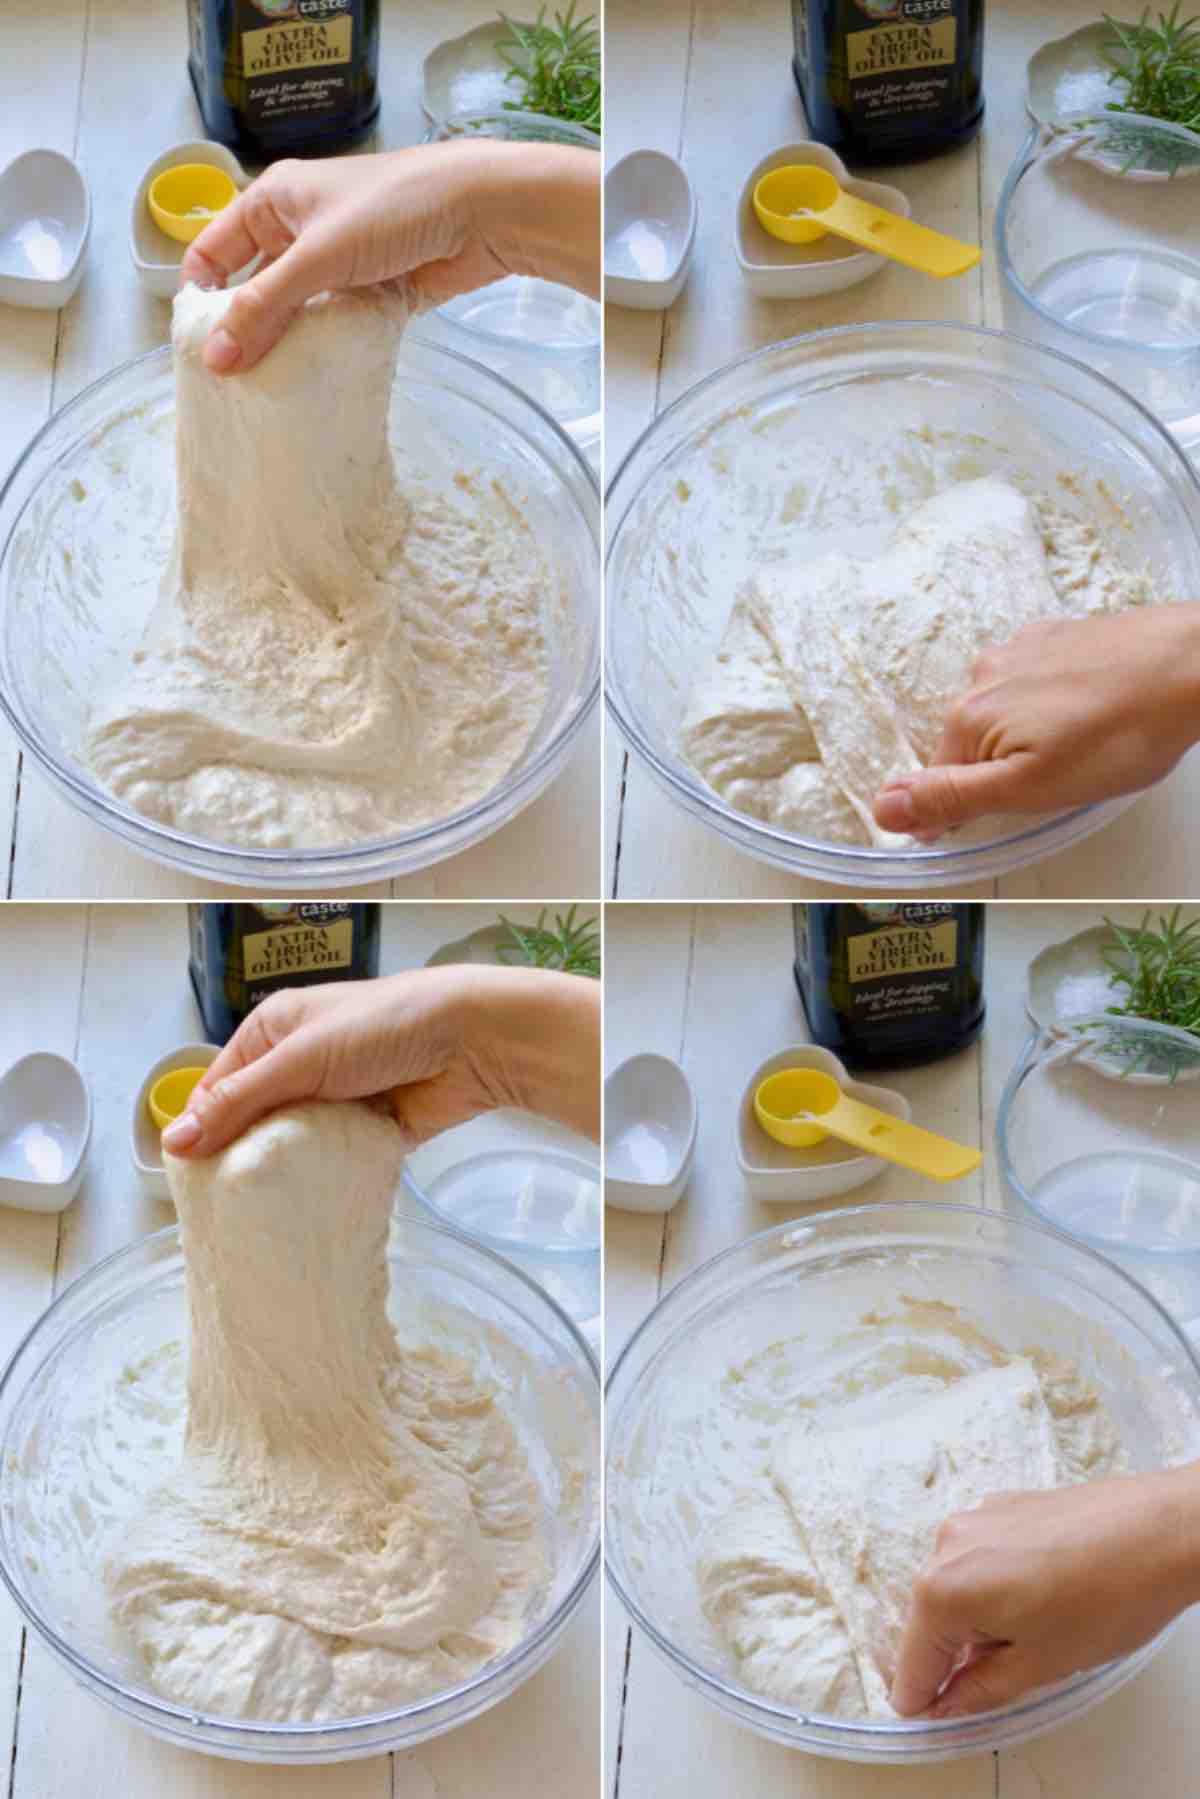
Step 3: Rotate the bowl a bit to your left, gather another piece of dough, stretch it and fold over towards the opposite side of the bowl again. Continue this way until you went all around the bowl and a bit more.
***Quick Tip*** There is no exact amount of stretch and folds you need to do. I usually try and do about 10 give or take. The dough will become less stretchy as you go so your movements will become smaller which is ok.
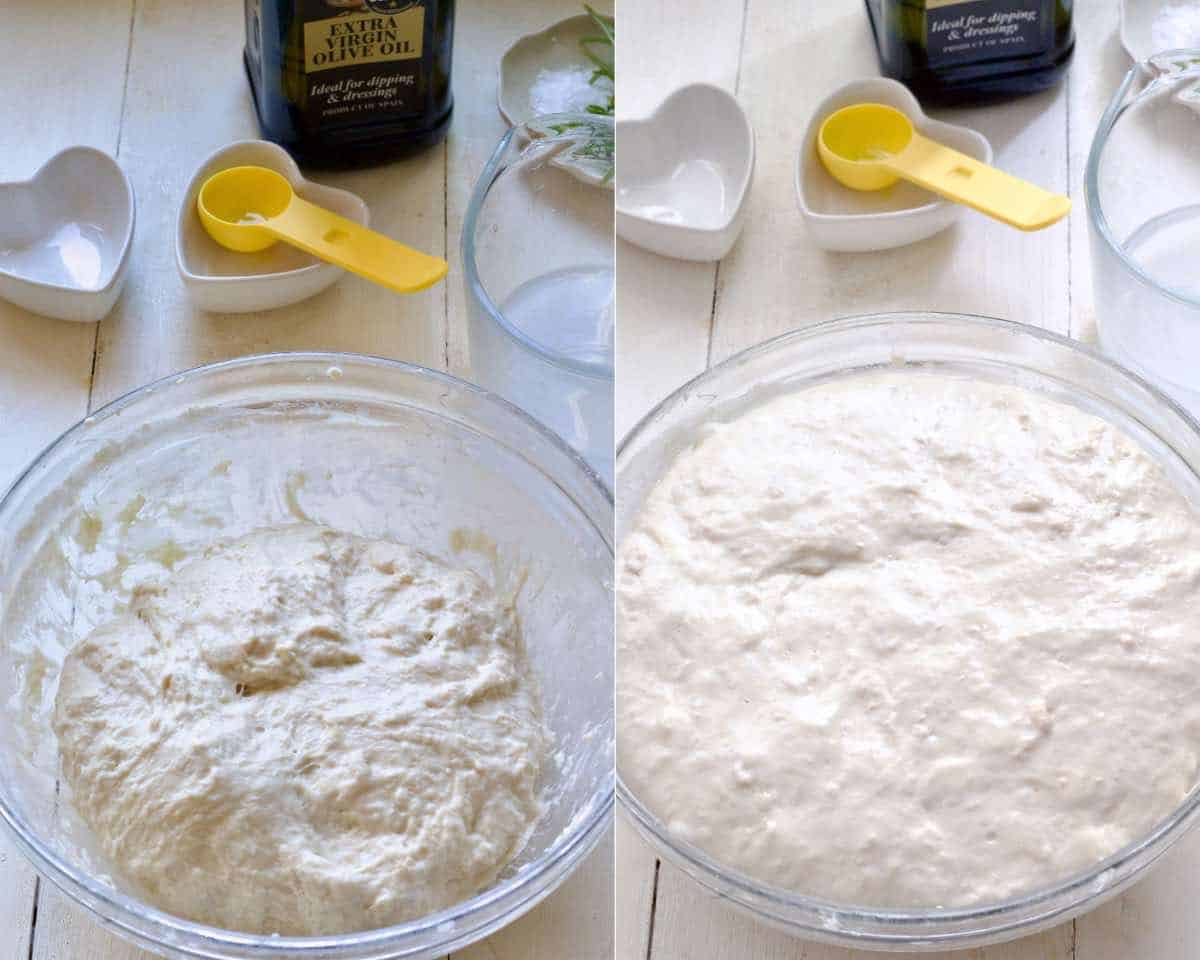
Step 4: Next, cover the bowl with a tea towel or a shower cap and let it prove until doubled in size. It will take anything from 1-2.5 hours depending on the temperature of your kitchen.
***Quick Tip*** With this recipe you cannot really overproof the dough as it's super forgiving so one less thing to worry about.
While your dough is proving prepare your baking tin by lining it with baking paper and/or oiling it really thoroughly with olive oil (bottom and the sides).
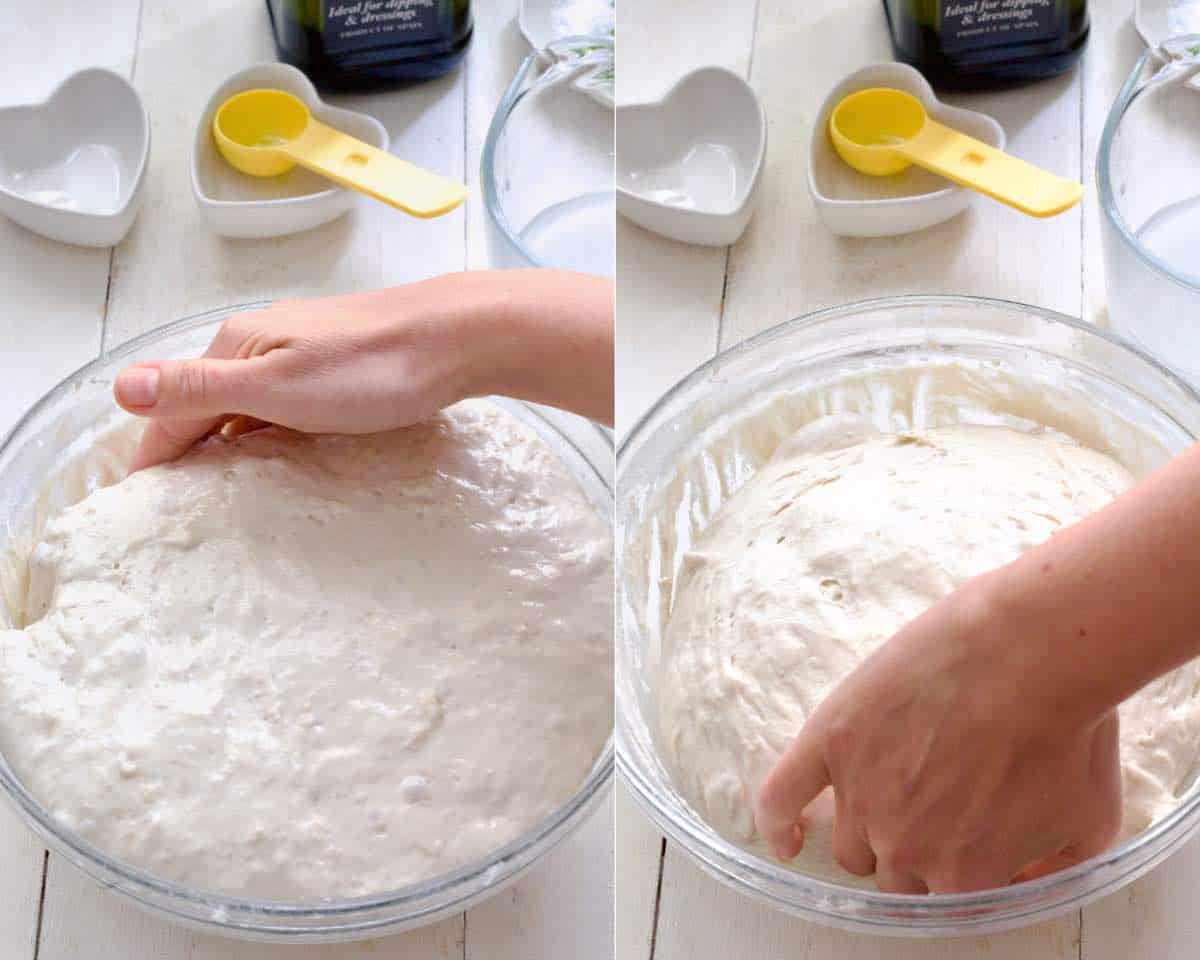
Step 5:
Once your dough has doubled in size, wet your hands and go around the bowl releasing it gently from the sides.
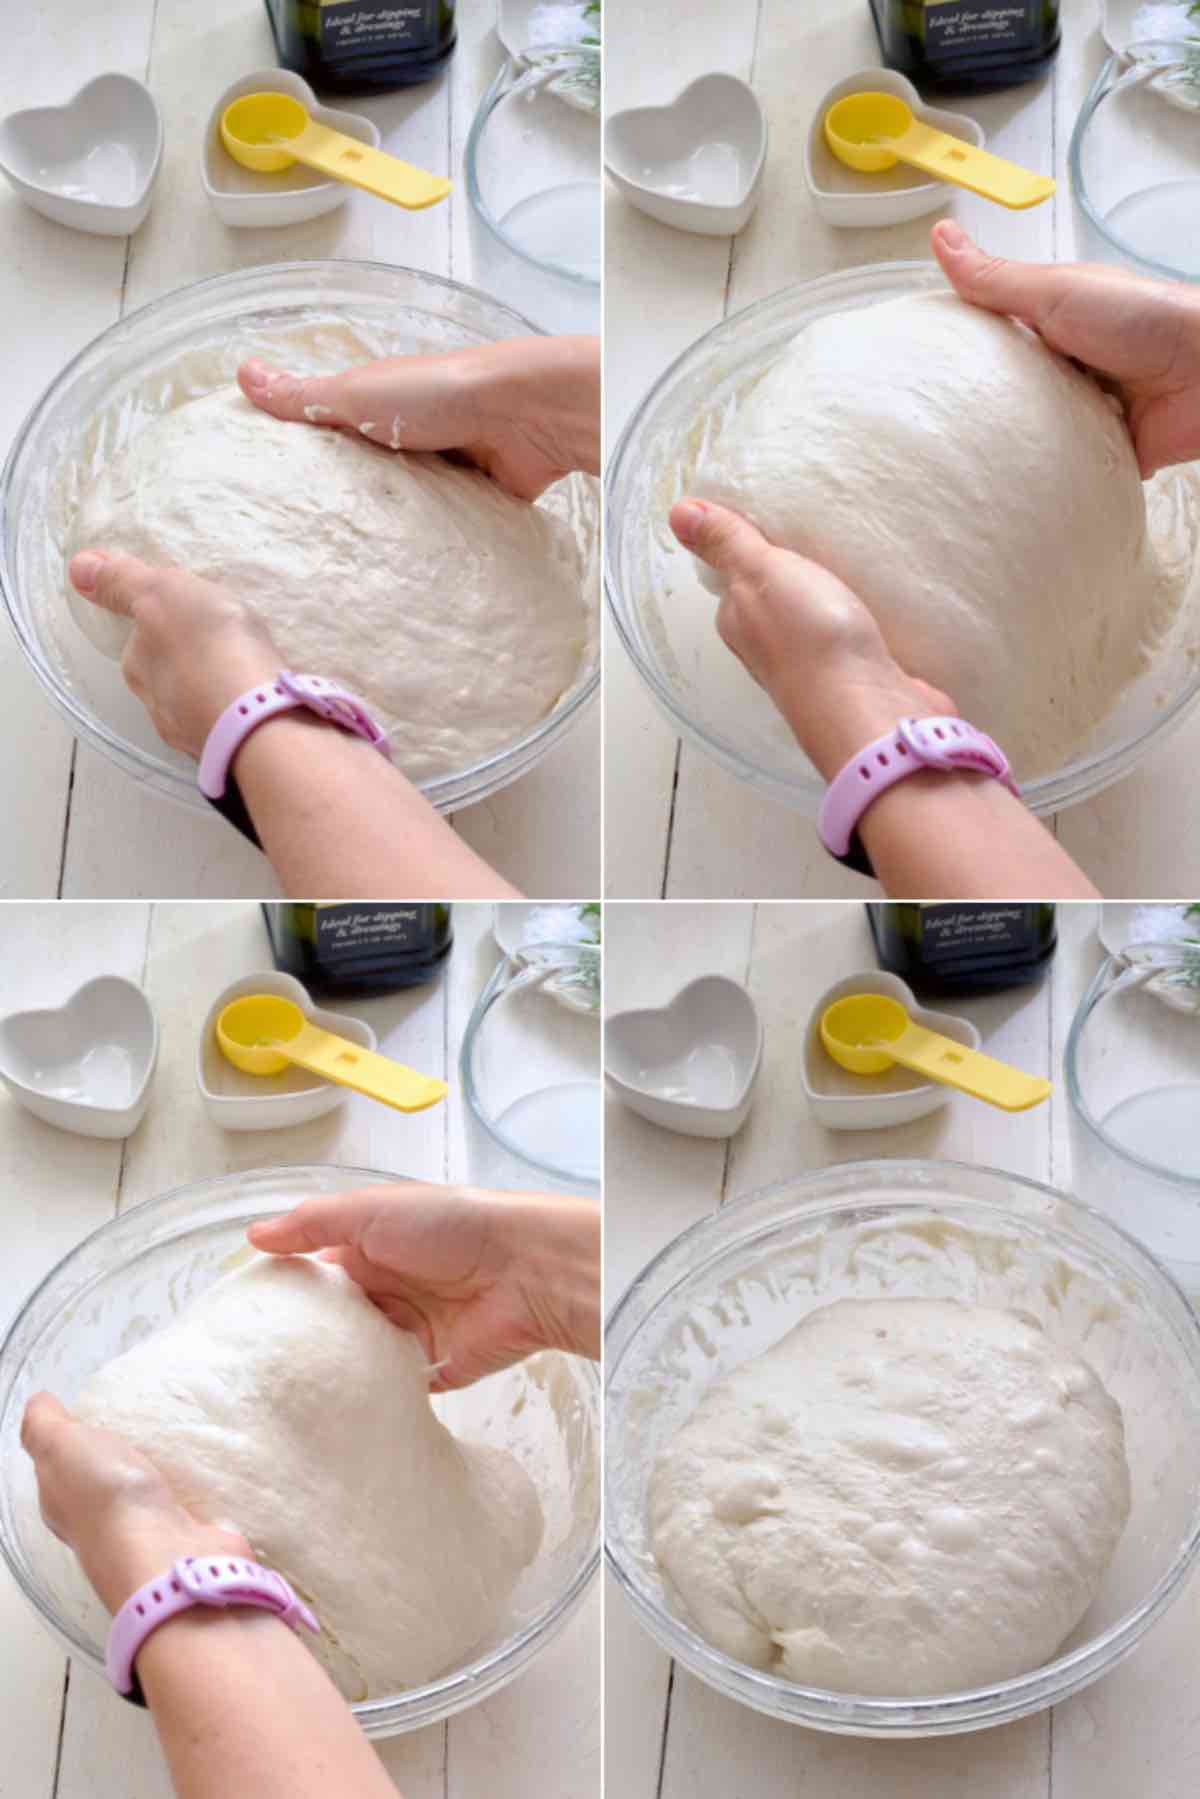
Step 6: Next, using both hands, lift the dough straight up from the middle (it will release from the bowl) and rest it down again (it will sort of fold down on itself). This process is called "coil fold". Turn your bowl 90 degrees and repeat. Do it few more times each time turning your bowl 90 degrees.
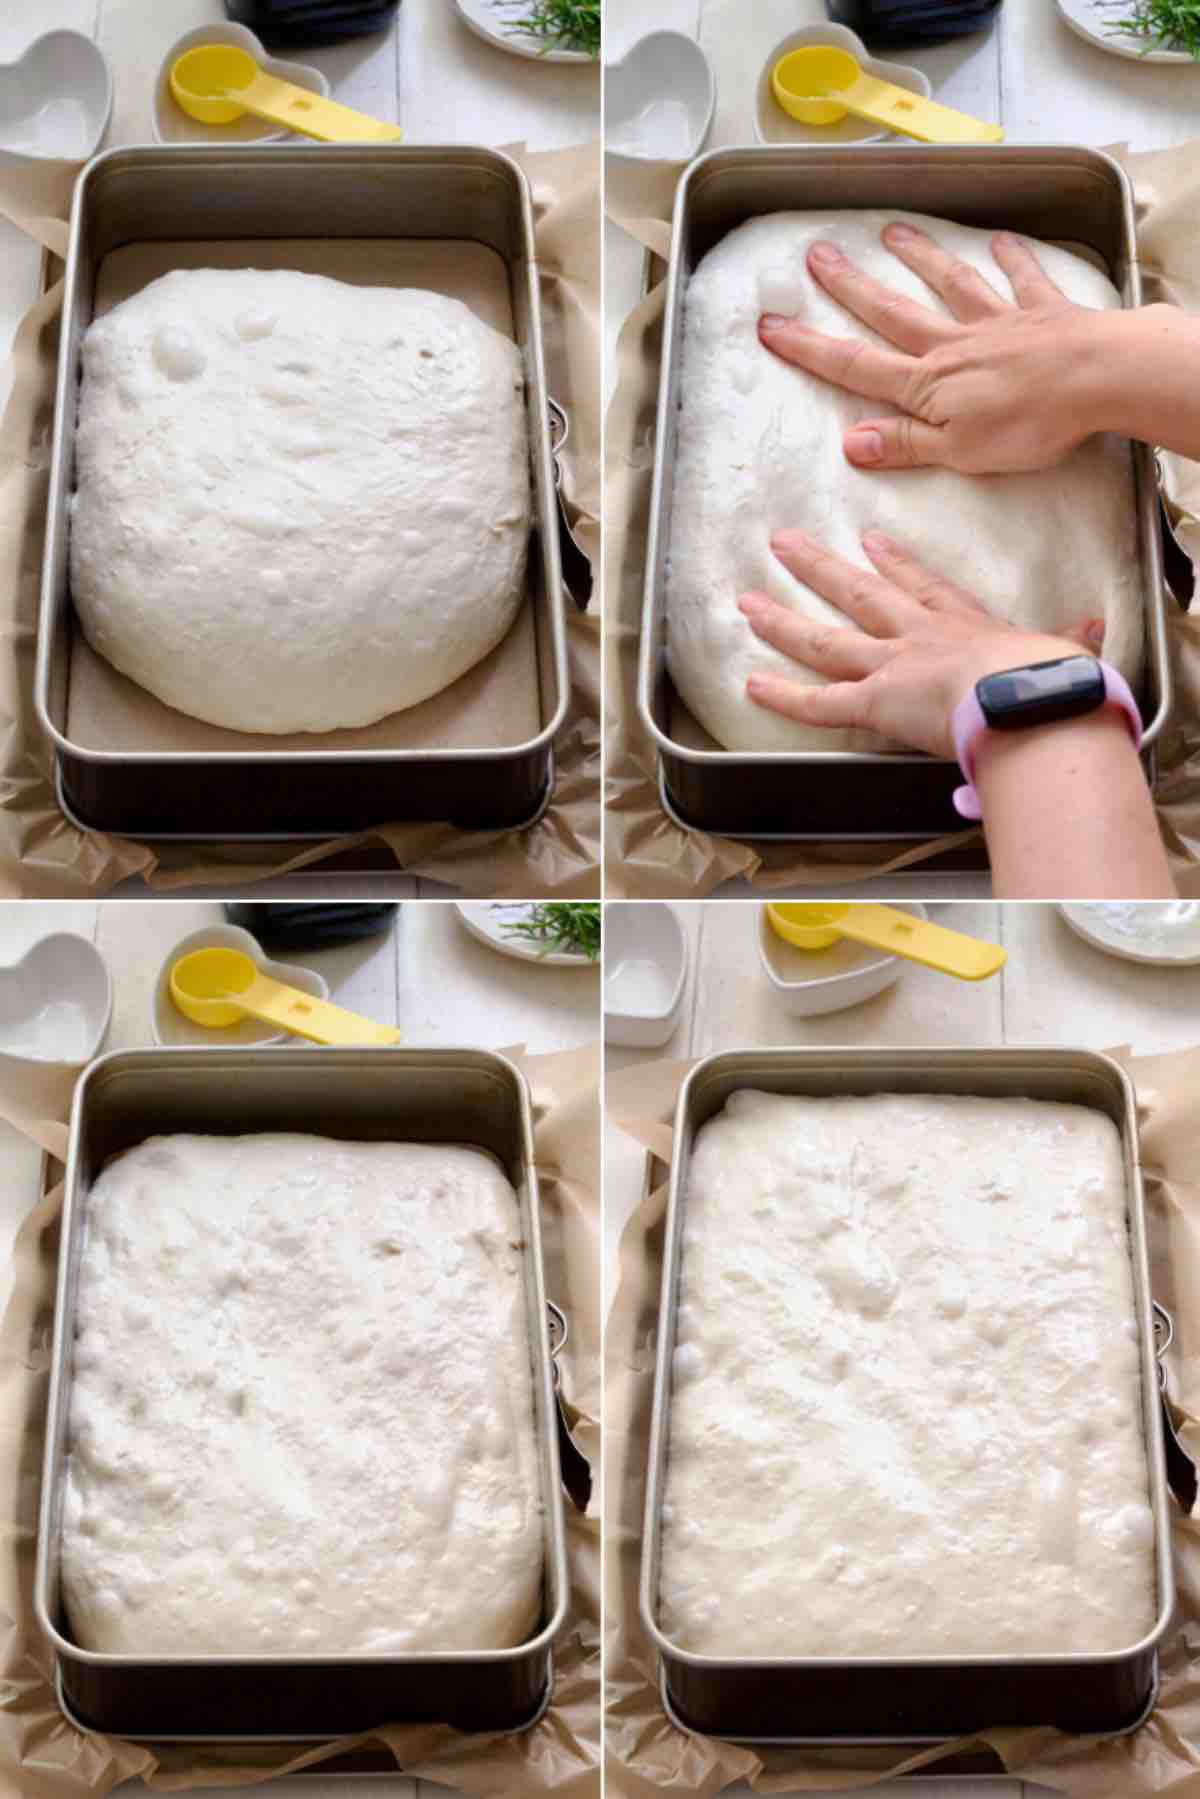
Step 7: Move the dough into prepared tin and spread it gently to fit. Don't worry too much, it doesn't need to be perfect, the dough will be pretty resistant at this point so might not fill the tin. It will, however, spread on its own as it rests.
Cover the tin and let it prove again until roughly doubled in size. Towards the end of proving preheat the oven to 200°C/400°F/Gas Mark 6 and prepare your desired toppings.
***Quick Tip***The second prove in the tin is usually much quicker. You are looking for dough that has filled the tin and has visibly puffed up (close to doubling in size).
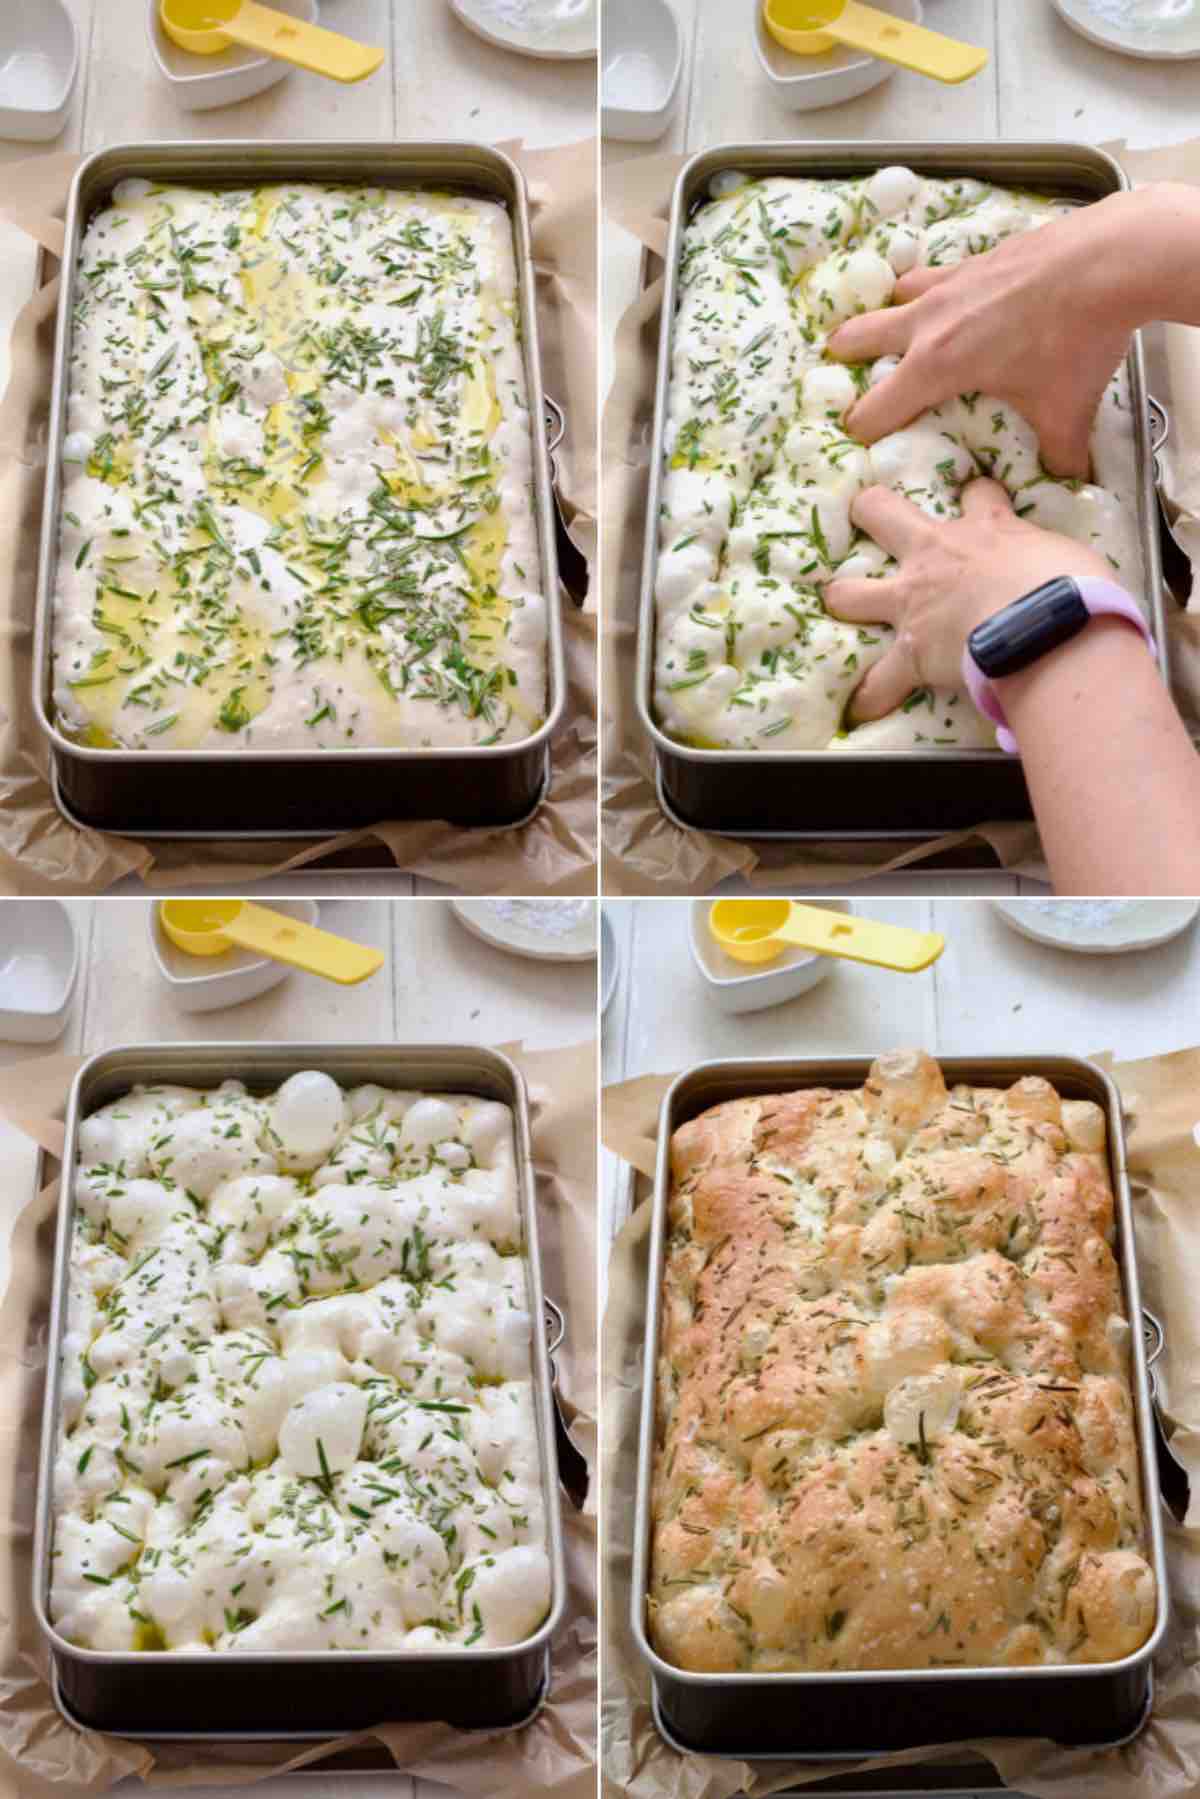
Step 8: Once your focaccia is ready for the oven you can either keep it plain or add your chosen toppings.
Either way, you will need to drizzle generous 2 tablespoon olive oil over the dough. Add the toppings (in my case 1 tablespoon chopped fresh rosemary and some flaky sea salt), lightly oil your hands and press your fingers all over the dough creating little dimples.
Bake in preheated oven for about 25 minutes until golden.
Once baked take it out of the tin and let it cool on the cooling rack for at least 20 minutes (longer if you can) before you dig in.
Enjoy!
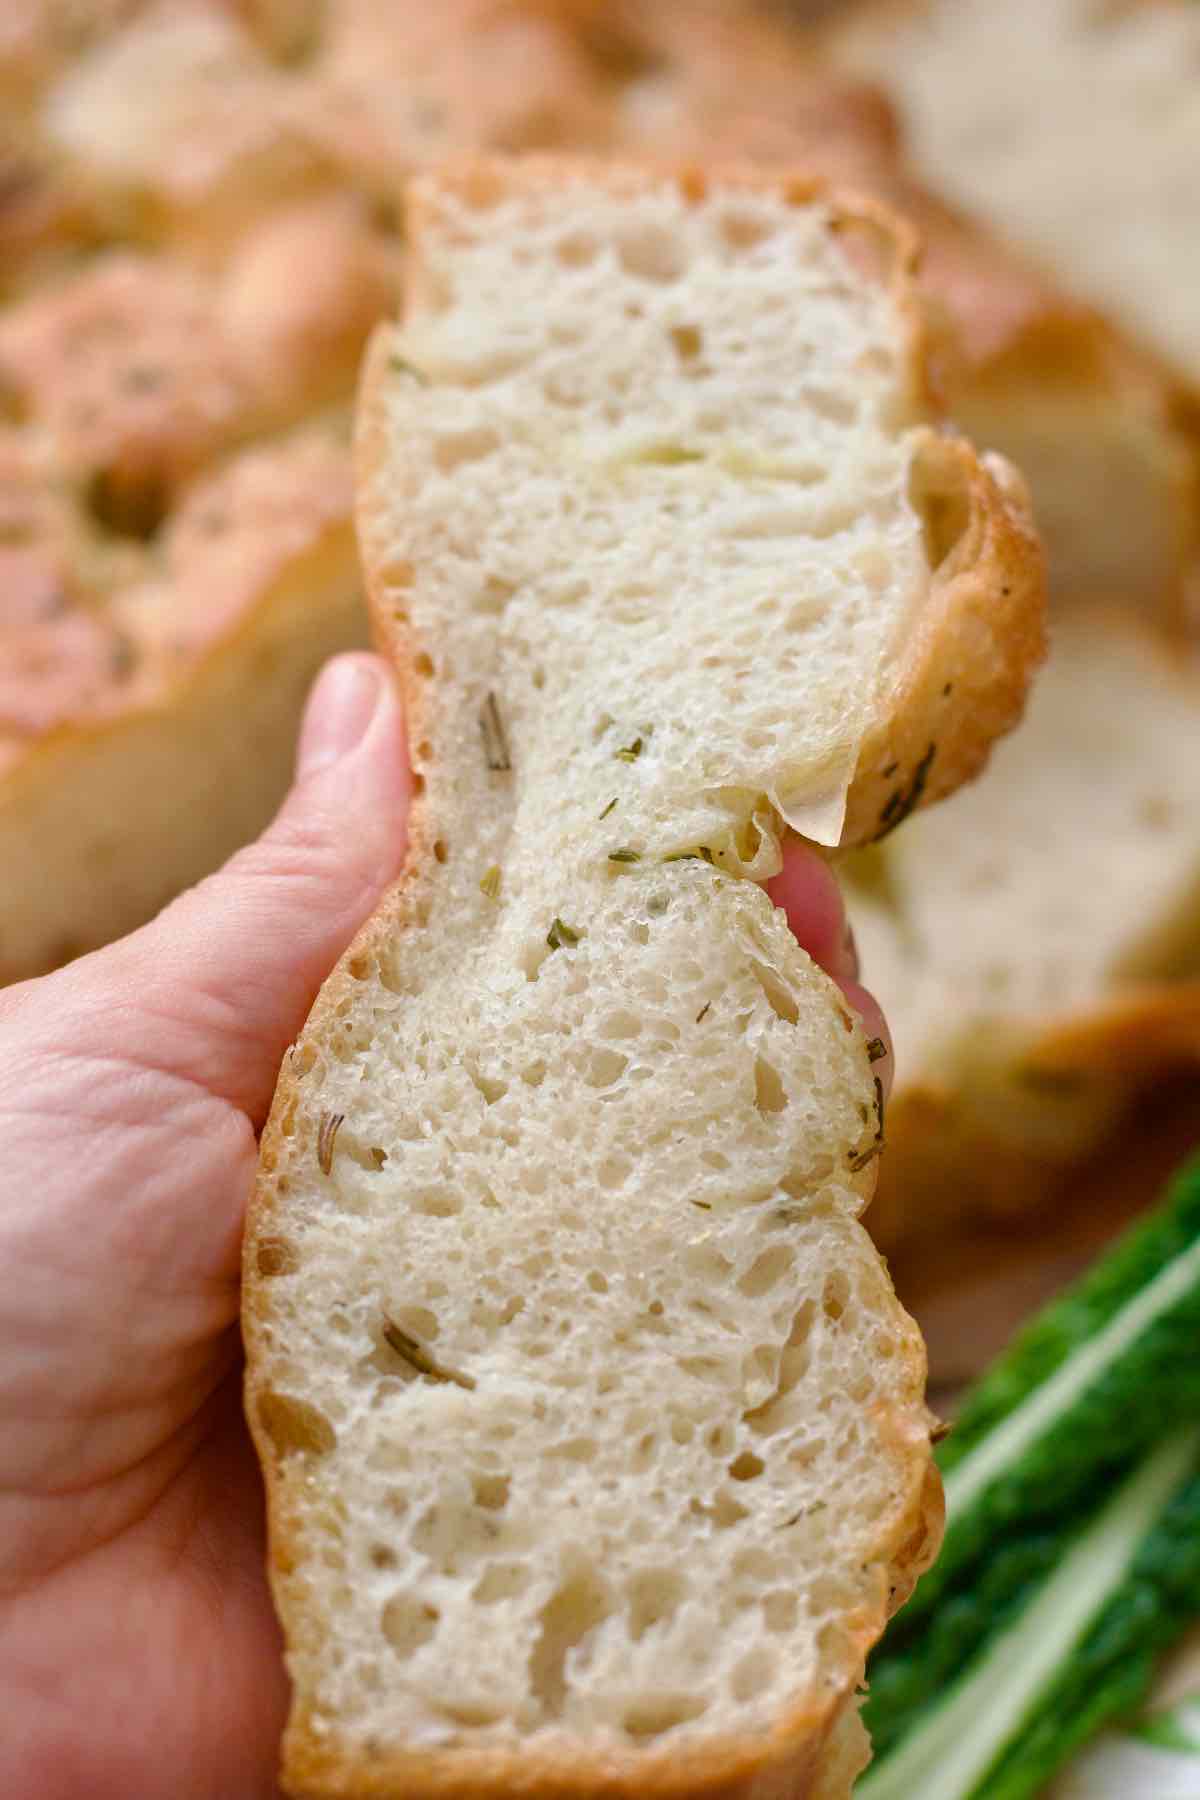
🥡 Storing Focaccia
Store: Once completely cooled focaccia is best stored at room temperature in the airtight container. I like to keep it in the Pyrex style glass dish with a lid. You can also keep it in a large zip lock style plastic bag. It can be kept there even for up to 2-3 days depending on the toppings. The simpler the toppings the longer it will last.
Focaccia with fresh veggies, cheese etc. can be kept at room temperature on the day it's baked but if not finished it should be transferred into the fridge. Keep it in the airtight container to prevent it from drying out.
Freeze: Focaccia freezes beautifully. I like to freeze mine in slices and take them out of the freezer as and when needed.
Best way to freeze them is on the small baking tray (one that will fit in your freezer) for a couple of hours. Once frozen solid, transfer them into a freezer friendly bag and use within a month.
Frozen focaccia slices will defrost on the kitchen counter in couple of hours. As long as you don't have any veggie topping on them you can also toast them straight from the freezer.
Reheat: To refresh focaccia and to give it that freshly baked feel again, I like to use reheat function of my air fryer. 2-3 minutes is all you need.
You can also warm it up in the oven at 180°C/350°F for 5-10 minutes depending on your preference.
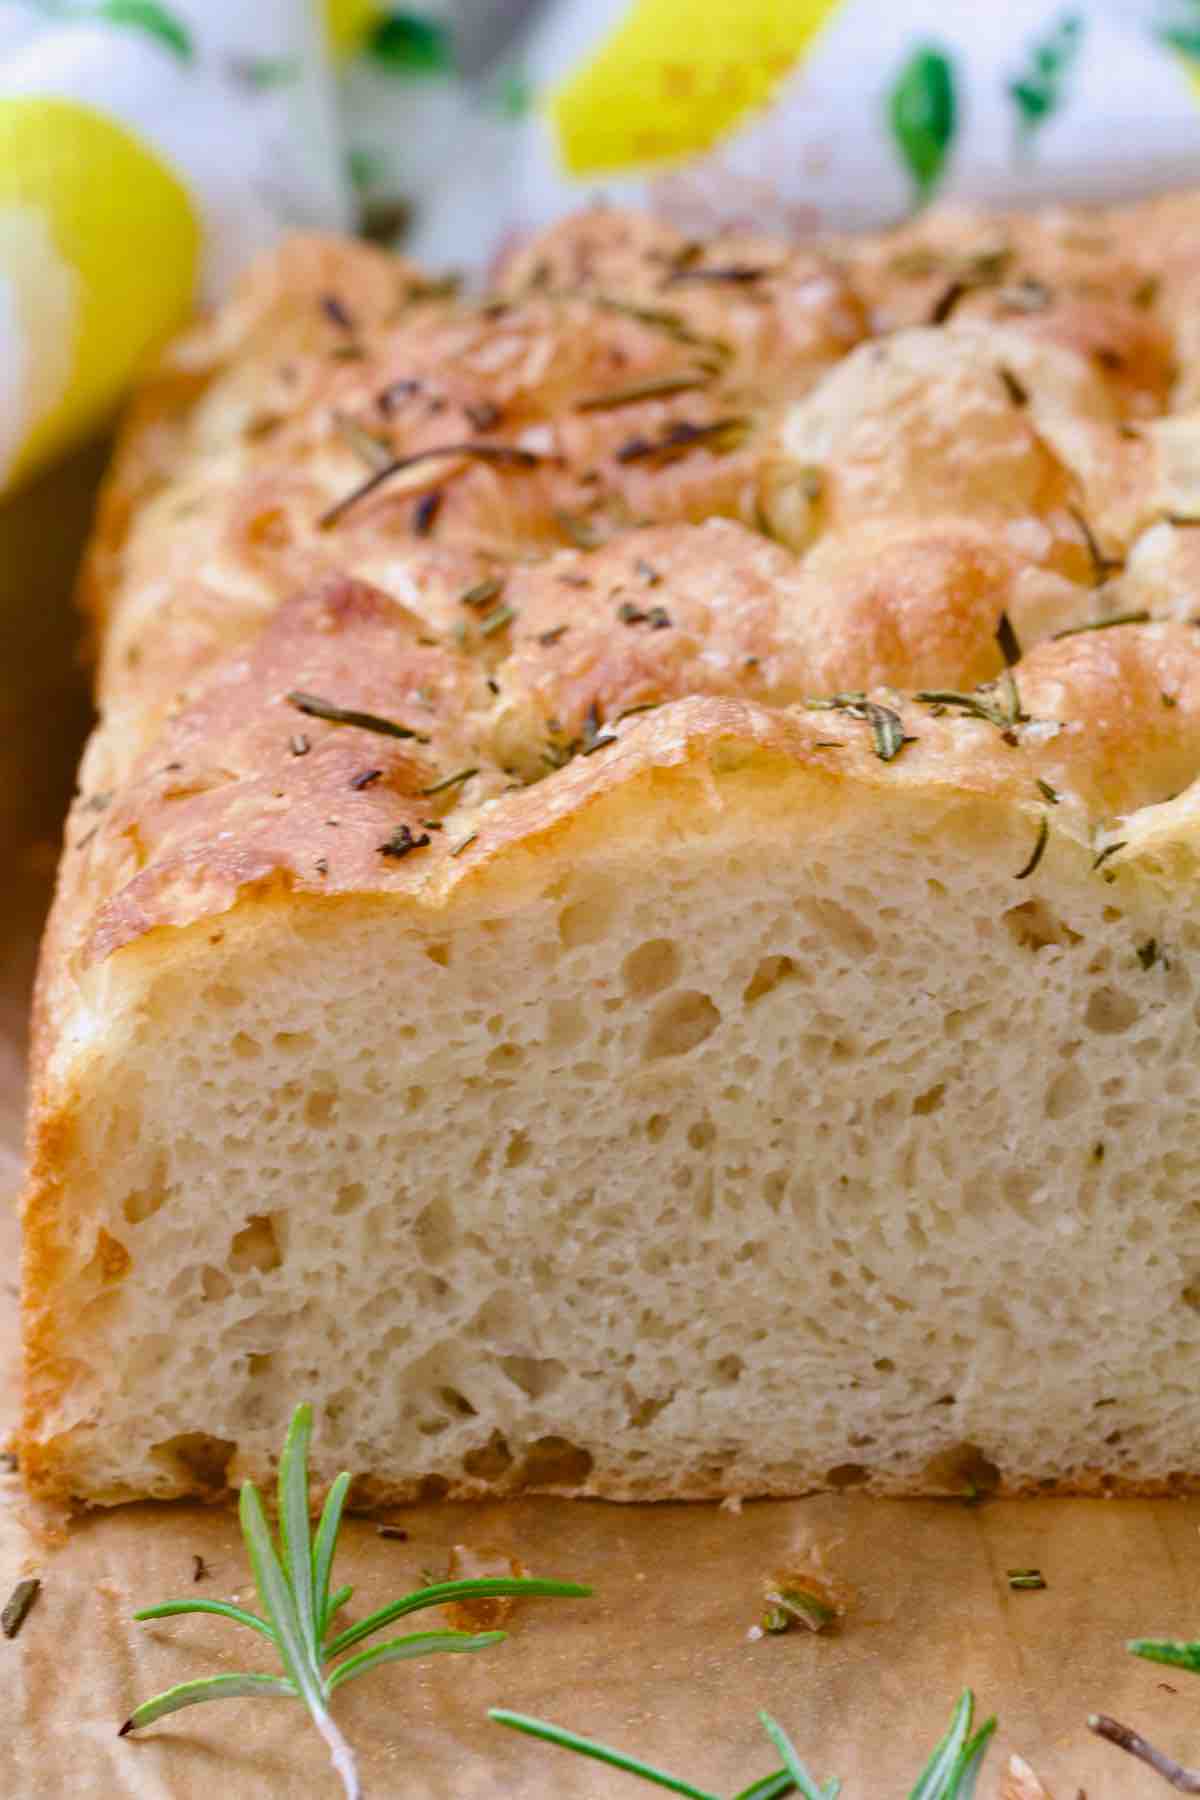
💭 Pro Tips
Make sure to use digital scales when weighing out your flour.
Keep a small jug or bowl with water for dipping your hands ready for when you do stretch and folds and coil folds. High hydration dough like this one is wet and sticky and keeping your hands nice and wet helps a lot.
How long your focaccia takes to prove will vary depending on the warmth of the environment it's in, water temperature etc. Treat timings given as a guideline and go with visual cues like doubling in volume after 1st proof and visibly puffing up (almost doubling) in the tin (after 2nd proof).
Feel free to use a baking tin of different size. We like our focaccia tall, soft and fluffy. The tin I use here is a rectangular springform baking tin 18x28cm. If you prefer your focaccia more on a thinner and crispier side, simply use a bigger tin or a baking tray (check out my Christmas Focaccia recipe). You might need to adjust baking time depending on the size of your tin/tray.
As our ovens differ, make sure you check whether your focaccia is fully baked not just by looking at its colour on top but also at the bottom. You want it to be rather evenly coloured and not too pale. Also, give it a little tap, you want to hear that hollow sound. Remember, if unsure you can always put it back in the oven for a few more minutes.
Don't be afraid of trying different toppings, go with different veg, cheese, herbs, pesto, be creative.
Don't be put off by the amount of olive oil used, it's the beauty of focaccia! In the dough, on the dough and if you're brave enough give it another drizzle once it's out of the oven, heaven!
In winter or if you have a cold kitchen, try and prove your dough somewhere warm and draught free. I like to put mine in the airing cupboard. Letting it prove in a cooler environment is absolutely fine too, it will simply take longer.
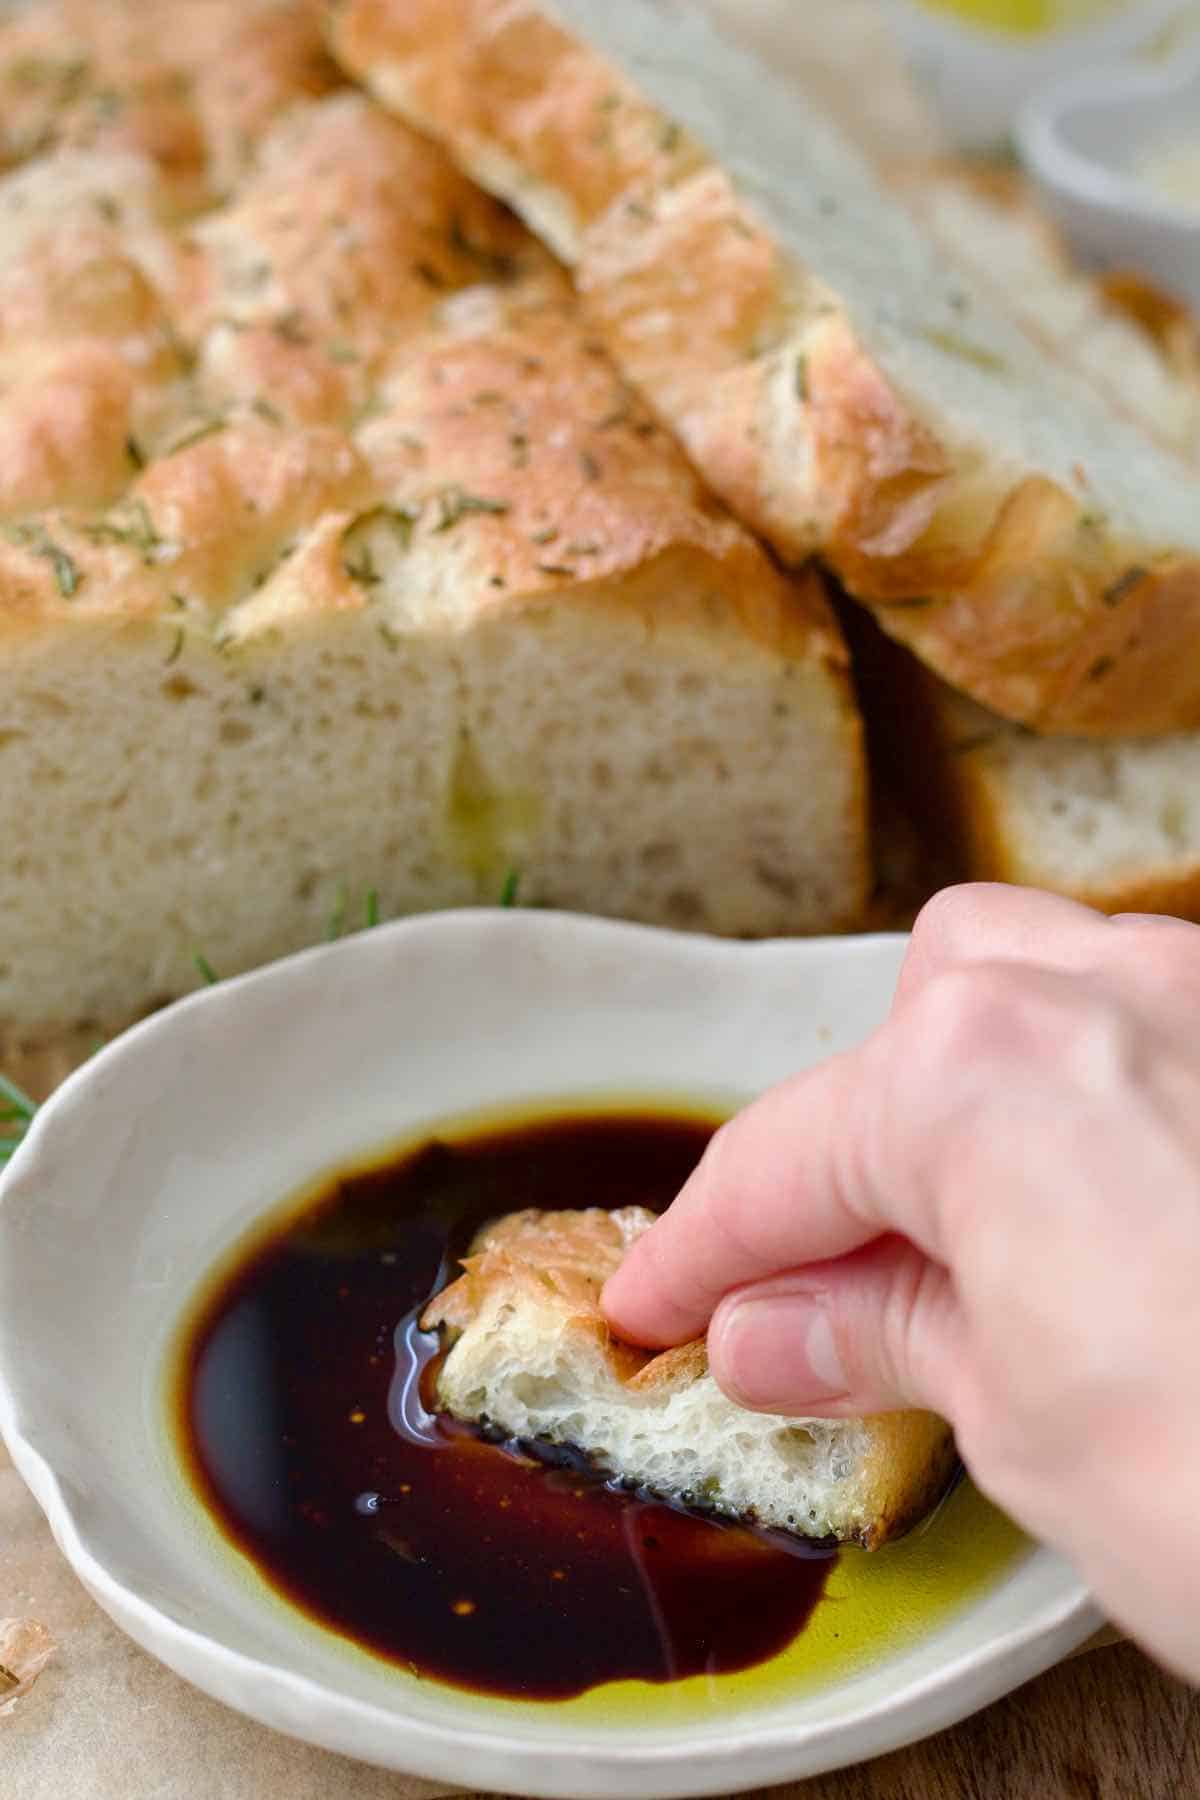
🍴 Serving Suggestions
All I ever need to enjoy focaccia is bowl with extra virgin olive oil and balsamic vinegar. If you've never tried it before, give it a go, your life will be transformed, I promise.
That ⬆️ is a meal in itself and focaccia will be gone in no time.
You can, of course, decide to be more conservative and simply enjoy it as a lovely accompaniment to soups (Broccoli Stalk Soup), salads (Buckwheat and Beetroot Salad with Chickpeas) , stews (Vegan Sausage Casserole with Lentils and Cavolo Nero), pastas (One-Pot Broad Bean Pasta), anything really.
You can even make delicious focaccia sandwiches (slicing it horizontally), Italian style, with more olive oil, tomatoes, mozzarella, fresh basil etc. Roasted veggies like aubergine (eggplant), courgette (zucchini), red peppers would also make great filling.
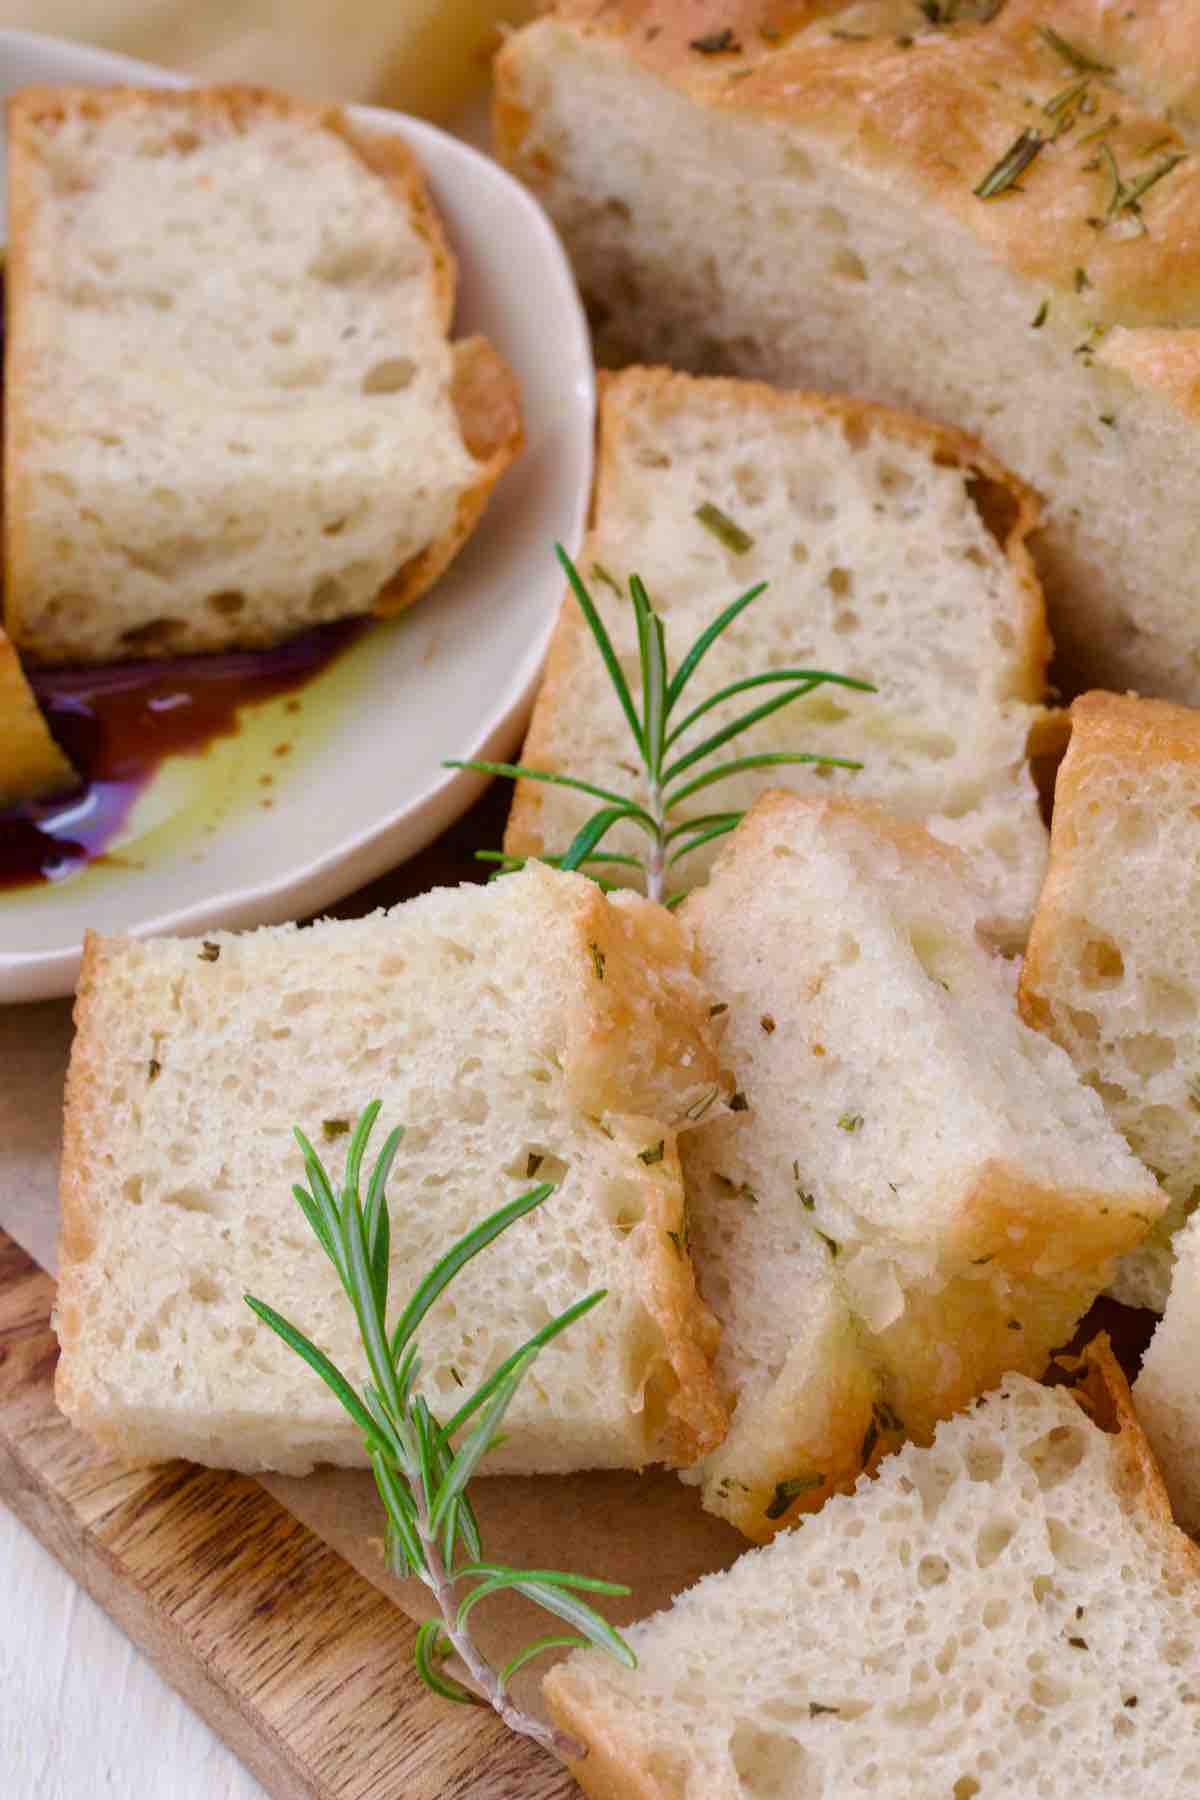
❓ FAQ
I love simplicity with fresh rosemary and flaky sea salt being my all time favourites.
For something a bit more exciting try popping on some sweet cherry tomatoes (halve them if they're on a big side), roasted tomatoes, your favourite olives, robust cheeses like brie or camembert (try grapes and brie combo - divine), any other woody herbs (sage, oregano, thyme). Slices or chunks of cooked new potatoes and some pesto, slow cooked jammy onions... There are endless possibilities (within reason of course).
Yes it is. Focaccia bread is made with high hydration dough which is why it's so beautifully soft, airy and light.
You can if you want to. After you do your series of stretch and folds cover the bowl and pop it in the fridge to do your first prove overnight. In the morning take it out of the fridge and continue with the recipe.
Have you tried my Easy No-Knead Focaccia?
Please consider giving it ⭐️⭐️⭐️⭐️⭐️ rating in recipe card below and share your views or tips in the comments.
📋 Recipe
Easy No-Knead Focaccia
Ingredients
Dough
- 500 g strong bread flour
- 2 teaspoon (7g sachet) instant/quick/easy yeast
- 1.5 teaspoon fine salt I use fine Himalayan pink salt
- 4 tablespoon extra virgin olive oil divided (2 in the dough and 2 on top before baking)
- 400 ml lukewarm water
Toppings
- 1 tablespoon (heaped) fresh rosemary roughly chopped
- flaky sea salt to taste
- more olive oil for greasing the pan and drizzling over baked focaccia
Instructions
- Add flour, salt and yeast to a large bowl and give it all a quick mix to incorporate.Next, add olive oil and water and mix them into the flour using your hand, wooden spoon or a bread dough whisk. You will have shaggy and sticky dough at this point. Cover the bowl and leave to sit for 15 minutes.500 g strong bread flour, 2 tsp (7g sachet) instant/quick/easy yeast, 1.5 tsp fine salt , 4 tbsp extra virgin olive oil , 400 ml lukewarm water
- Fill a small bowl with some water to dip your hand in (dough will be sticky). After a little break your dough will relax and will be ready for a series of "stretch and folds".Dip your hand in a bowl of water, gather a piece of dough, stretch it up and fold over towards the opposite side of the bowl.
- Rotate the bowl a bit to your left, gather another piece of dough, stretch it and fold over towards the opposite side of the bowl again. Continue this way until you went all around the bowl and a bit more.
- Next, cover the bowl with a tea towel or a shower cap and let it prove until doubled in size. It will take anything from 1-2.5 hours depending on the temperature of your kitchen.While your dough is proving prepare your baking tin by lining it with baking paper and/or oiling it really thoroughly with olive oil (bottom and the sides).
- Once your dough has doubled in size, wet your hands and go around the bowl releasing it gently from the sides.
- Next, using both hands, lift the dough straight up from the middle (it will release from the bowl) and rest it down again (it will sort of fold down on itself). This process is called "coil fold". Turn your bowl 90 degrees and repeat. Do it few more times each time turning your bowl 90 degrees.
- Move the dough into prepared tin and spread it gently to fit. Don't worry too much, it doesn't need to be perfect, the dough will be pretty resistant at this point so might not fill the tin. It will, however, spread on its own as it rests.Cover the tin and let it prove again until roughly doubled in size. Towards the end of proving preheat the oven to 200°C/400°F/Gas Mark 6 and prepare your desired toppings.
- Once your focaccia is ready for the oven you can either keep it plain or add your chosen toppings.Either way, you will need to drizzle generous 2 tablespoon olive oil over the dough. Add the toppings (in my case 1 tablespoon chopped fresh rosemary and some flaky sea salt), lightly oil your hands and press your fingers all over the dough creating little dimples.Bake in preheated oven for about 25 minutes until golden.Once baked take it out of the tin and let it cool on the cooling rack for at least 20 minutes (longer if you can) before you dig in. Enjoy!1 tbsp (heaped) fresh rosemary , flaky sea salt, 4 tbsp extra virgin olive oil
Notes
- Nutritional information is approximate, per entire focaccia and will differ depending on the toppings used. It should be treated as a rough guideline only.
- For more information regarding ingredients and possible substitutes refer to 🛒 Ingredients to make Easy No-Knead Focaccia.
- Focaccia will keep at room temperature for 2-3 days depending on the toppings. Freezer friendly. For more info see 🥡 Storing Focaccia.
Comments
No Comments