
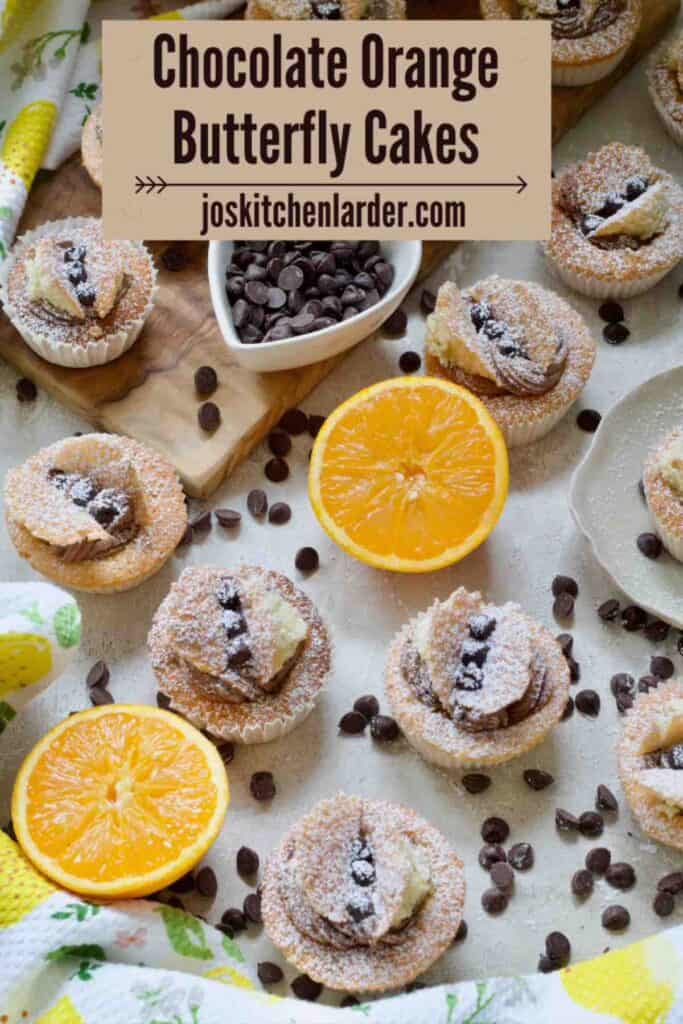
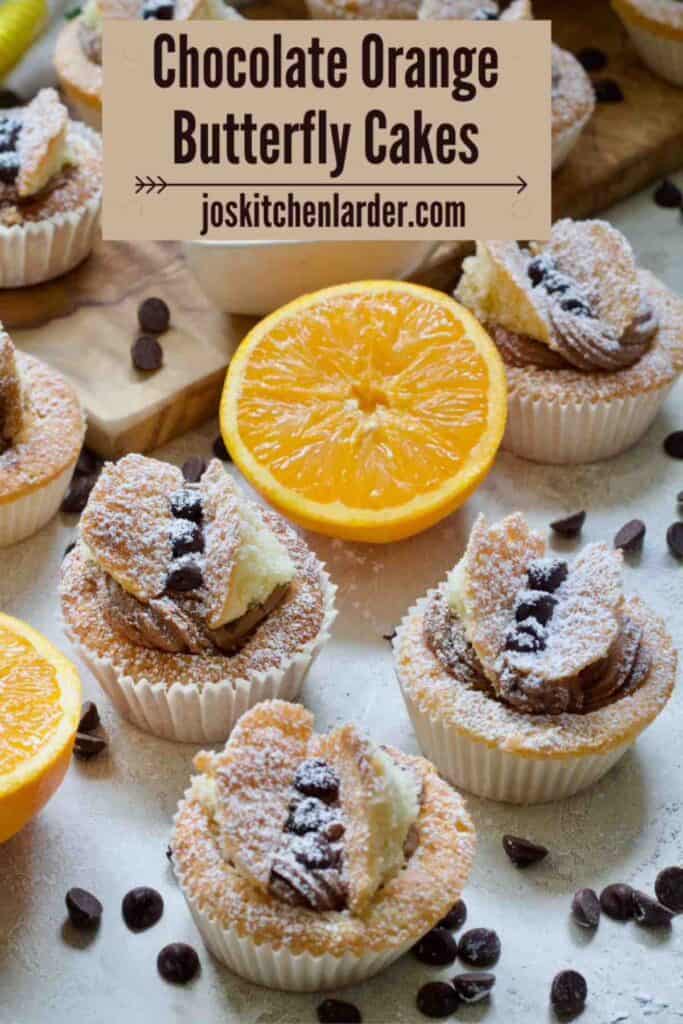
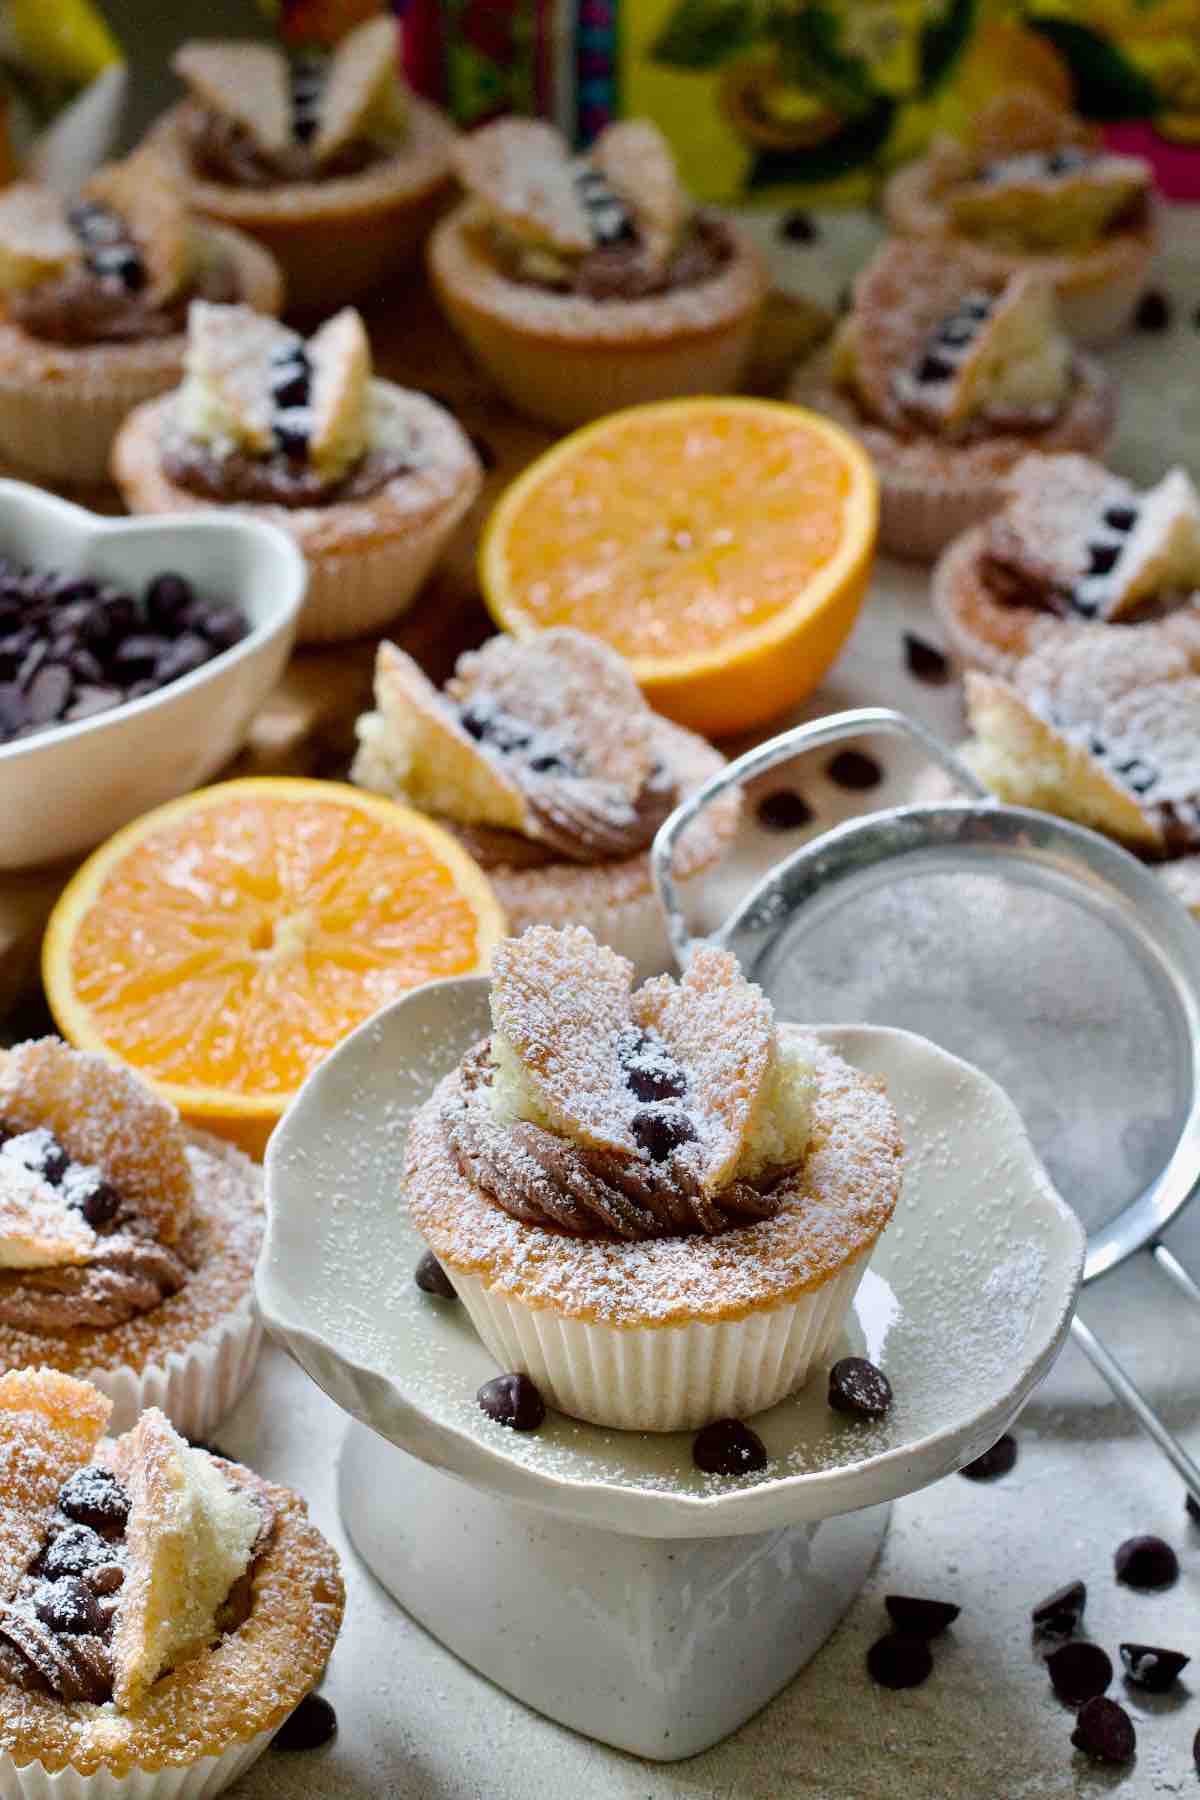
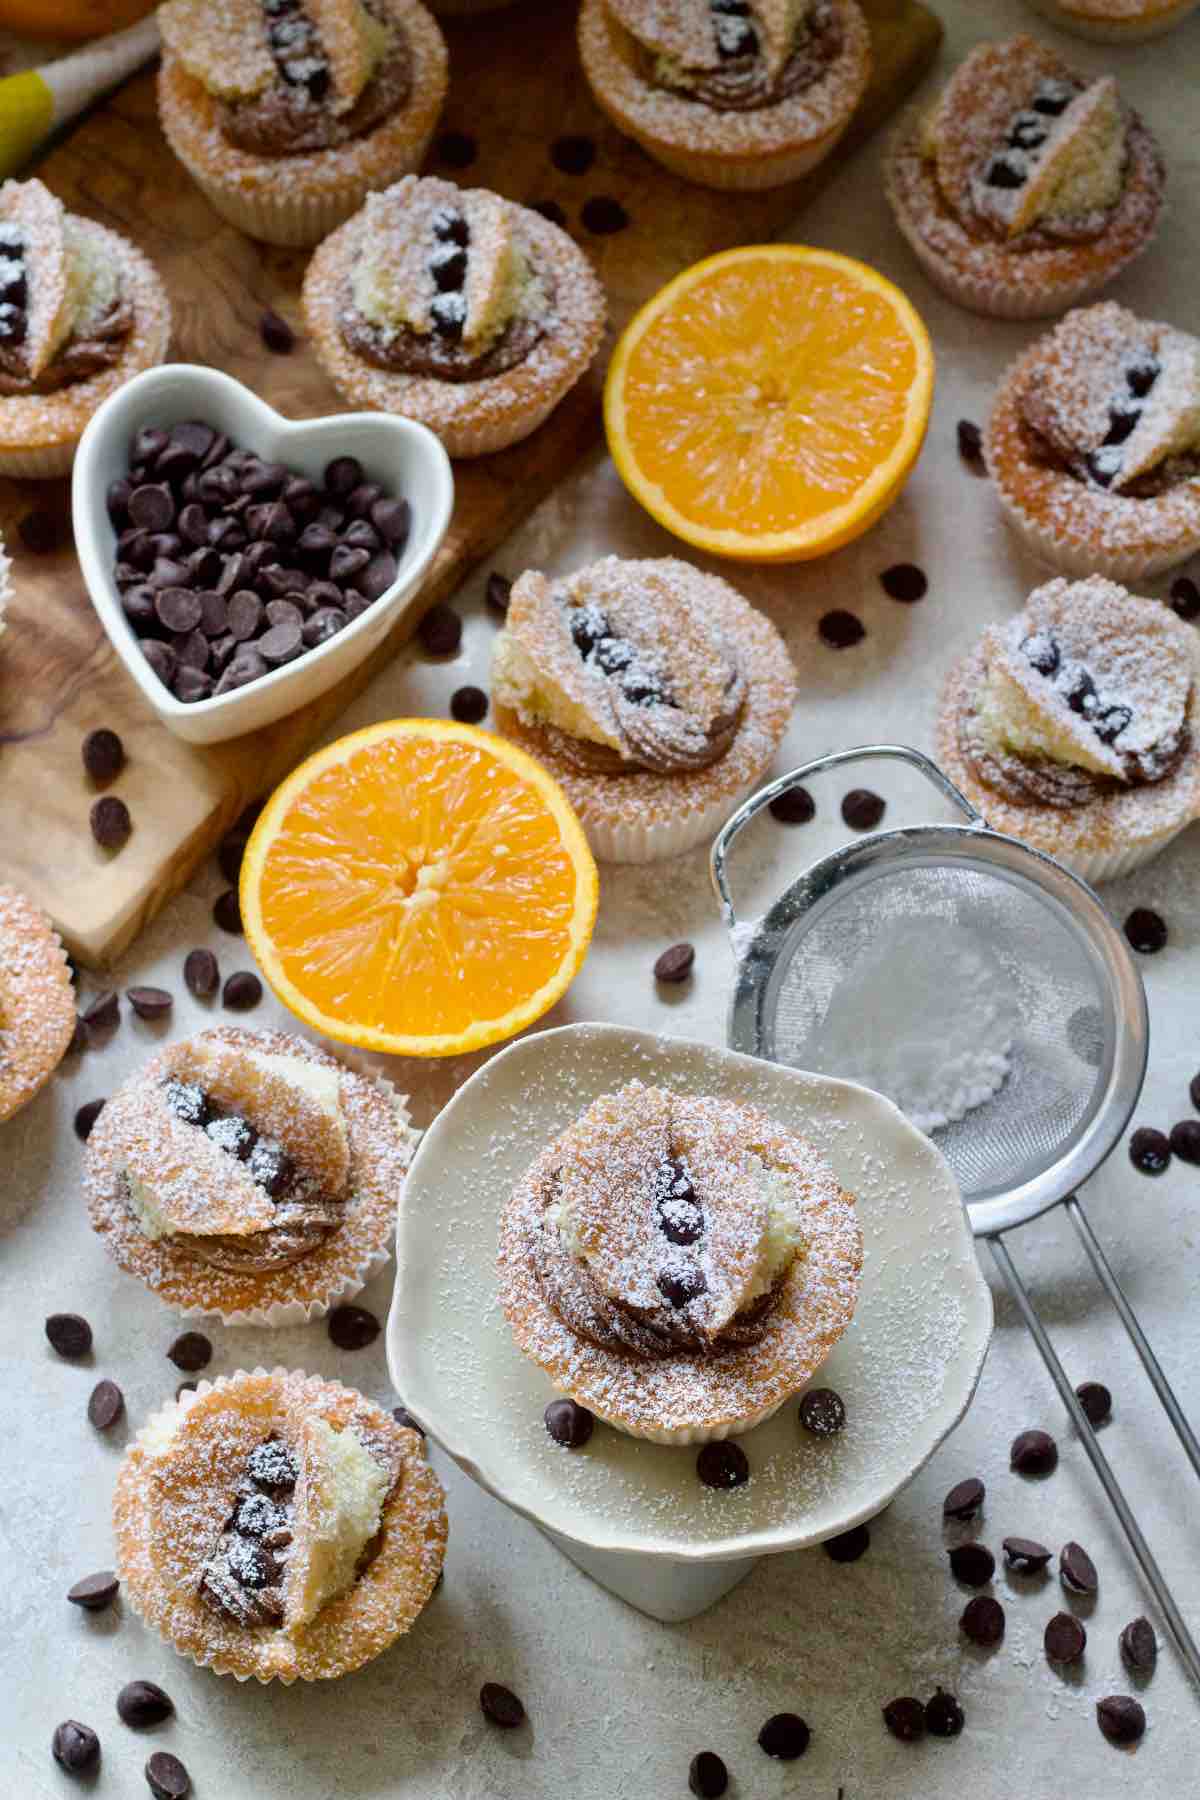
These dainty Chocolate Orange Butterfly Cakes are perfect little treats to serve at kids parties, bake sales, afternoon teas or just because. Despite their fancy looks they're very quick and easy to make and classic chocolate orange flavour is truly delicious too.
I don't think it gets any more retro nostalgia than these precious little butterfly cakes aka butterfly buns aka "dressed up" fairy cakes.
If you've been following me for a while you must have noticed that I don't really do pretty when it comes to bakes but these cute little butterfly cakes worked a treat even for me 😉.
They might be considered slightly old-fashioned yet if you are after perfect little treats for kids parties, bake sales, friends get togethers and not to forget proper English afternoon tea, then definitely look no further.
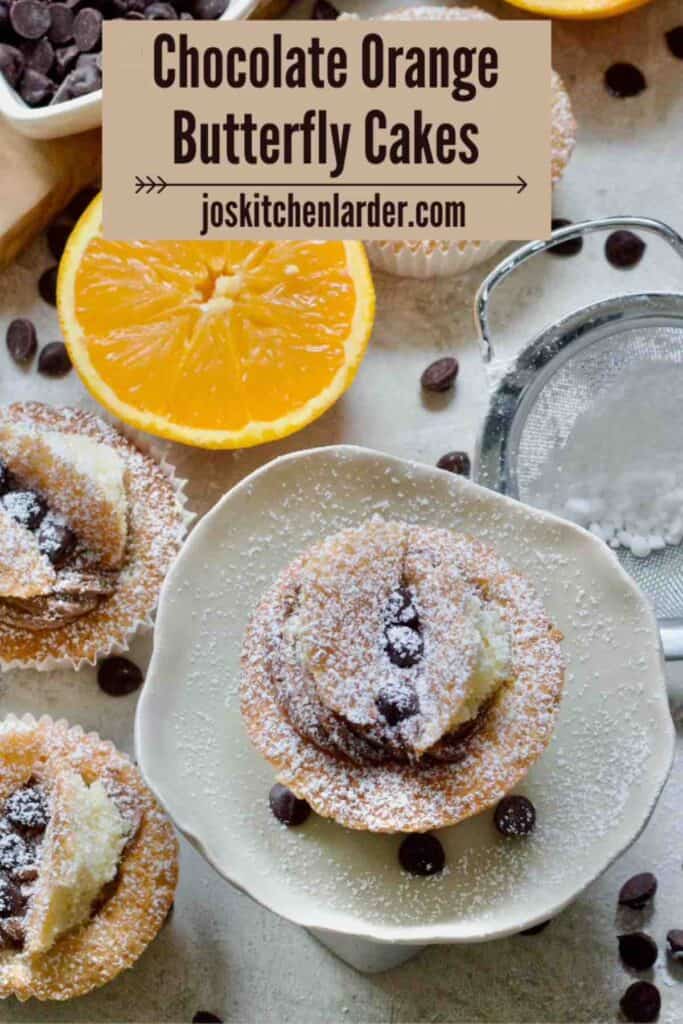
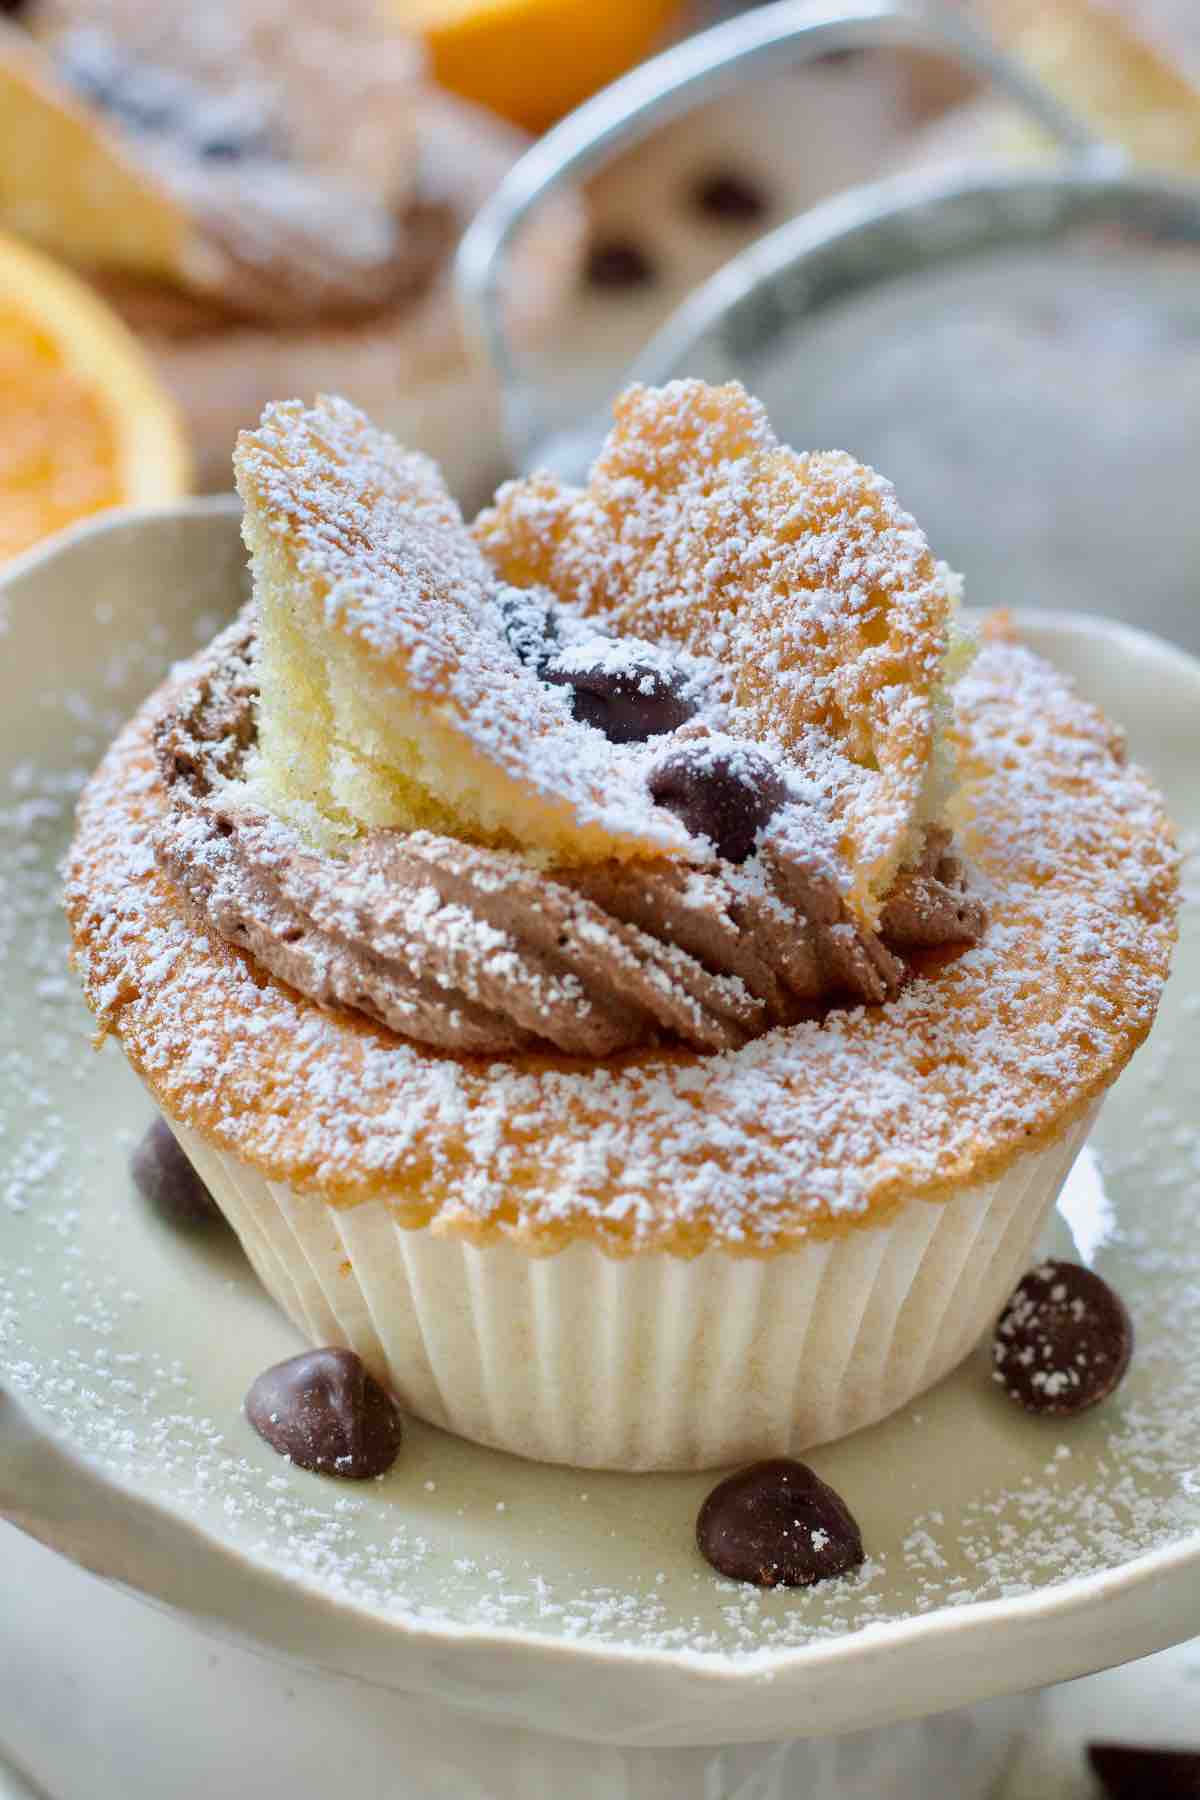
To add to their delicious splendour I decided to go for chocolate orange flavour combination (marriage made in heaven) where orange sponge meets chocolate orange buttercream and...wait for it...a small dollop of marmalade greets you as you take your first bite (that bit is optional but highly recommended).
If chocolate orange is your thing you might want to try my Vegan Chocolate Orange Cake. 🍫🍊
Jump to:
✔️ Why you'll love this recipe
- Quick and easy to make and look super cute.
- Delicious chocolate orange flavour.
- Perfect baking project for kids.
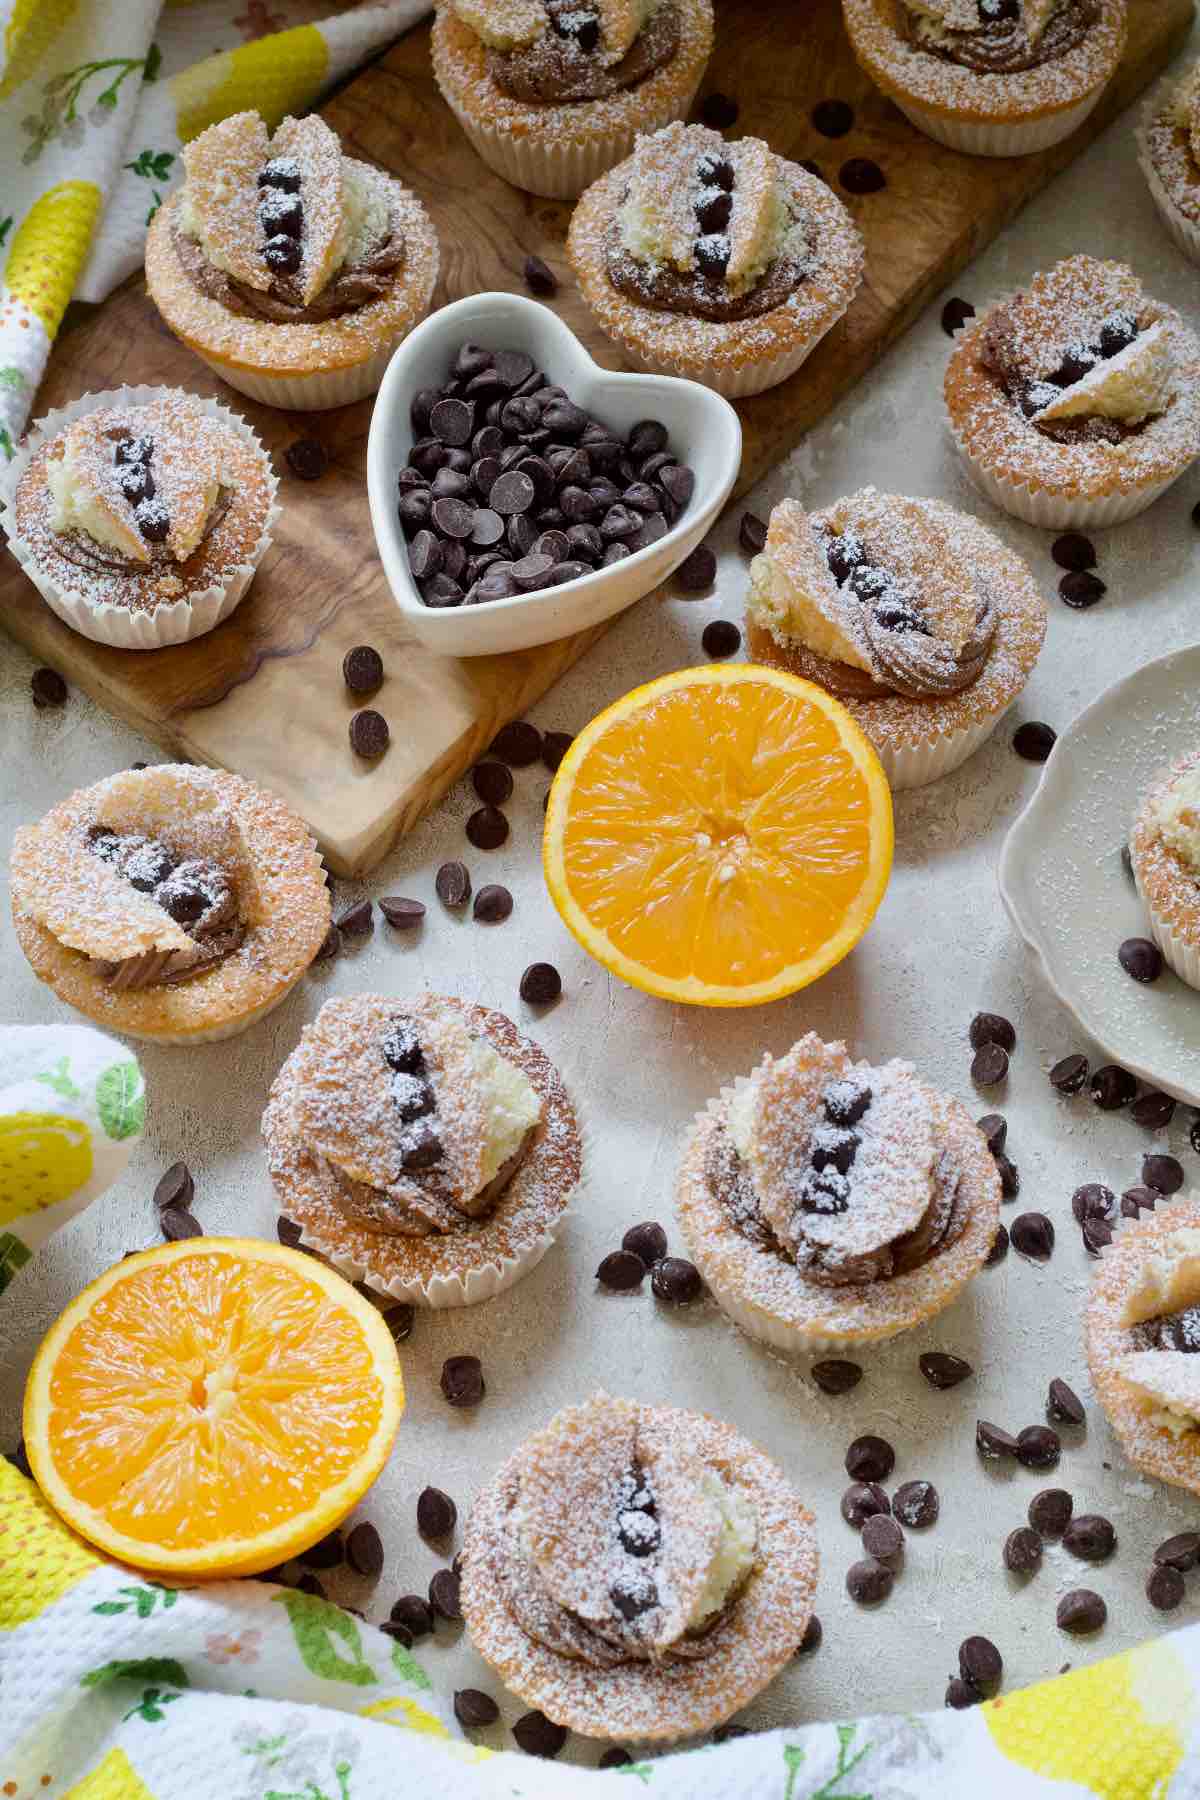
- Great for feeding a crowd (you get anything between 12-16 cakes).
- Perfect for bake sales, parties, afternoon teas and more.
- Great for making ahead and freezing (undecorated cakes only).
📝 Ingredients to make Chocolate Orange Butterfly Cakes
Here's what you will need to make my Chocolate Orange Butterfly Cakes:
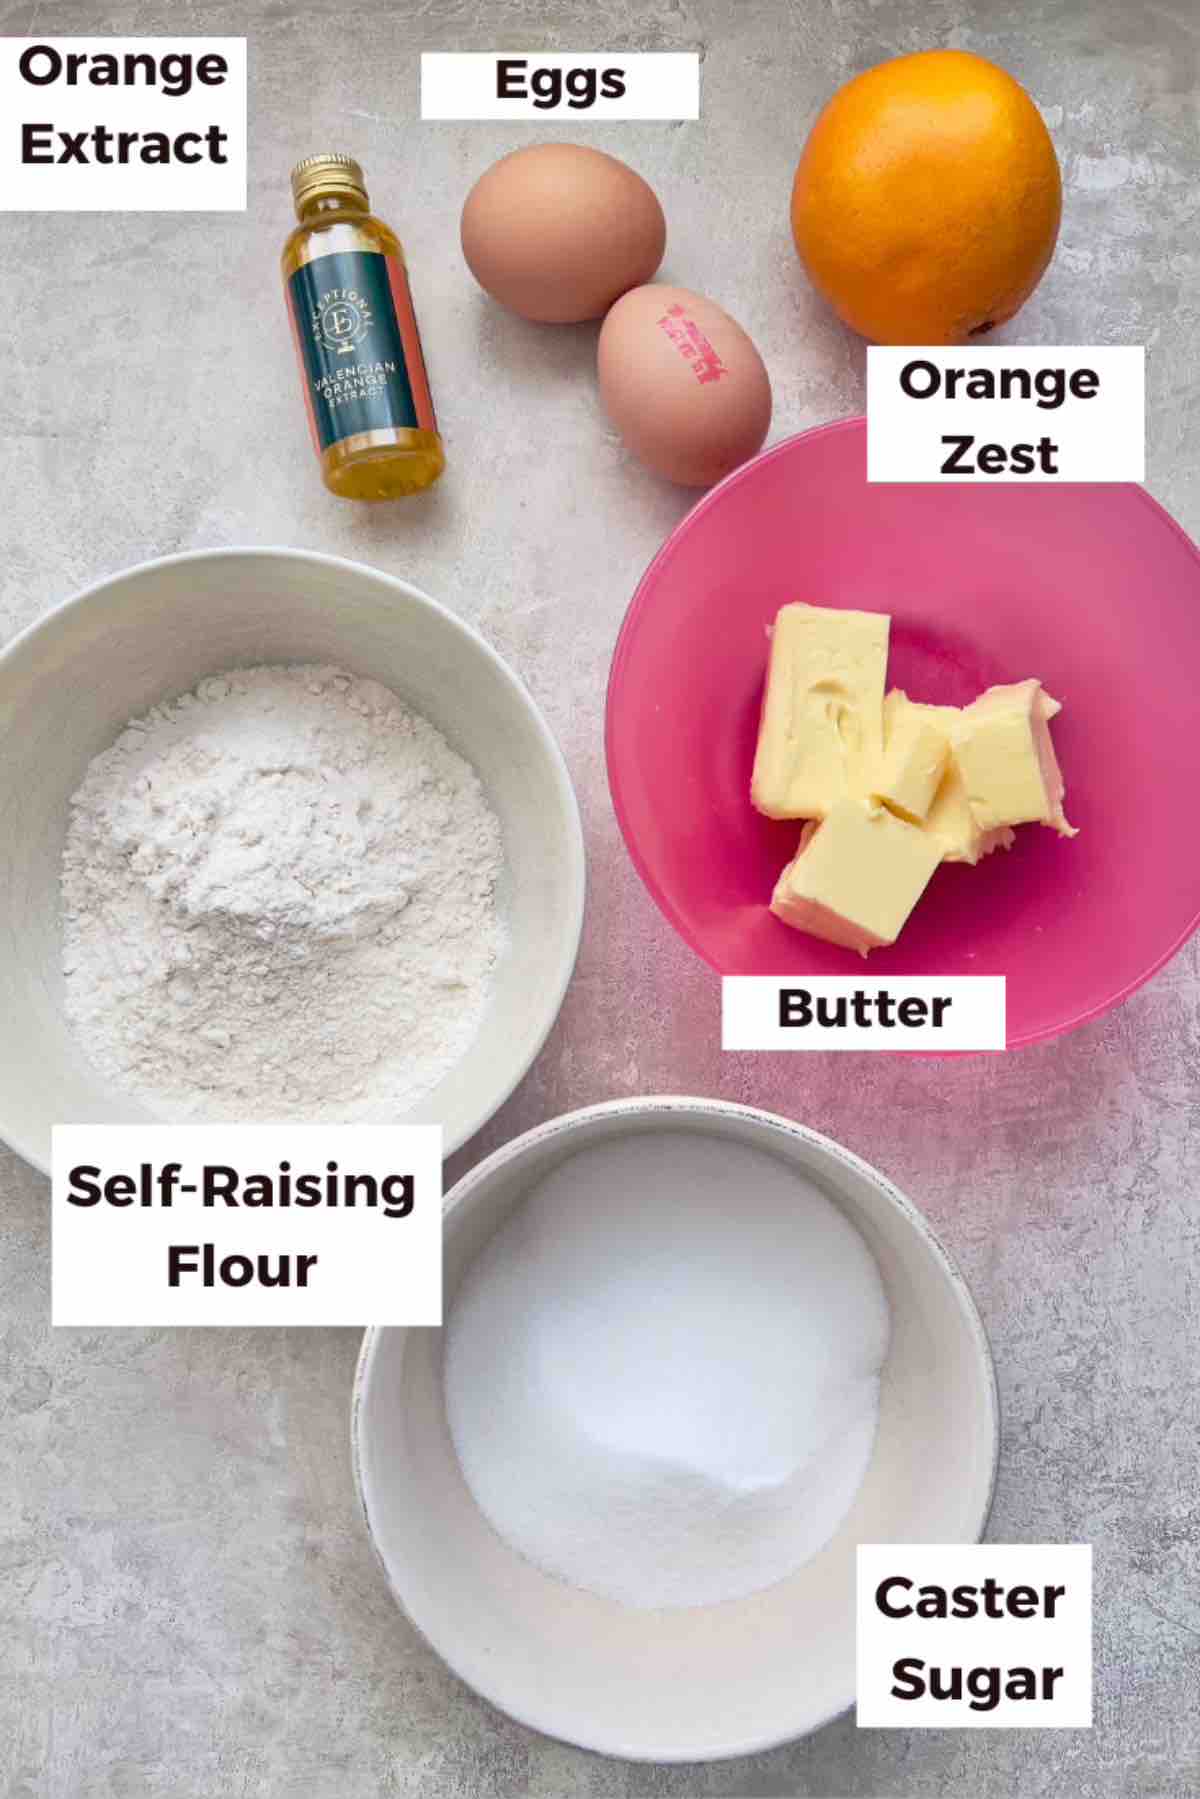
FAIRY CAKES
Self-raising flour - The flour with raising agents already in it. If you don't have it handy, use plain (all-purpose) flour + 1.5tsp baking powder instead.
Butter/Margarine - You can use dairy butter here but originally, back in the day, fairy cakes (butterfly cakes before the glow up) used to be made using margarine which can help with the lightness and fluffiness of the sponge.
In the UK Stork margarine works great as does Flora Plant Butter which is the one I use most often in my baking.
***Quick Tip*** Don't forget to take your butter out of the fridge to soften.
Caster Sugar - Fine sugar is best when using creaming method. Golden caster sugar can be used here as well.
Eggs - I use medium size, organic, free-range eggs.
Orange Zest and/or Orange Extract - I like to add zest of 1 orange + ½tsp extract to my sponge and 1 teaspoon of extract to my buttercream. If you don't have orange zest, simply increase the amount of extract to 1 teaspoon for the sponge.
CHOCOLATE ORANGE BUTTERCREAM
Butter/Margarine/Plant Butter - Use whichever one you'd normally use.
Icing Sugar - You will also need some extra for dusting your cakes.
Cocoa/Cacao Powder - Our chocolate.
Orange Extract - For that orange flavour.
Milk/Plant Milk - You might need a drop just to adjust consistency of your buttercream.
OPTIONAL EXTRAS
Orange Marmalade - I like adding just a small teaspoon of marmalade inside the cake before piping on buttercream to intensify the orange flavour. It's completely optional but I love it.
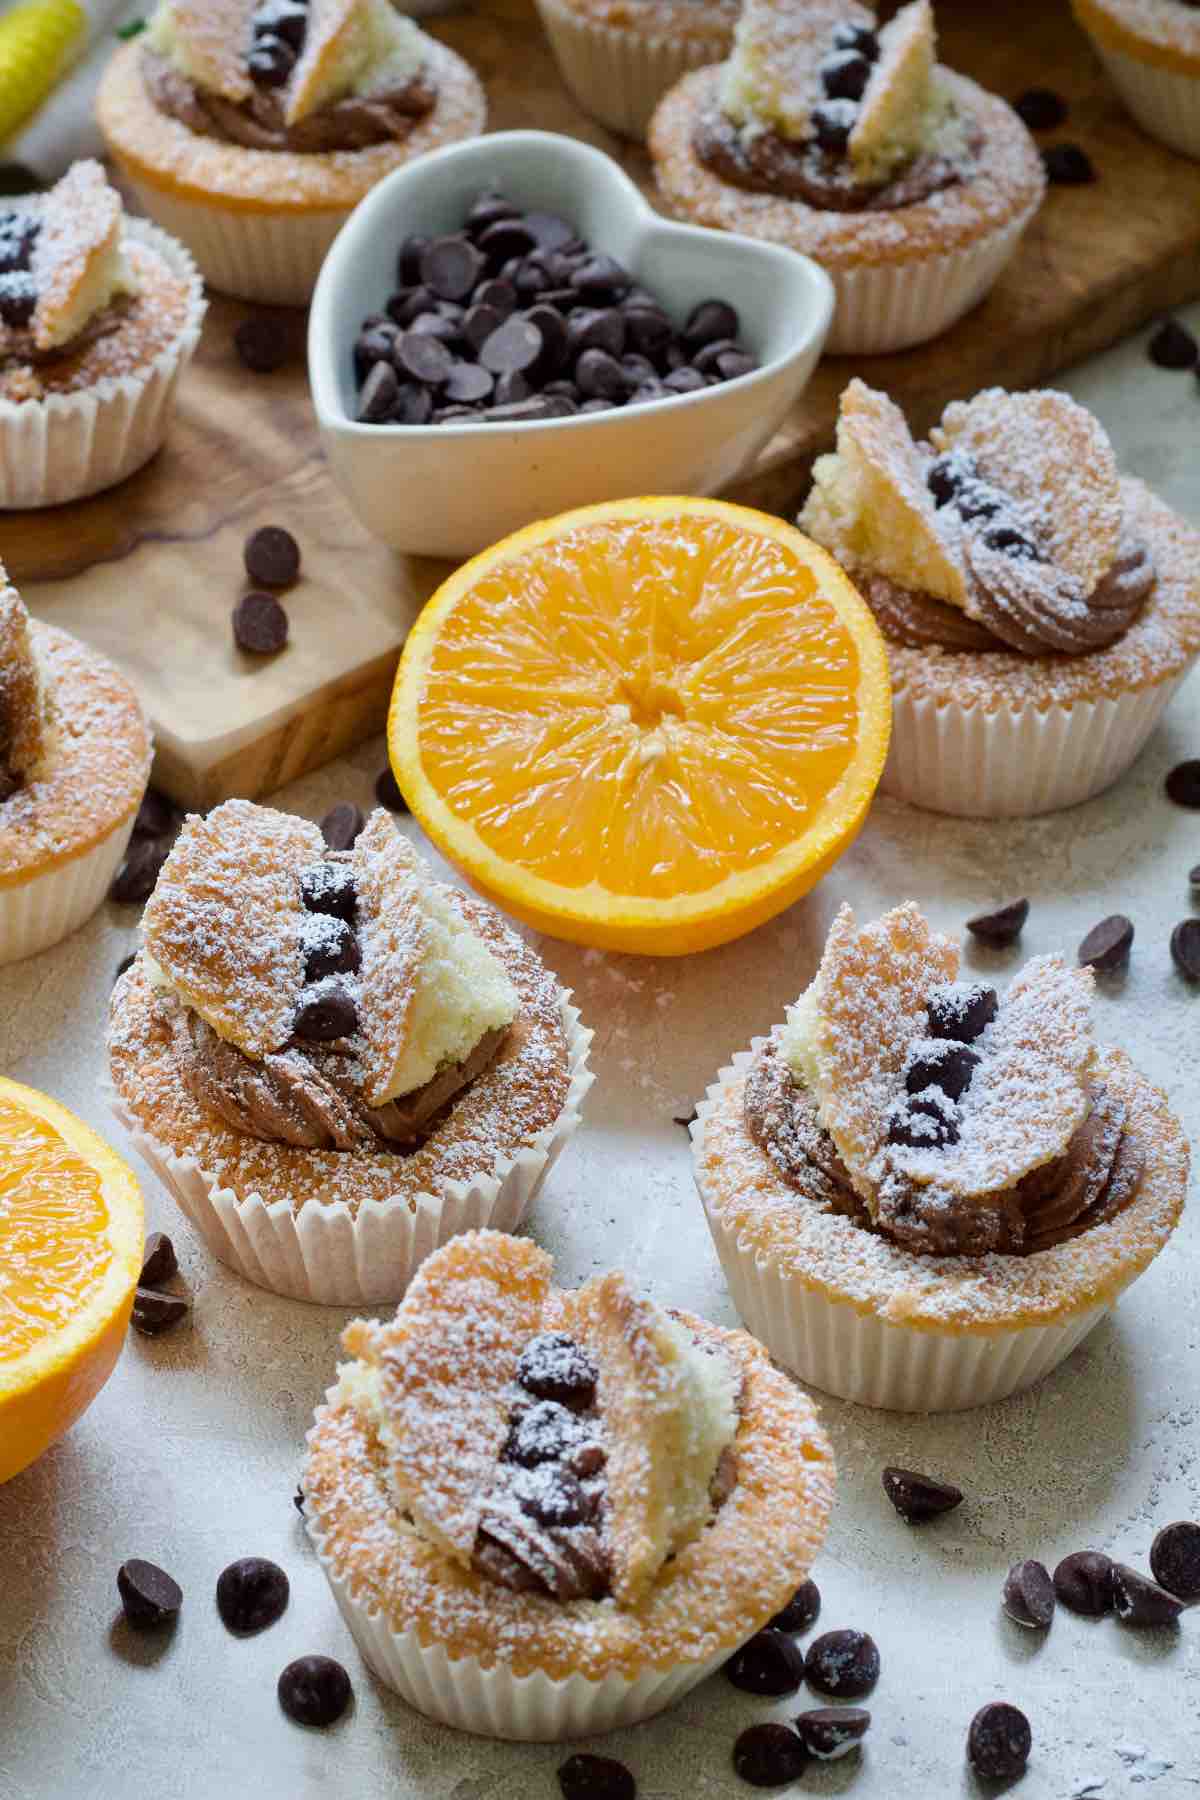
Chocolate Chips - I used some dark chocolate chips between the wings to give butterfly a body plus I'll never say no to extra chocolate. Again, completely optional.
🔪 How to make Chocolate Orange Butterfly Cakes
Ingredient quantities & detailed instructions to be found in recipe card at the bottom of the post.
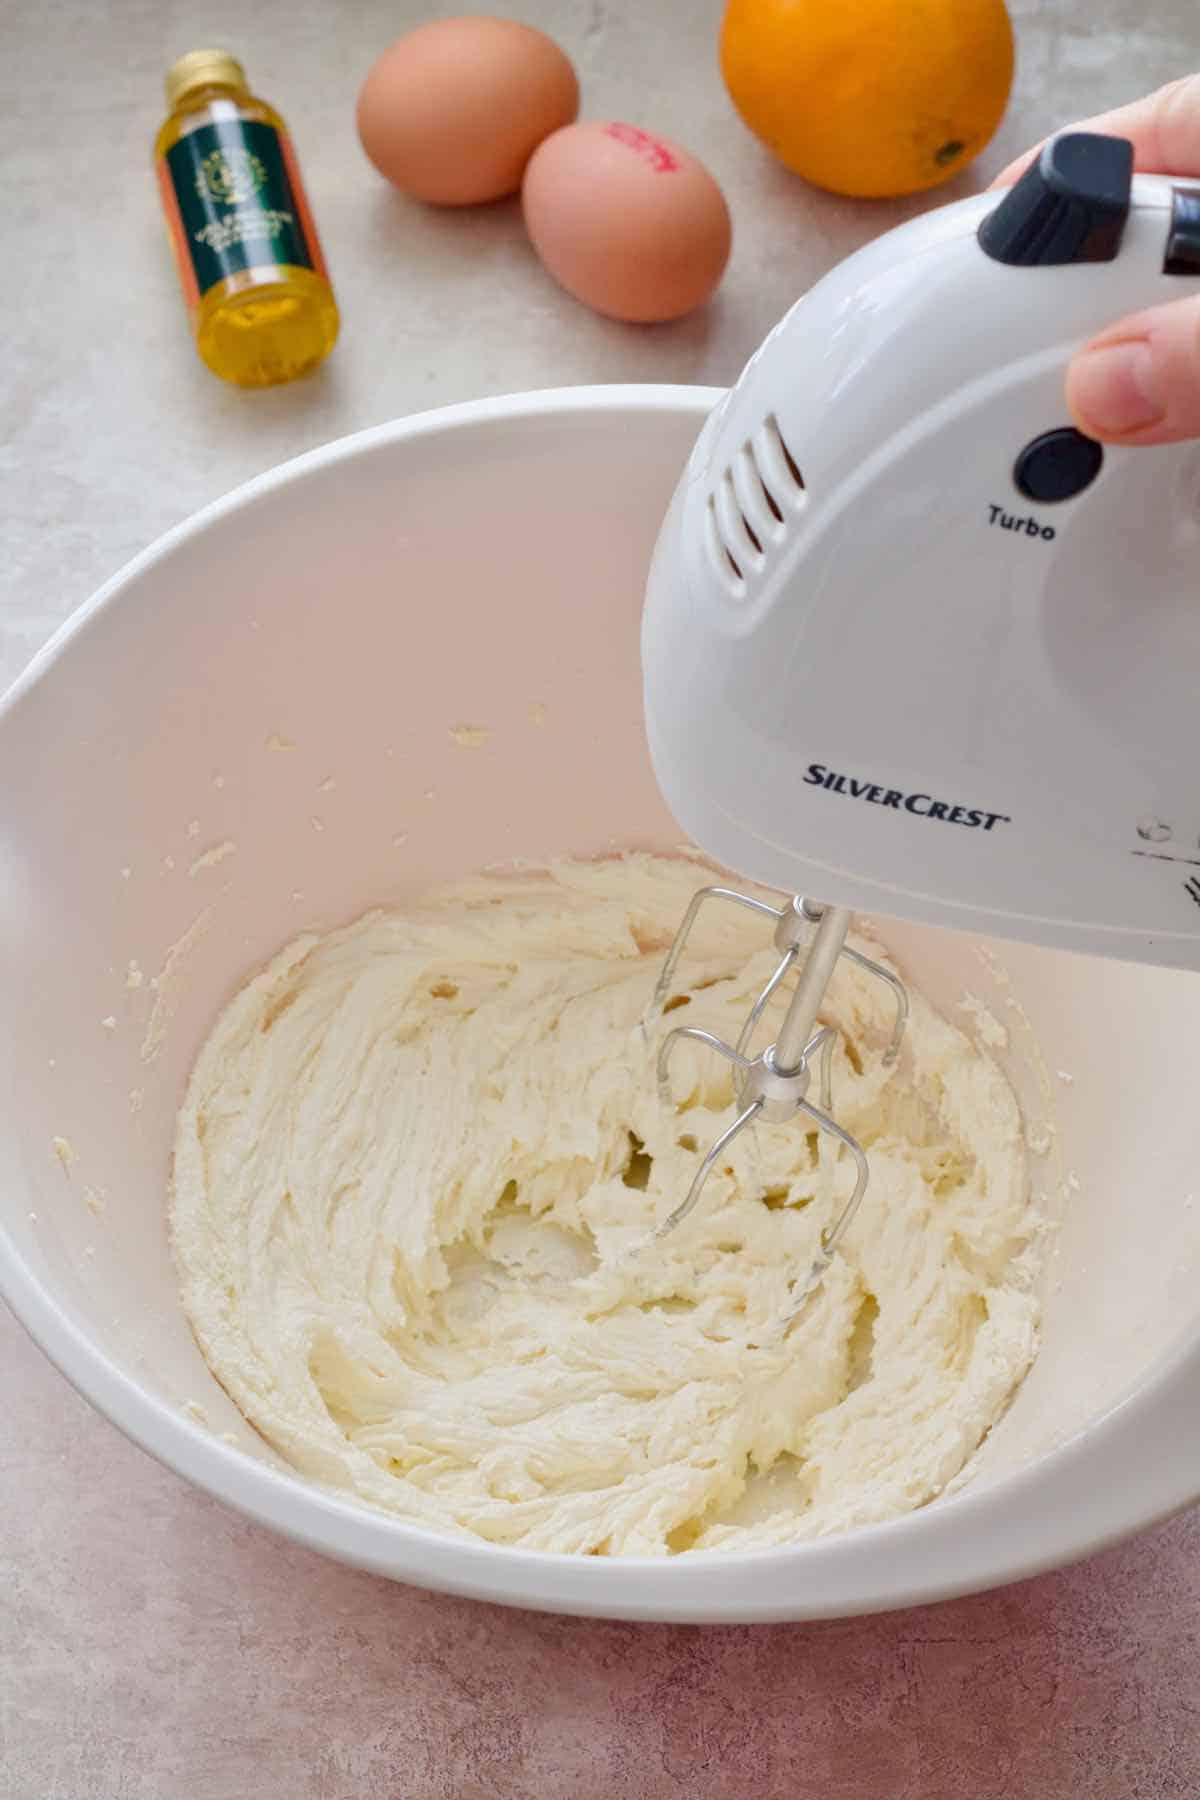
Step 1: Preheat the oven to 180°C/350°F/Gas Mark 4 and line 12-hole muffin or bun tin with paper fairy cake cases. In a large bowl mix butter and sugar together until pale and fluffy. Use hand mixer or stand mixer with paddle attachment. Mix for good 2-3 minutes, scraping the walls of the bowl as you go.
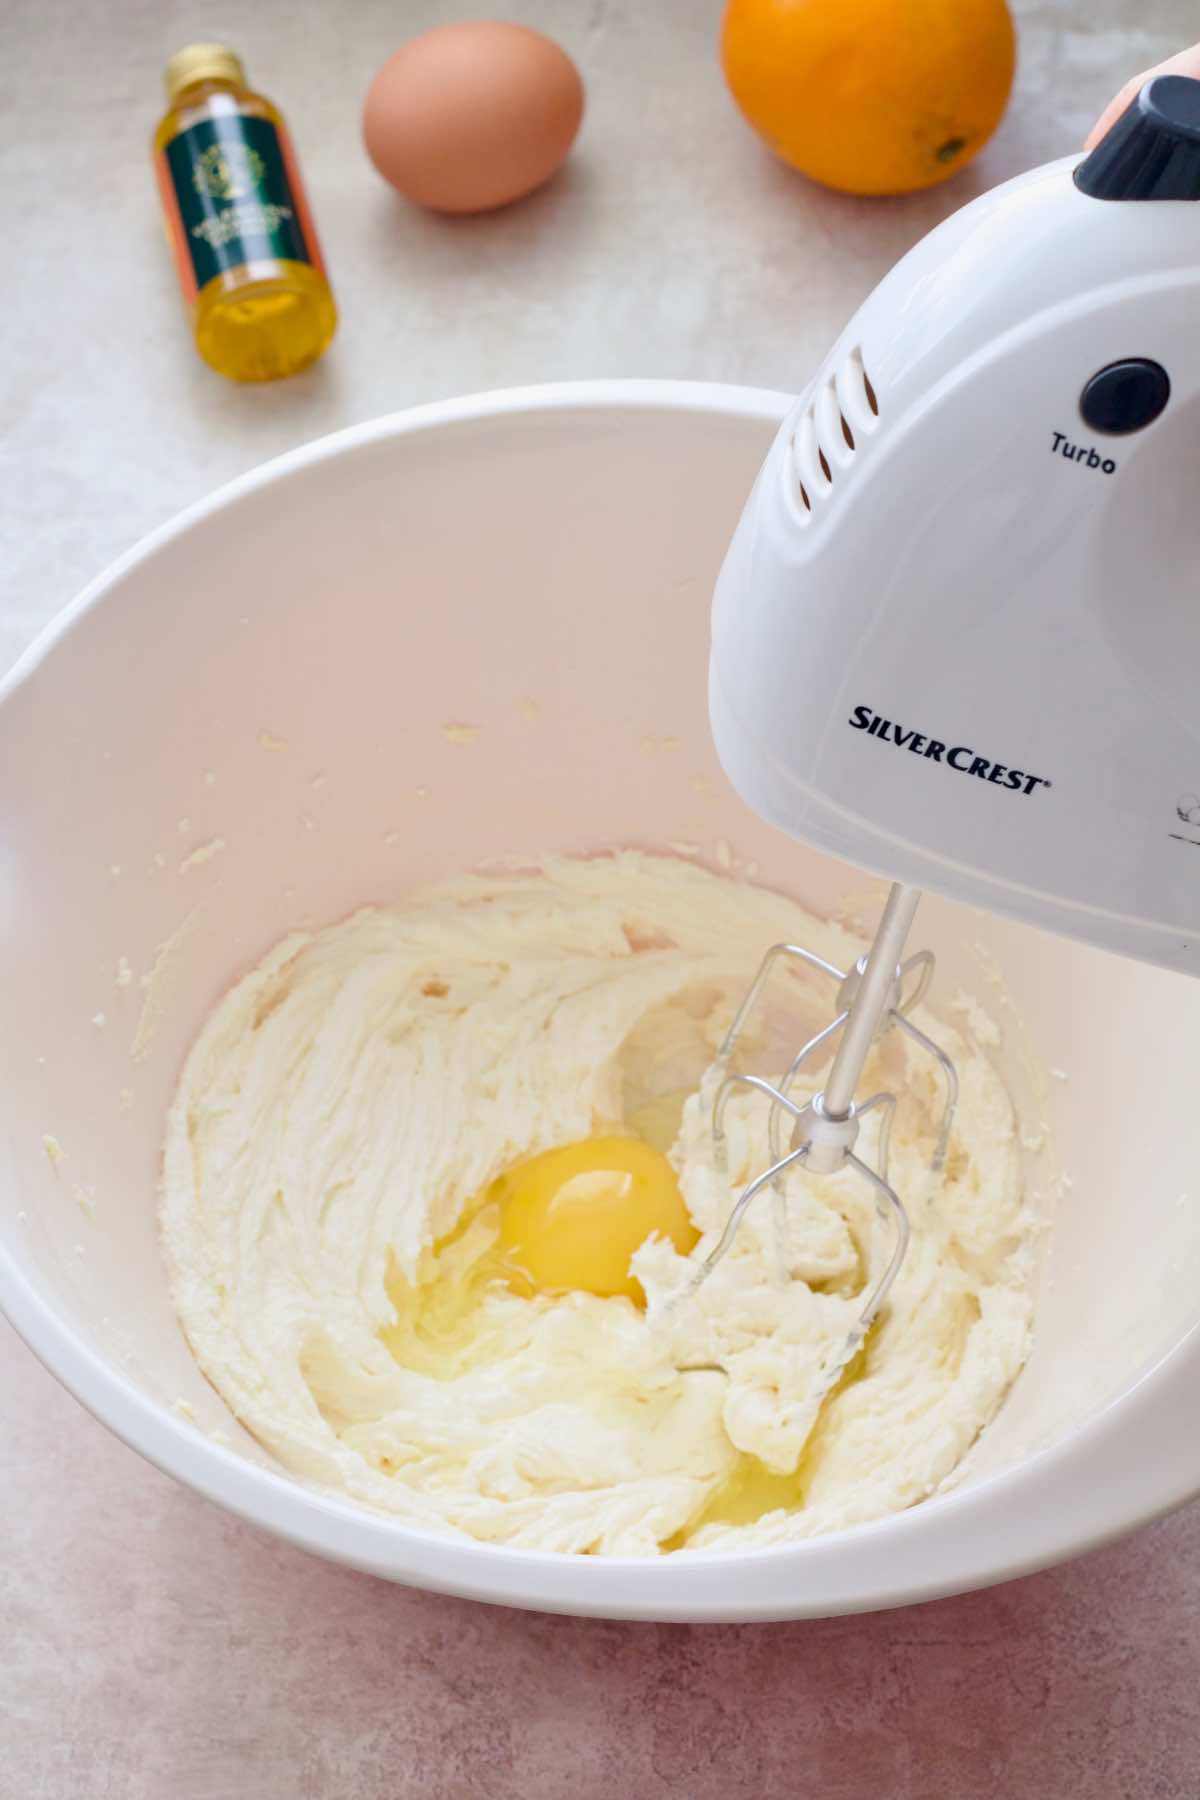
Step 2: Gradually mix in the eggs (one at a time). Don't worry if the mixture starts looking as if it curdled, that will be fixed once you've added flour.
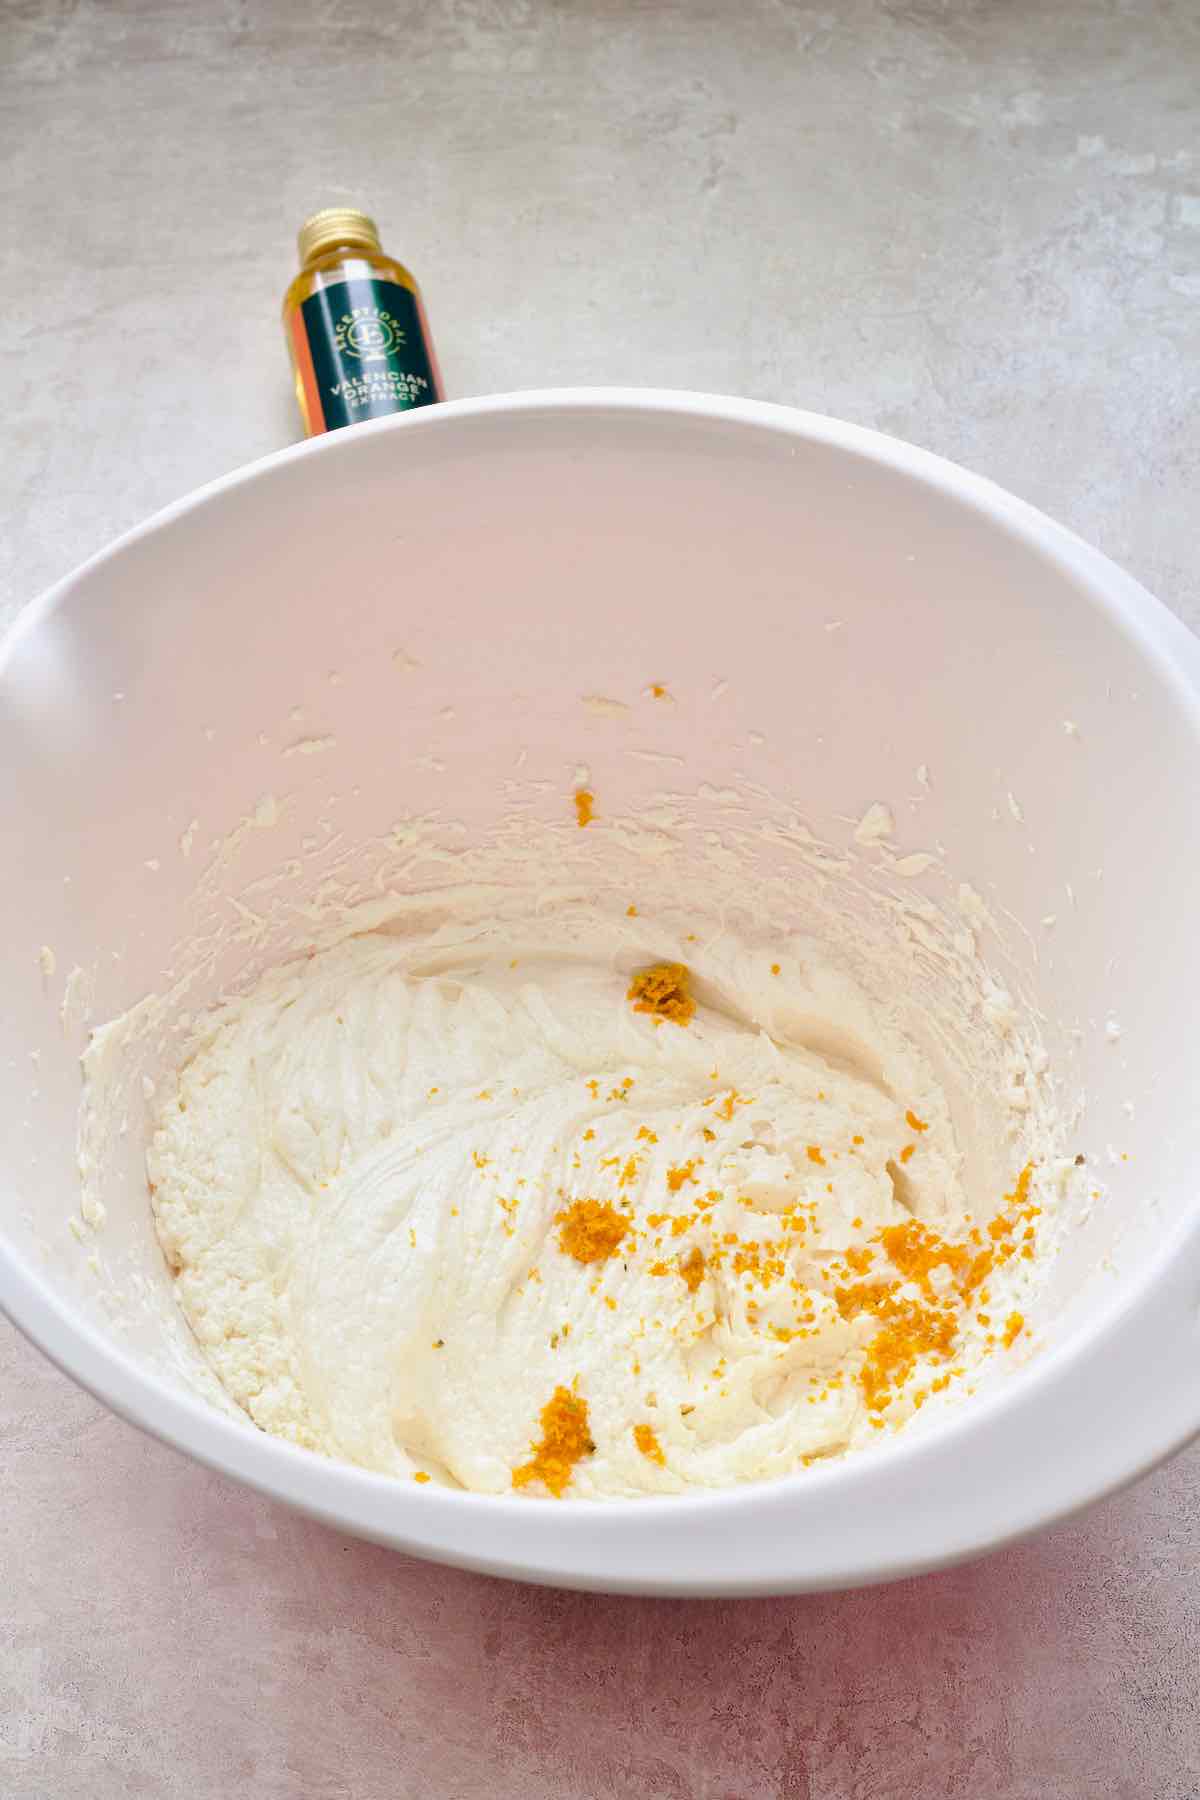
Step 3: Next, add orange zest and/or extract and mix it in as well.
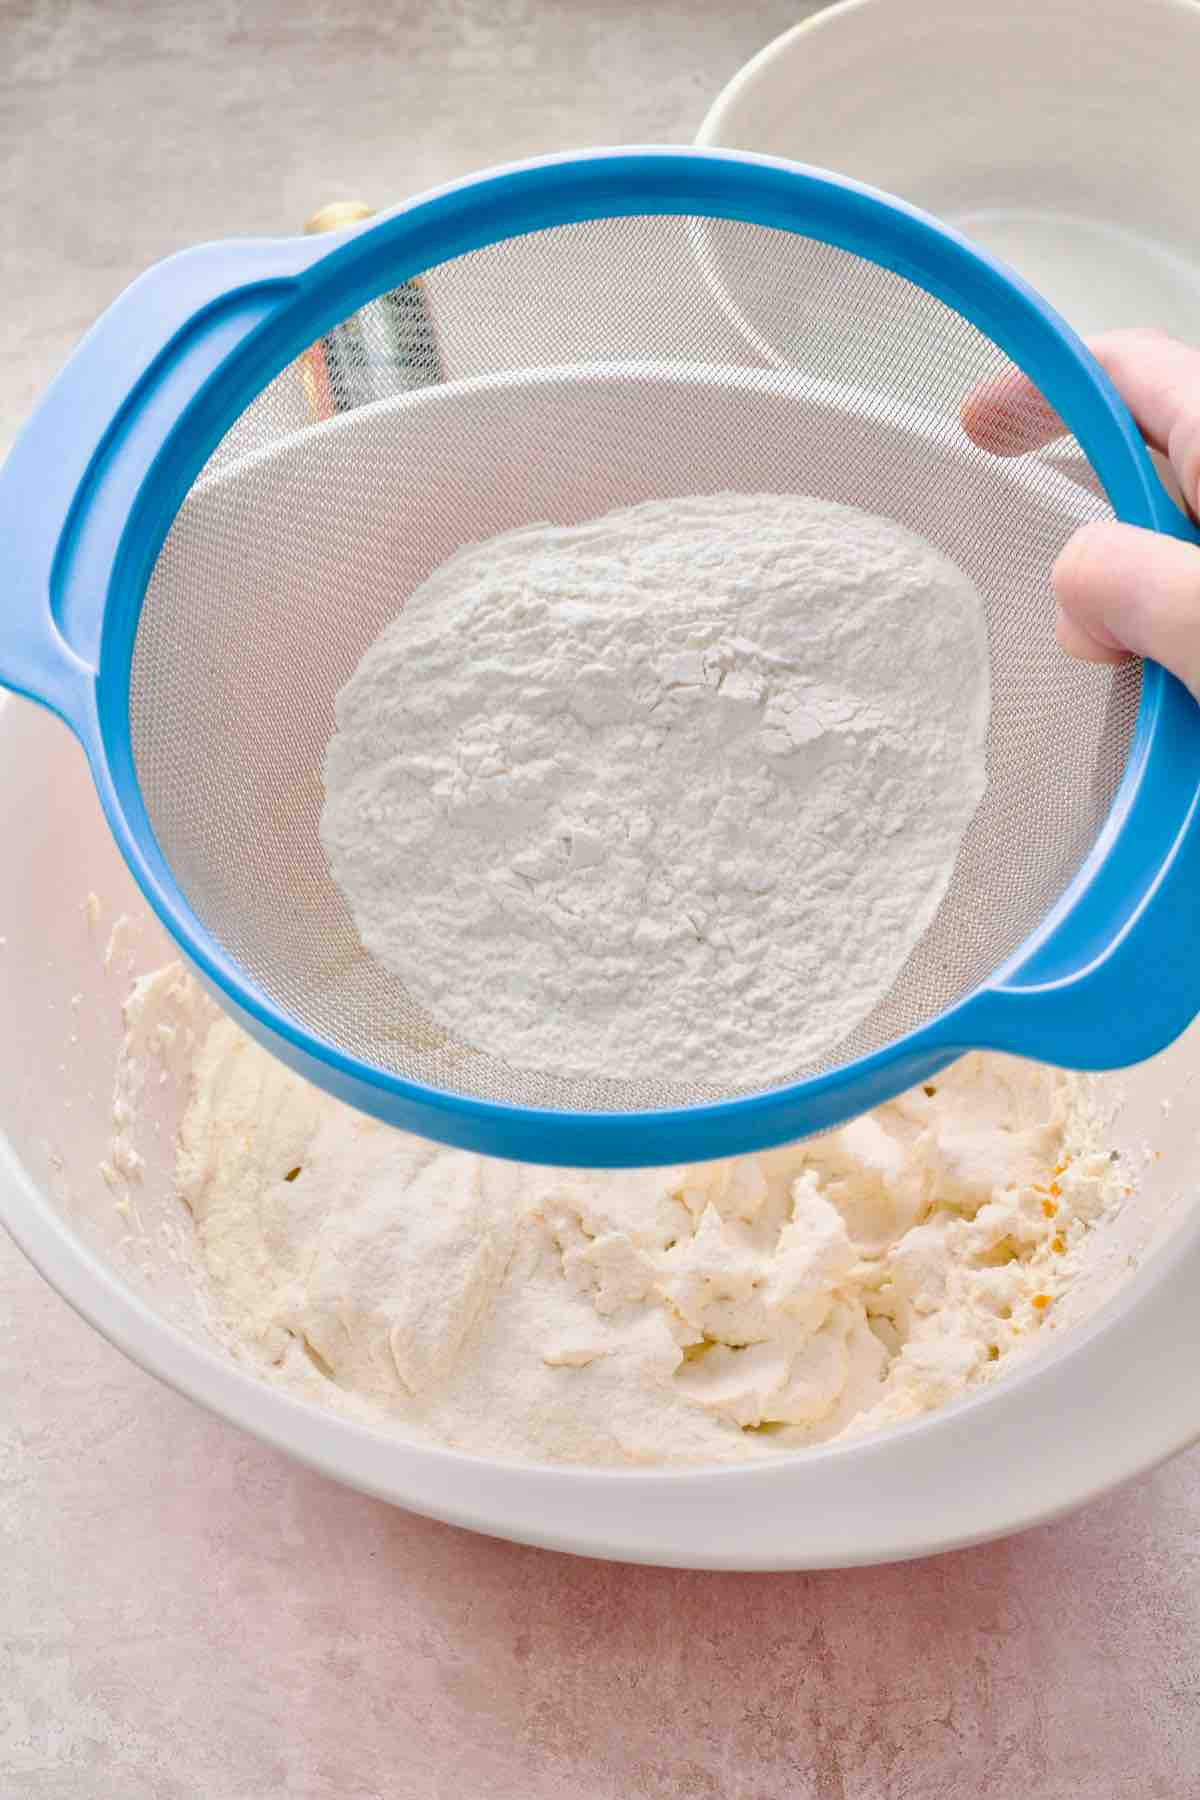
Step 4: Sift the flour into a bowl with your sugar/butter/egg mixture.
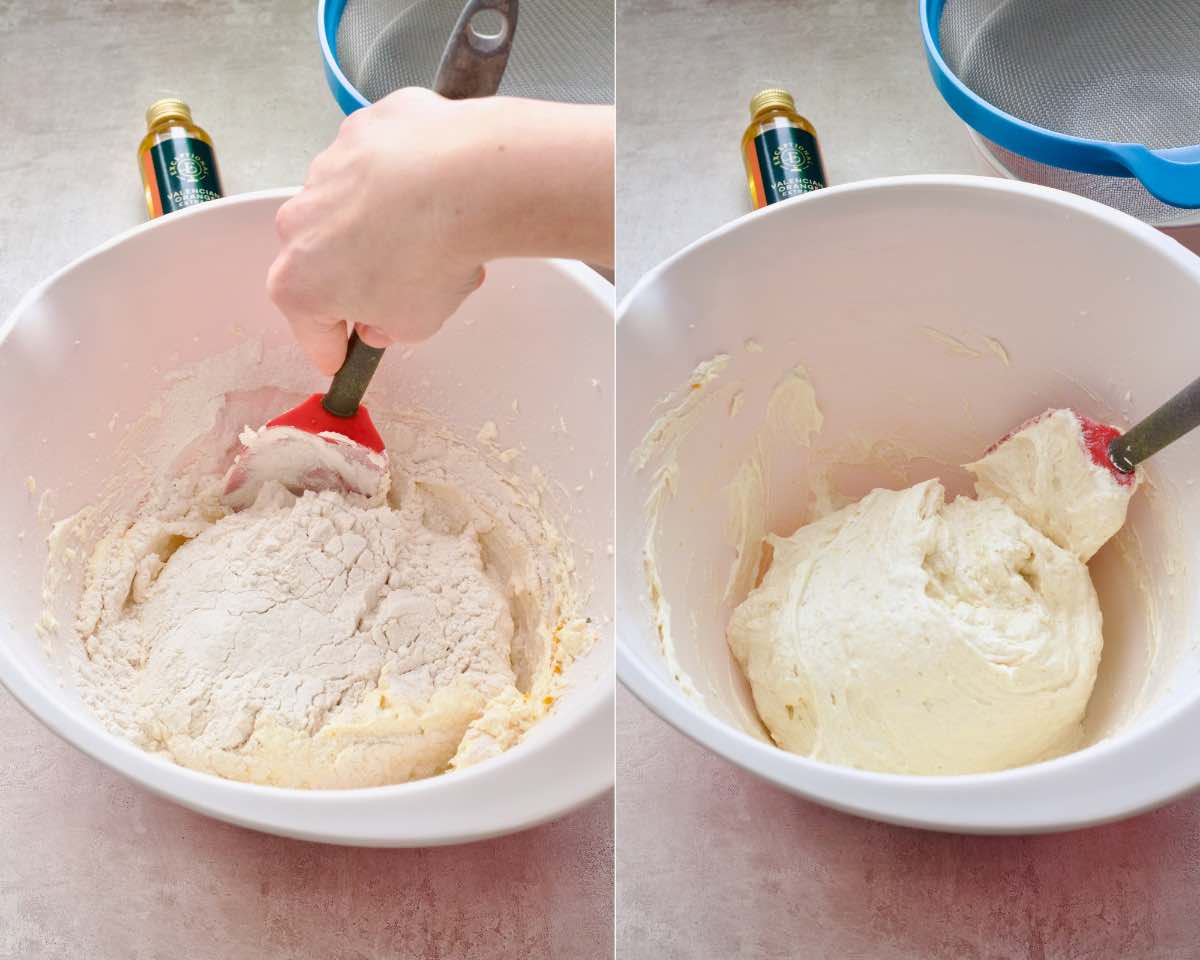
Step 5: Using spatula gently fold in the flour into the mixture only until incorporated. Don't over mix it.
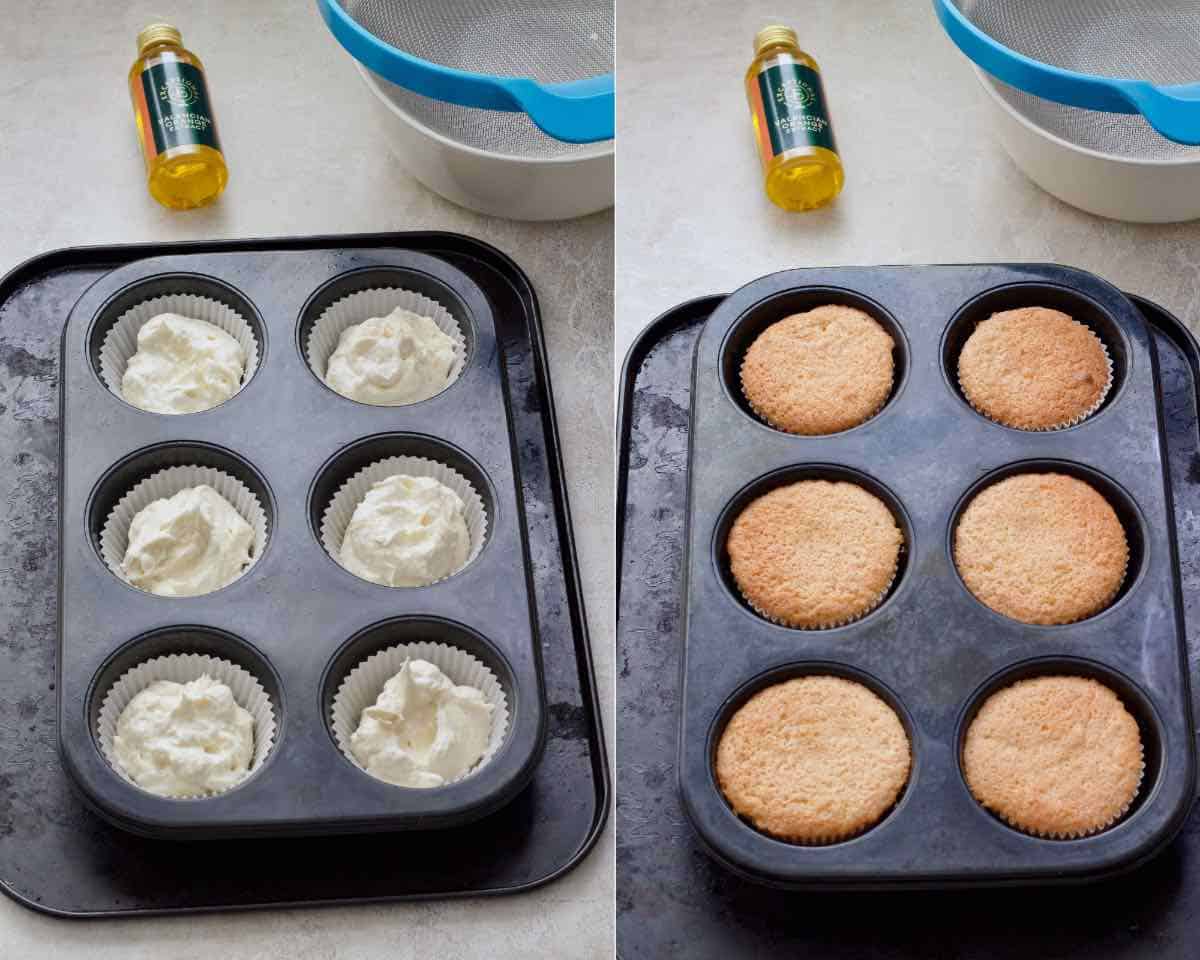
Step 6: Fill prepared cases approximately halfway with your cake mixture. Bake in preheated oven for approximately 15 minutes or until nice and golden and they spring back when touched gently with a finger. Take them out onto cooling rack to cool completely.
Step 7: As your cakes cool, prepare buttercream by mixing together butter, icing sugar cocoa powder and orange extract until nice and creamy. If mixture appears a bit stiff, feel free to add a drop of milk/plant milk to loosen it a bit (1tsp at a time).

Step 8: Now is the time to decorate your butterfly cakes:
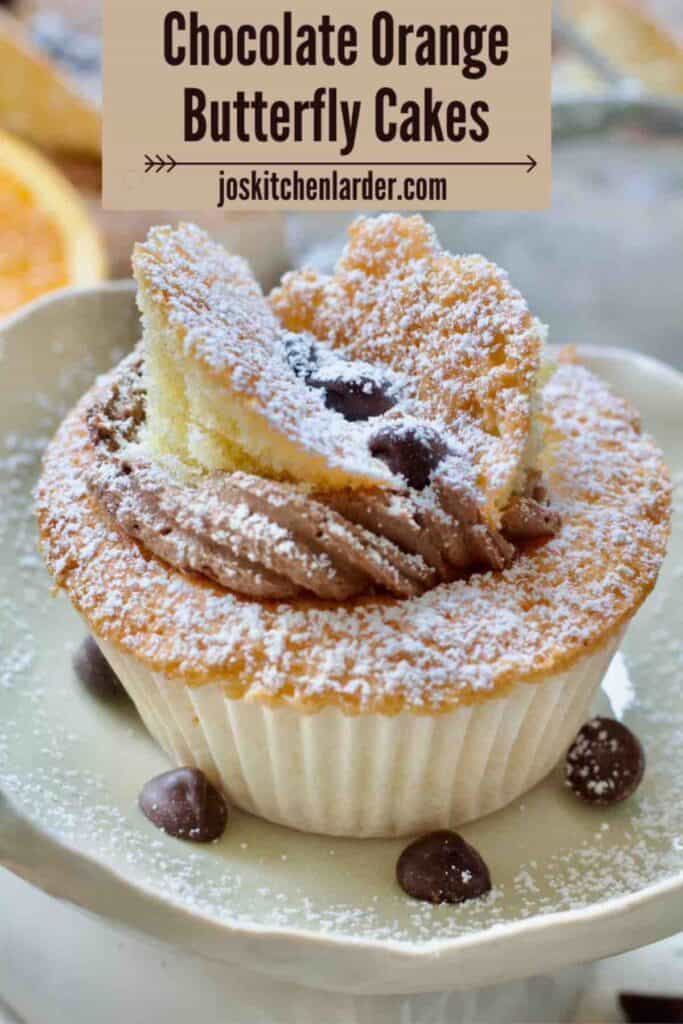
- Insert a small knife angled at approx. 45° roughly half way into the fairy cake and cut out a cone shape piece. Gently remove the cone and cut it in half into 2 semi-circles which will be our "wings".
- Optional but recommended: Dollop approx. 1 teaspoon of orange marmalade into the centre of the cake.
- Pipe the buttercream over the marmalade (if using) to cover the cut out space completely.
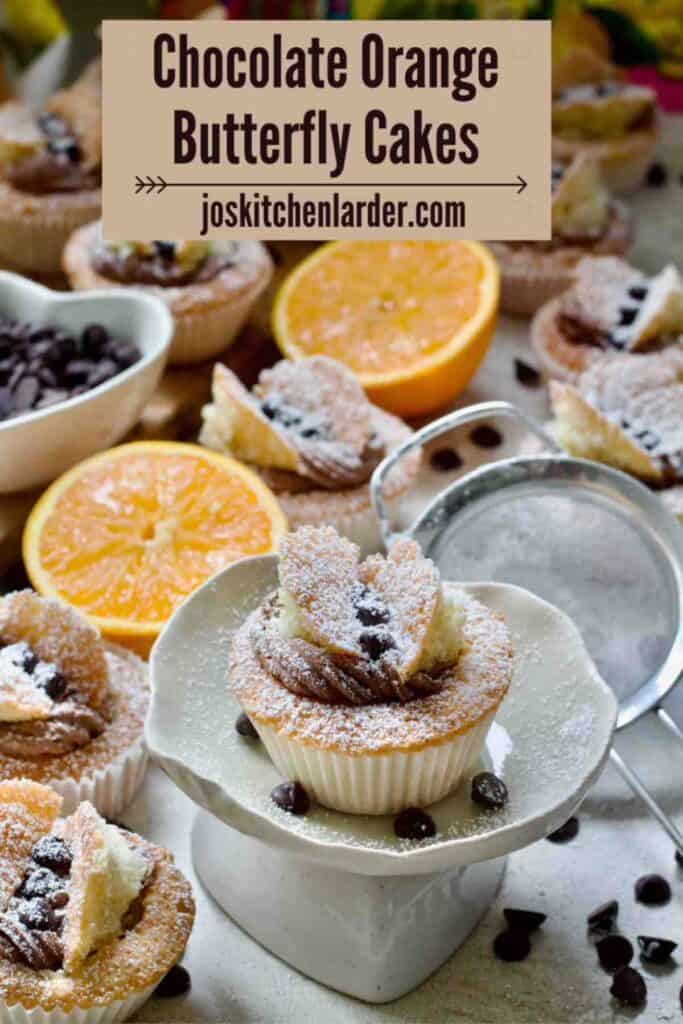
- Place "wings" into the buttercream to finish the look.
You can then decorate it further (I put some chocolate chips in between the two wings to make the body of the butterfly) and as a final touch dust with some icing sugar.
🍽 Equipment
This simple recipe doesn't really require any specialist equipment as such and you can even cream butter and sugar by hand using a wooden spoon if you wanted to.
Having said that, there are couple of things I wanted to clarify:
Muffin tin vs Shallow bun tin - I baked my fairy cakes in a regular muffin tin (using fairy cake sized paper cases) but it might be easier to use shallower bun tin (the sort you bake mince pies or jam tarts in). It's entirely up to you which one you go for but remember to use small fairy cake type cases.
Fairy cake cases - They are smaller than standard cupcake or muffin cases. I use these from Sainsbury's (UK). They measure roughly 4cm diameter at the bottom, 6cm at the top and are 2.5cm tall.
Piping nozzle - I don't do a lot of fancy piping and only own one super universal piping nozzle - Wilton 1M open star which will give beautiful finish to your butterfly cakes.
🥡 Storing and freezing Chocolate Orange Butterfly Cakes
Store: Butterfly cakes are best eaten within day or two of being made and will be fine kept in the airtight container on the kitchen counter during that time.
However, if you want to keep them for longer, I would pop them in the fridge where they will be fine for up to 4 days. They're the best served at room temperature though so make sure to take them out at least an hour before eating/serving.
Freeze: Plain fairy cakes (without buttercream) freeze really well so you can definitely make them in advance and freeze until needed. They can be defrosted on the kitchen counter in a couple of hours and decorated as per the recipe.
💭 Pro tips
Use digital scales when weighing out the ingredients as baking is all about accuracy.
Make sure your butter/margarine are at room temperature. It's less of an issue if using margarine from the tub (Stork) as it's already much softer than butter/plant butter.
Take your time creaming butter and sugar. You want to incorporate as much air into the mixture as possible and for it to be light and fluffy.
Don't overmix the batter when adding the flour. Use gentle folding motion with your spatula and only until the flour is incorporated.
Even though it's tempting, don't overfill fairy cake cases when filling them with batter. Halfway full is plenty. They are supposed to be small, dainty cakes.
Don't worry if your cakes don't have large peaks/domes on them. As long as they're well risen, they're absolutely fine. We will be cutting into them anyway to make them into butterfly cakes so the shape of the top doesn't matter.
My recipe uses quite conservative amount of buttercream so if you like a lot of it or are not using any marmalade to help fill the cake, I would recommend doubling the recipe.
You will most likely have enough cake batter to fill more than 12 fairy cake cases (I get 16 on average). If you don't have spare tin or room in the oven to accommodate these in one go you can simply wait and bake the remaining ones once first 12 are out of the oven. It's not ideal but I have done it on numerous occasions and they've always risen well.
❓ FAQ
If you 're using self-raising flour there really is no reason to add extra baking powder here. If your cakes come out well risen but without domes it doesn't really matter as we are cutting into the cakes anyway.
12-16 depending on the size of your fairy cake cases and how much batter you use per cake. I filled my cases roughly halfway and got 16 cakes.
Have you tried my Chocolate Orange Butterfly Cakes?
Please consider giving it ⭐️⭐️⭐️⭐️⭐️ rating in recipe card below and share your views or tips in the comments.
📋 Recipe

Chocolate Orange Butterfly Cakes
Equipment
Ingredients
Cakes
- 120 g self-raising flour or use plain (all-purpose) flour + 1.5tsp baking powder
- 120 g caster sugar
- 120 g butter or margarine softened
- 2 eggs
- 1 teaspoon orange extract or zest of one orange + ½tsp orange extract
Chocolate Orange Buttercream
- 80 g butter or plant butter or margarine softened
- 150 g icing sugar
- 20 g cocoa/cacao powder
- 1 teaspoon orange extract
- drop of milk/plant milk to adjust consistency if necessary
Optional extras
- orange marmalade (1 teaspoon per cake) see notes
- chocolate chips to make body for the butterfly
- more icing sugar for dusting
Instructions
Fairy Cakes
- Preheat the oven to 180°C/350°F/Gas Mark 4 and line 12-hole muffin or bun tin with paper fairy cake cases.
- In a large bowl mix butter and sugar together until pale and fluffy. Use hand mixer or stand mixer with paddle attachment. Mix for good 2-3 minutes, scraping the walls of the bowl as you go.120 g caster sugar, 120 g butter or margarine
- Gradually mix in the eggs (one at a time). Don't worry if the mixture starts looking as if it curdled, that will be fixed once you've added flour.2 eggs
- Next, add orange zest and/or extract and mix it in as well.1 teaspoon orange extract
- Sift the flour into a bowl with your sugar/butter/egg mixture.Using spatula gently fold in the flour into the mixture only until incorporated. Don't over mix it.120 g self-raising flour
- Fill prepared cases approximately halfway with your cake mixture. Bake in preheated oven for approximately 15 minutes or until nice and golden and they spring back when touched gently with a finger. Take them out onto cooling rack to cool completely
Chocolate Orange Buttercream
- As your cakes cool, prepare buttercream by mixing together butter, icing sugar cocoa powder and orange extract until nice and creamy. If mixture appears a bit stiff, feel free to add a drop of milk/plant milk to loosen it a bit (1tsp at a time).If you like a lot of buttercream or are not using marmalade you might want to double the amount of buttercream.80 g butter or plant butter or margarine, 150 g icing sugar, 20 g cocoa/cacao powder, 1 teaspoon orange extract, drop of milk/plant milk
Decorating Butterfly Cakes
- 1. Insert a small knife angled at approx. 45° roughly half way into the fairy cake and cut out a cone shape piece. Gently remove the cone and cut it in half into 2 semi-circles which will be our "wings".2. Optional but recommended: Dollop approx. 1 teaspoon of orange marmalade into the centre of each cake. 3. Pipe the buttercream over the marmalade (if using) to cover the cut out space completely. 4.Place "wings" into the buttercream to finish the look. You can then decorate it further (I put some chocolate chips in between the two wings to make the body of the butterfly) and as a final touch dust with some icing sugar.orange marmalade (1 teaspoon per cake), chocolate chips, more icing sugar for dusting
Notes
- Nutritional information is approximate, per one butterfly cake based on 16 servings and it should be treated as a rough guideline only. It doesn't include marmalade, chocolate chips or any other decorations you might use for your cakes.
Comments
No Comments